

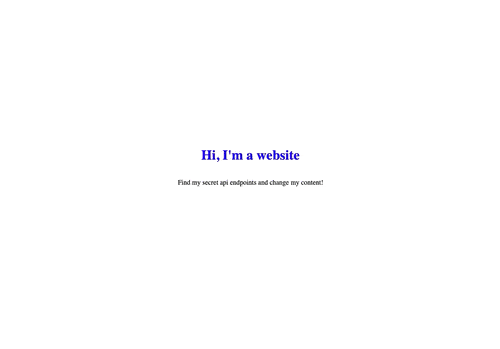
You know the scenes in those home renovation reality shows where they knock down all the walls and gut the house, and they're having so much fun, and you think "wow that looks so fun I wish I could do that"? Well it turns out you can do the same thing to a website! And it feels just as cathartic!
In this workshop, we're going to learn about web APIs—specifically, how they work, and how to write one that allows anyone to wreak havoc on your website. Ready to get started?
What's a web API?
Imagine a robot. The robot is programmed to do a few certain tasks, but only when it receives the signal to do so. The robot has multiple triggers on its body that run each specific action, and it's constantly listening for when those triggers are hit.

The triggers can be as simple as a button that does one set task every time you push it, or it could be a dropbox that only triggers the action if the necessary items are deposited in the dropbox.
In reality, the "robot" is a server connected to the internet, and the triggers, known as API endpoints, are points on the server that are triggered by HTTP requests that are sent over the internet.
If this doesn't quite make sense to you right now, don't worry about it—you'll see all of this in action when you start building your own API!
Getting started
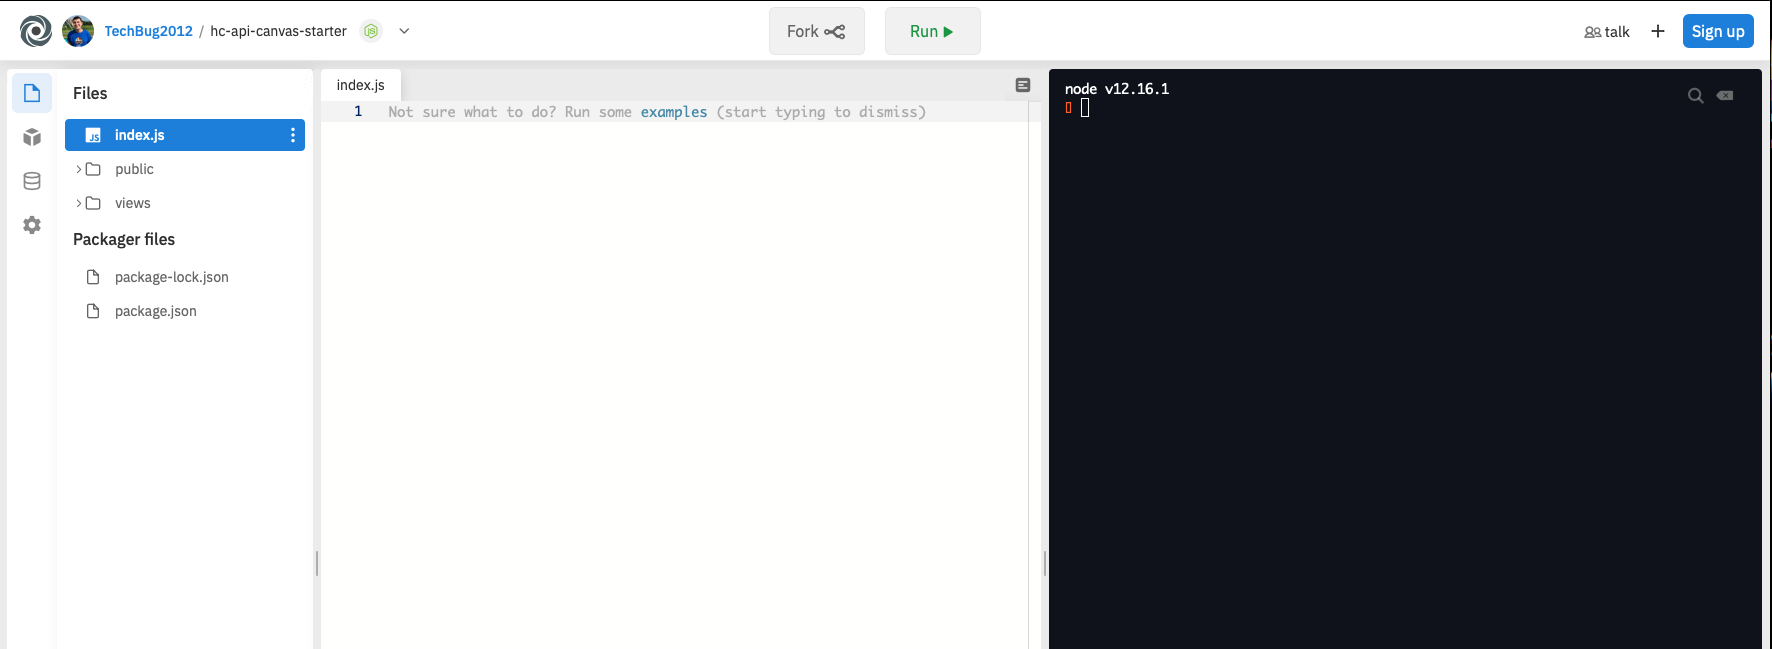
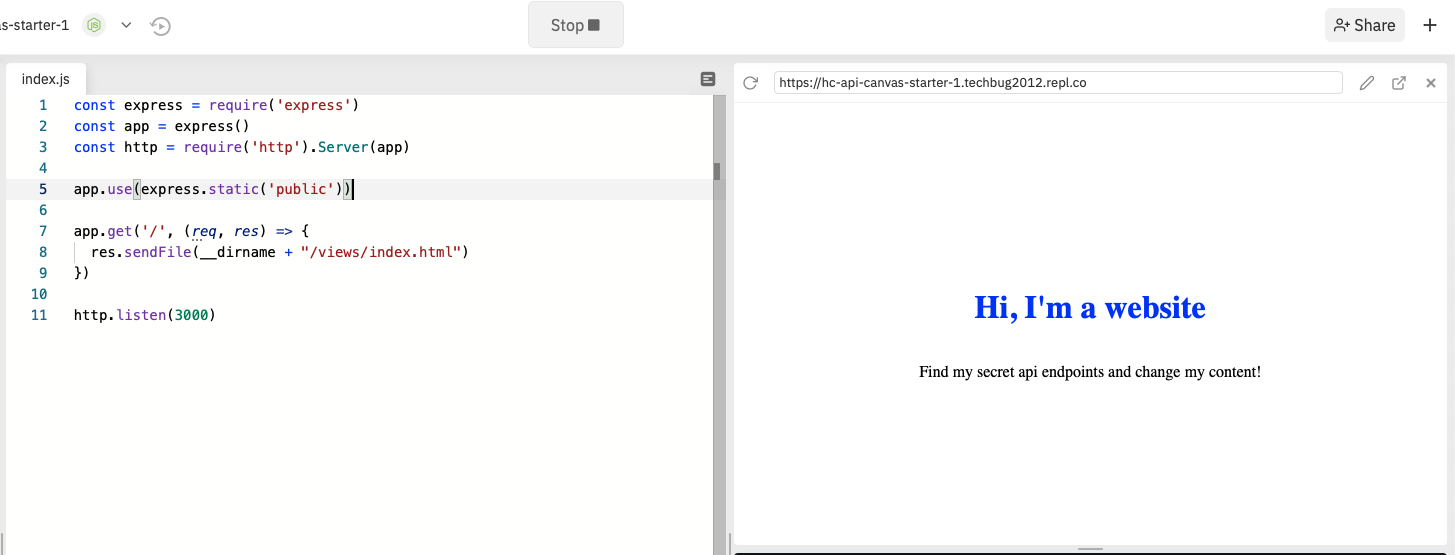
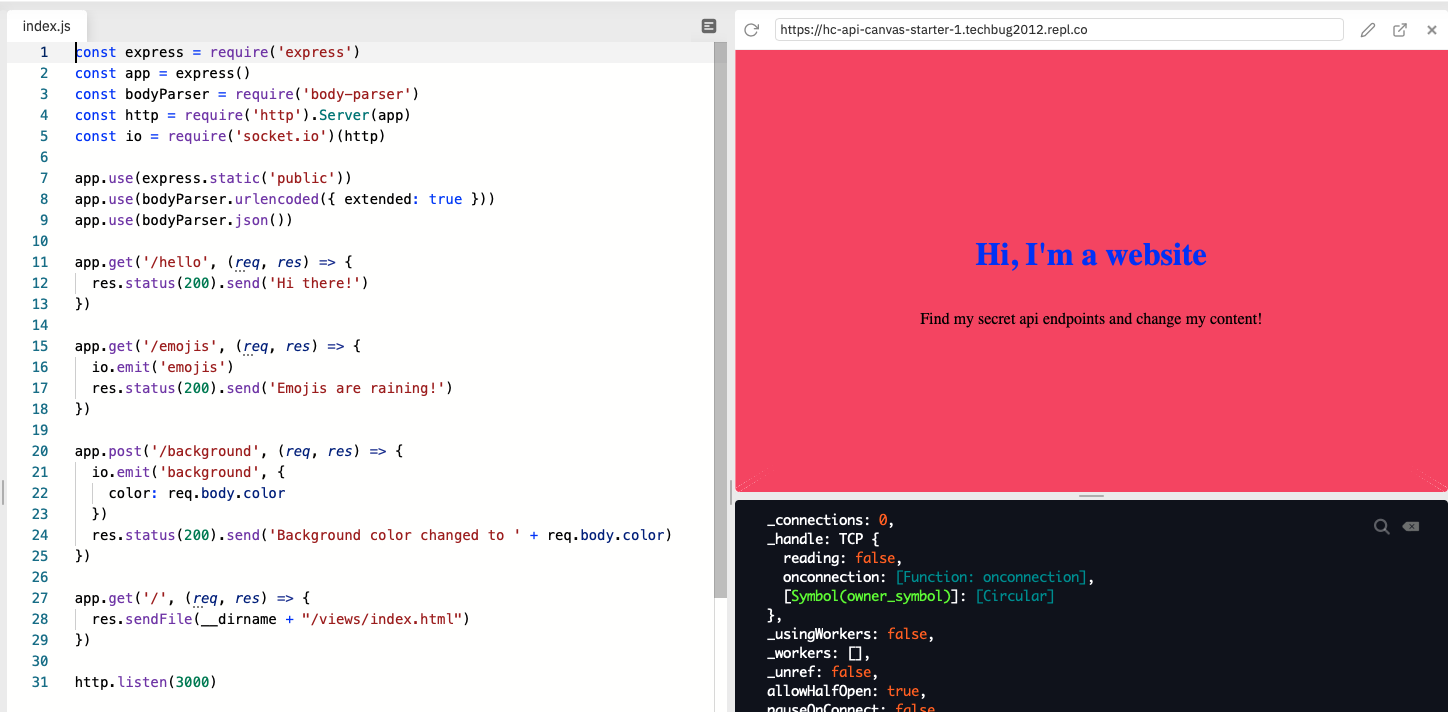
Get started by opening the starter project on repl.it. When you open it, you should see something like this.
Starting a webserver with Express
Express is a very powerful JavaScript framework that allows you to easily create webservers and API endpoints. Let's set up a webserver using Express.
Start by importing Express. In the index.js file, type:
const express = require('express')
const app = express()
Next, let's create and start an http server.
const express = require('express')
const app = express()
const http = require('http').Server(app)

http.listen(3000)
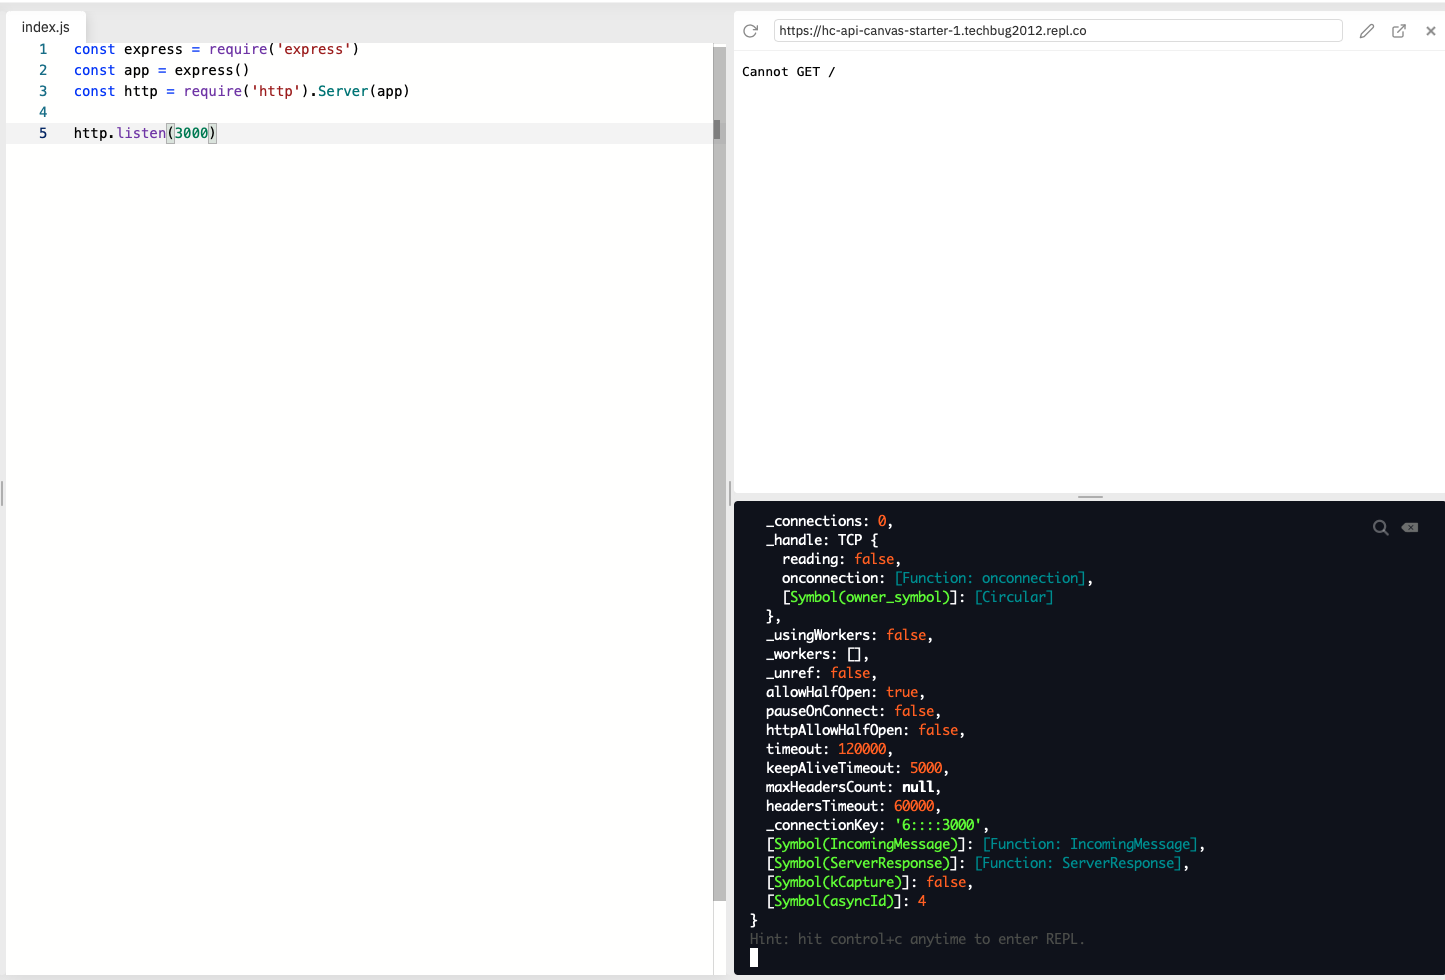
If you click the green "Run" button at the top of your repl, you should notice that the server starts up, but nothing really happens yet.
Serving HTML
Before the line that starts with http.listen line but after the line that starts wtih const http, add:
app.get('/', (req, res) => {
  res.sendFile(__dirname + '/views/index.html')
})
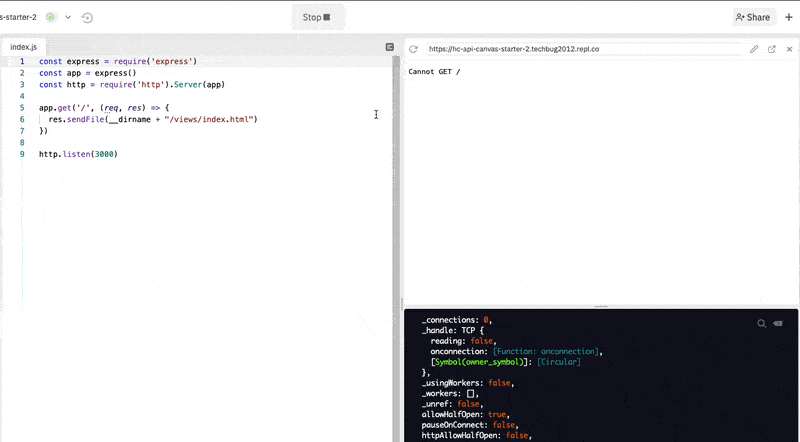
Restart the server by clicking "Stop" at the top, then clicking it again when it says "Run", then clicking the refresh icon near the top middle of the website preview (it's a big janky, I know).
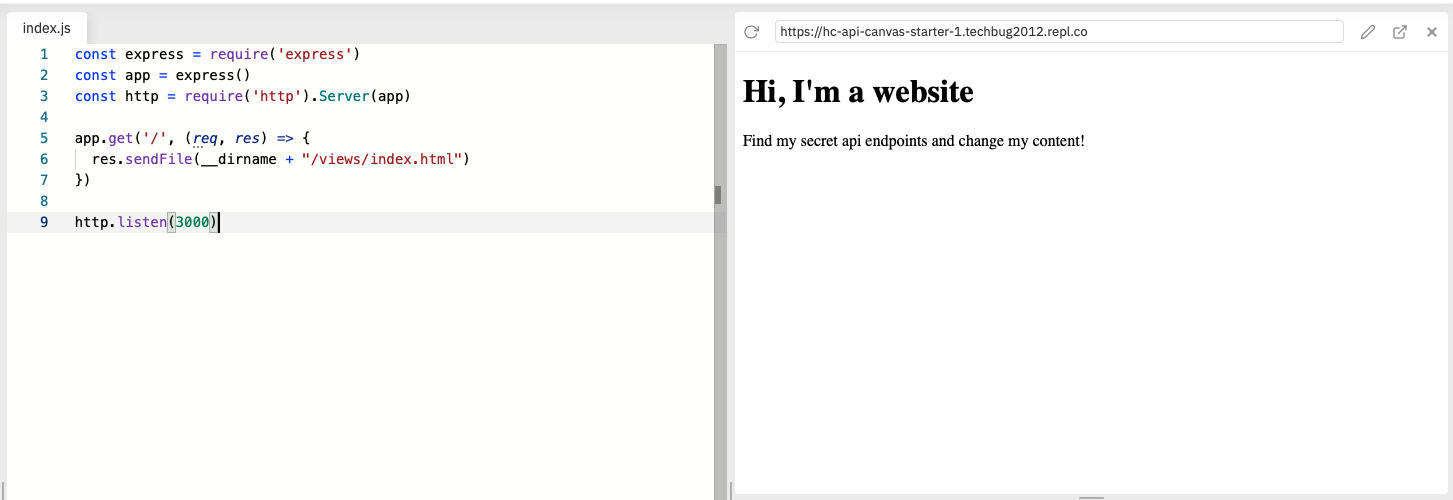
You should see that some HTML loads. So, what is the code that you just typed, and why does it make a website appear?
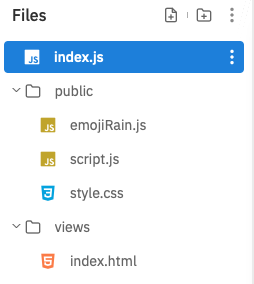
If you take a look at your sidebar, you'll see that the starter project contains a folder called views, which contains an HTML file; and a folder called public, which contains a CSS file, a JavaScript file called index.js, and another JavaScript file called emojiRain.js. This is the way Express apps are commonly set up: HTML files are served from a views folder, and other files are served from a public folder.
Here's where things get a little bit confusing: while all of these files look like they're in the same place, they're actually running in different places at different times. All of the code in index.js runs on a server, while all of the code in the files in views and public run in your browser. It may look like we're making a website here, but we're actually making a web app running on a server that loads a website. When you visit the website where your server is hosted, your web browser sends a web request to the server, and in response the server sends back HTML and CSS that your browser loads.
This is a difficult concept to wrap your head around initially, so if you don't understand, you're not alone. But if you don't understand, please make sure to ask your club leader to clarify this concept for you right now—the rest of this workshop will assume that you understand it, and it will be very confusing for you if you don't.
Serving CSS and JavaScript
So far, we wrote some code that serves the index.html file in the views folder. Loading the CSS and other content in the public folder is even easier.
Just after the line where you import http but before the line that starts with app.get('/'), add:
app.use(express.static('public'))
If you restart the server and refresh your website preview, you should notice that the heading is blue and the text is centered. Good news! The CSS loaded in, and any code we write in the client-side script.js file will take effect.
Building an API
Woohoo!!! That was a lot of confusing work, but now we've got our Express server up and running, and our website is being loaded by the browser, which means we're officially ready to start building our API!
Some more background info
First, a little more background info on how APIs work:
There are are 9 types of HTTP requests. If you're curious, you can see a list of them, but we're not going to be using all 9. The most common HTTP requests are GET, POST, PUT, AND PATCH. The 2 most common HTTP requests by far, and the only ones we're going to use in this workshop, are GET and POST.
GETis used to "get"—view, download, etc—some data without changing itPOSTis used to submit new data
Try using an API yourself! Visit api.adviceslip.com/advice in your browser and keep refreshing your browser. You should see some random data from the server being sent back to you every time you refresh.
The server that powers this API is hosted on api.adviceslip.com. When you visit api.adviceslip.com/advice, your browser is sending a GET request to its advice endpoint. When this endpoint is hit, it runs code that gets a random piece of advice and sends it back to your browser. Cool, right?
Writing your first API endpoint
Let's write your first API endpoint. Head back over to the index.js file in your repl. Between the line that starts with app.use and the line that starts with app.get, add:
app.get('/hello', (req, res) => {
  res.status(200).send('Hi there!')
})
HTTP requests must return a status code. 200 means OK. But there are a lot. Learn more about status codes if you're interested!
Stop and restart your server. Then, copy the link to the website preview link...
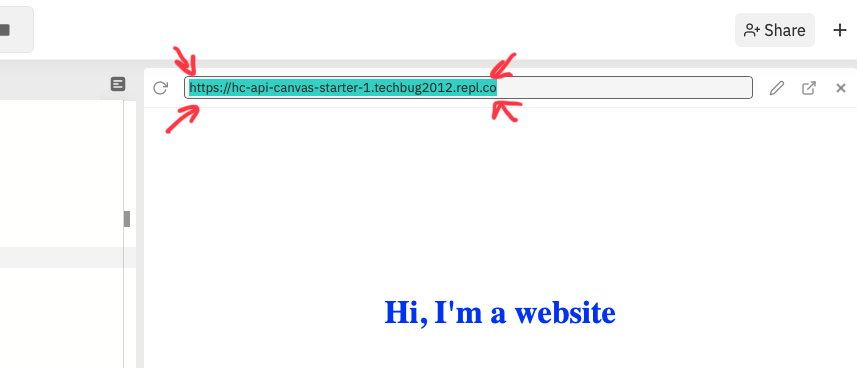
...open a new tab, paste the url in, and add /hello at the end of it. Then hit enter.

If you see a website that's entirely blank except for the words Hi there!, then congratulations! You've just successfully written your first API endpoint! 🎉🎉🎉
Making it rain (emojis)
Let's write an API endpoint that actually changes some content on your browser.
There's a problem, though. Remember how I said that the code in index.js runs on the server and everything else runs in the browser? Changing content that's loaded in your browser needs to be done client-side—but we won't know to make our changes client-side unless the we receive an HTTP request on the server-side, and right now there's no way for the server and the client to communicate.
We need to open a line of communication between the server and the client. Luckily, an awesome library called socket.io does just that.
This workshop won't be diving deep into how websockets work—that's for a whole other workshop!—but basically, websockets open a wormhole between the server and the client, making it easy to quickly send data between them.
Start by importing socket.io at the beginning of the file.
const express = require('express')
const app = express()
const http = require('http').Server(app)
const io = require('socket.io')(http)
Then, under the function that starts with app.get('hello'), add:
app.get('/emojis', (req, res) => {
  io.emit('emojis')
  res.status(200).send('Emojis are raining!')
})
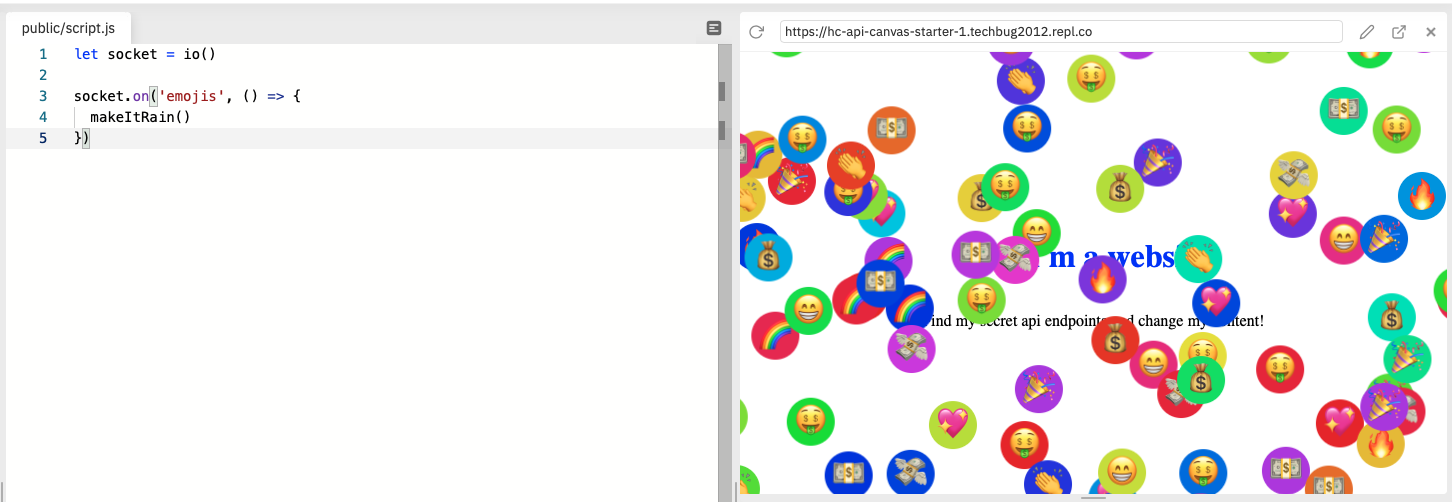
Next, open the public folder and navigate to the script.js file inside of it. Once you open the file, type:
let socket = io()
FYI: in order for socket.io to work, you also have to import the library on the client side, but we've skipped that step for this workshop. If you check out your index.html file, you should see socket.io imported near the beginning.
Then, under what you just wrote in script.js, add:
socket.on('emojis', () => {
  makeItRain()
})
makeItRain() is a function inside emojis.js that makes emojis fall on your screen.
Let's see it in action! Restart your server, refresh the page, copy your website preview link, then in a new tab, visit your website preview link with /emojis at the end.
After you do that, head back over to your repl. You should see it raining emojis now!
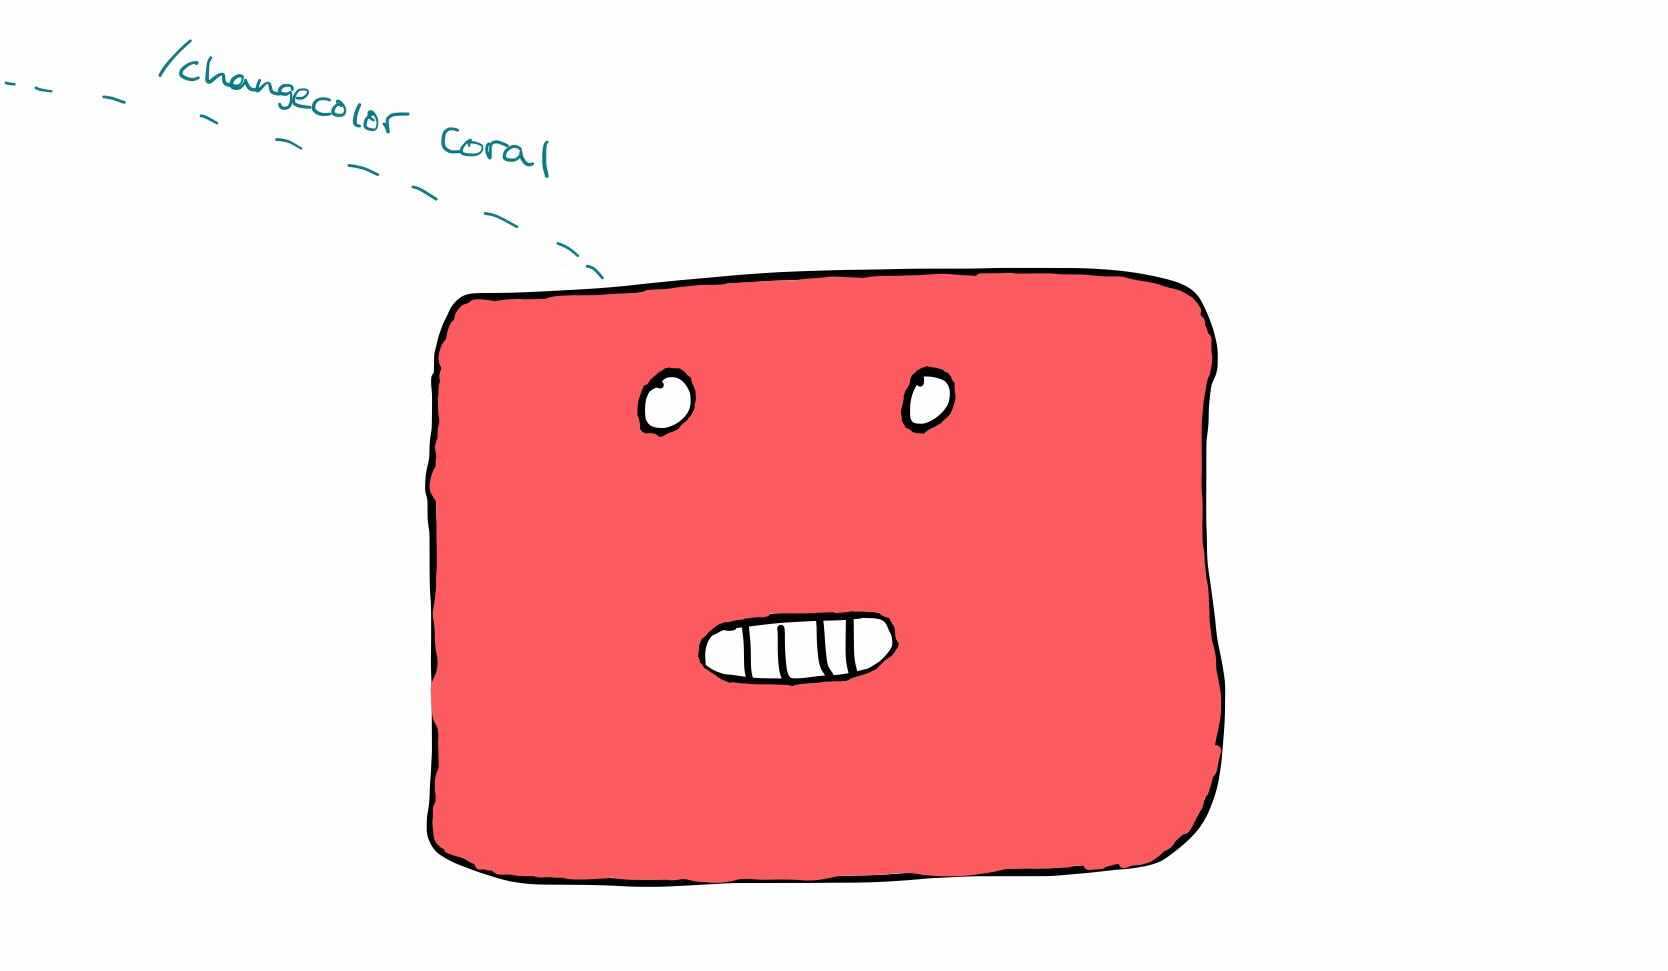
Changing the background color (& accepting POST requests)
Let's add one more API endpoint that changes the background color.
Head back over to the index.js file. After the last endpoint that you wrote, add:
app.post('background', (req, res) => {})
Before we proceed, we need to add another library: body-parser. Because we're going to send a POST request to this endpoint, we'll need to provide data, and we'll need a way to be able to extract and use that data.
At the top of the file, where you imported everything else, add:
const bodyParser = require('body-parser')
Then, just under the line that starts with app.use, add:
app.use(bodyParser.urlencoded({ extended: true }))
app.use(bodyParser.json())
Without this, the server would receive the POST request, but it wouldn't be able to see any of the data.
Inside the /background API endpoint, add:
app.post('/background', (req, res) => {
  io.emit('background', {
    color: req.body.color
  })
  res.status(200).send('Background color changed to ' + req.body.color)
})
Finally, let's write the client-side code that changes the background color. Navigate to script.js in the public folder. At the end of the file, add:
socket.on('background', (data) => {
  document.body.style.backgroundColor = data.color
})
Restart your repl by clicking the "Stop" button at the top and then clicking "Run".
We've been hitting our API endpoints from our browser so far because the browser easily sends GET requests. But in order to hit this endpoint, we'll need to use a service that makes HTTP requests for us.
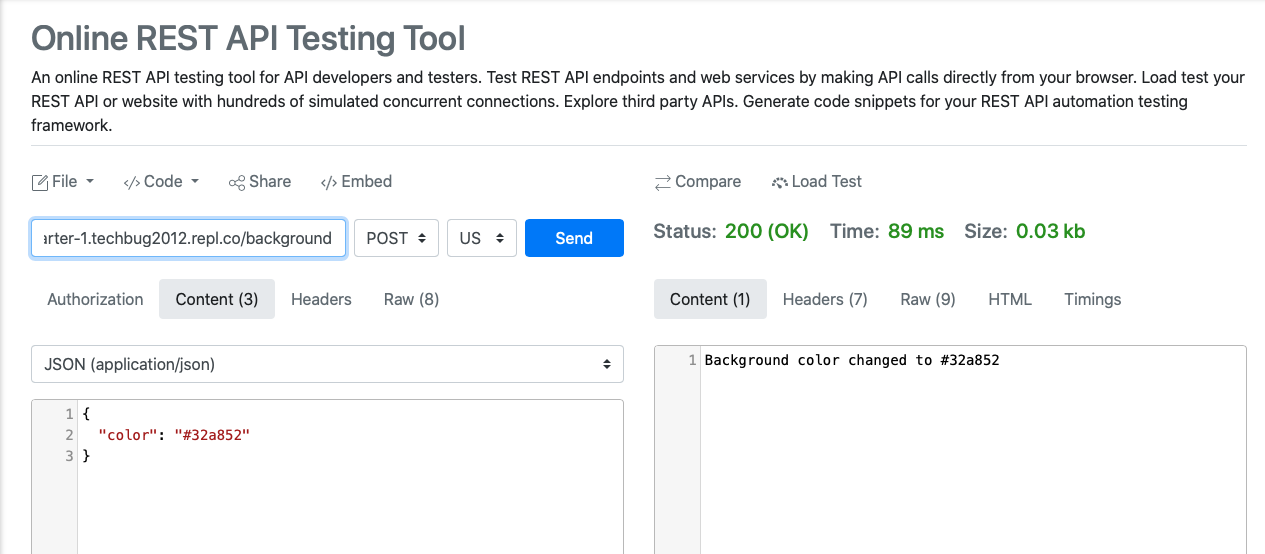
In a new tab, open reqbin.com. In the URL section, paste your website preview URL followed by /background. Change the request type to POST in the dropdown. Then, click on "Content", and in the text area, add:
{
  "color": "#f34569"
}
Click "Send". When you go back to your repl, you should notice that the background of your website is a pinkish color!
Try some other colors! Google "random html color" and swap the "color" value out.
Next Steps
This is a great start! But it's not nearly as exciting as the gif at the beginning of the website. It's up to you to figure that out, and make this entirely your own!
Here's the link to the demo. Here's a link to the code. Spend some time playing around with it—there's lots to discover! Then, spend the rest of the meeting writing your own unique API endpoints that do crazy things. By the end of the meeting, your website should look totally different than how it looks like right now, and it should also look different from the websites of the others in the meeting with you.
Ready? Go!