

Ever wondered how commands in terminal (like cd or ls ) are written?
Did you ever want to make an app that can run directly from the comfort of your terminal or command prompt?
Developers love CLI tools because they can work on any operating system and are extremely efficient. This trend is enhanced by the fact that most development platforms these days offer CLI tools first and then add GUI tools on top of that.
This workshop will serve as a great starter to make CLI (short for Command Line Interface) apps!
What will we be making? 🤔
Let's make an app that fetches jokes? Because ... who doesn't like jokes?

You wanna see how the final app looks? Here's the link to the live demo, and here's the link to the source code.
Part 1: The Prerequisites
You need to have a beginner level understanding of how things work in:
- JavaScript
- Node.js
That's it!
Part 2: The Setup
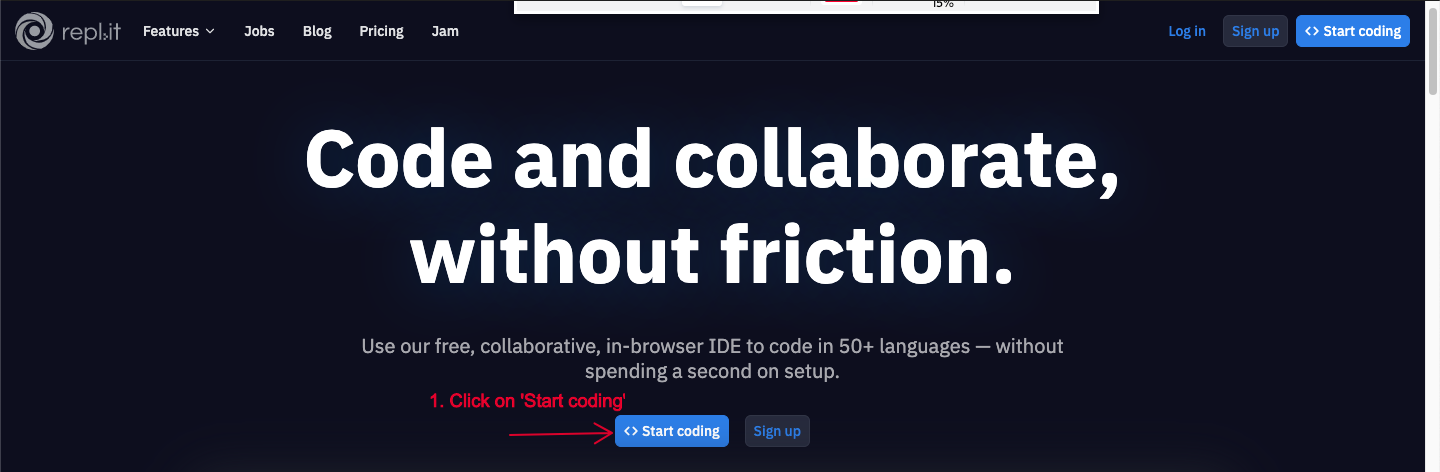
You can either do this workshop in your terminal (in MacOS/Linux), Command Prompt (in Windows), or online on Repl.it. Doing this workshop on terminal or command prompt is preferred, but Repl.it works great too! (For this workshop I'll be using repl.it) So let's begin 🚀
Head over to repl.it and follow the steps to spin up your environment:

Hooray!! Your repl instance is now up! You might see a similar screen:
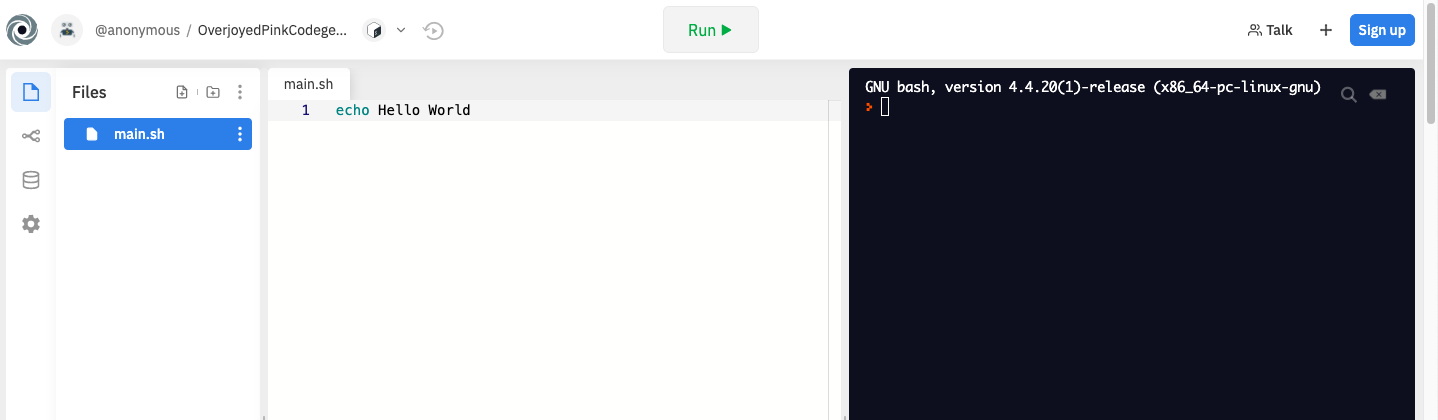
Part 3: Building the App
-
Add a new file from the left pane, with name:
<your super cool app name>.js(without the brackets though). -
In repl.it's terminal (the black sidebar) type
npm init -yto initialize the project (It'll generate a package.json file). -
In the first line of your JavaScript file, type:
#!/usr/bin/env nodeto tell repl.it (or your OS) that this file is to be run by node. This line is also called a shebang or a hashbang. -
Now to check if everything is working fine, in your js file, type:
console.log('Hack Club is awesome!') -
Execute the app by typing
node <your-app-name>.jsin your terminal.You should see the something like this:
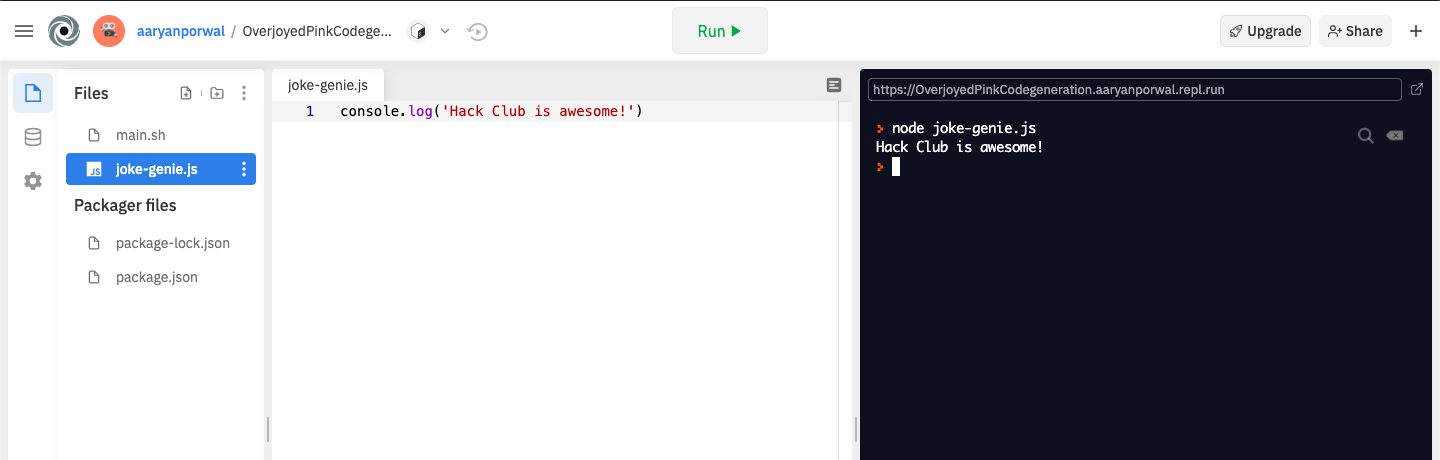 Where the string inside the console.log function is printed in the terminal
Note: In future whenever you want to execute the app we'll use the same syntax used in point number 5.
Part 4: Add Support for Command Line Arguments
Most CLI applications accept one or more command line arguments, such as optional/required parameters, commands, flags/switches, or other configuration values. Although you can parse command line parameters by inspecting the Node.js process.argv value, there are modules available that will save you a lot of time and effort.
The yargs module is one such module for Node.js designed to support the most common CLI scenarios.
-
First, install the yargs module as a dependency for your application, for that in your terminal type:
npm install yargs -
Next, update your JavaScript file with the following code:
#!/usr/bin/env node

const yargs = require("yargs");

const options = yargs
 .usage("Usage: -n <name>")
 .option("n", { alias: "name", describe: "Your name", type: "string", demandOption: true })
 .argv;

const greeting = `Hello, ${options.name}👋 \n`;

console.log(greeting);
Code Explanation:
We want our super awesome app to greet the user, for that our app will require a name attribute. That's what the code does, it imports yargs module, and with the help of yargs, we make a help page and ask for a name attribute, after taking the name attribute, our app greets the user.
Note: The yargs module automatically builds a great response for displaying help! Your CLI is not only ready to accept
-nand--namearguments but also--helpand--version. Try running your CLI application with any of the arguments!
So try running our code so far by executing node <your app name.js> -n <your name>.
Our App So Far
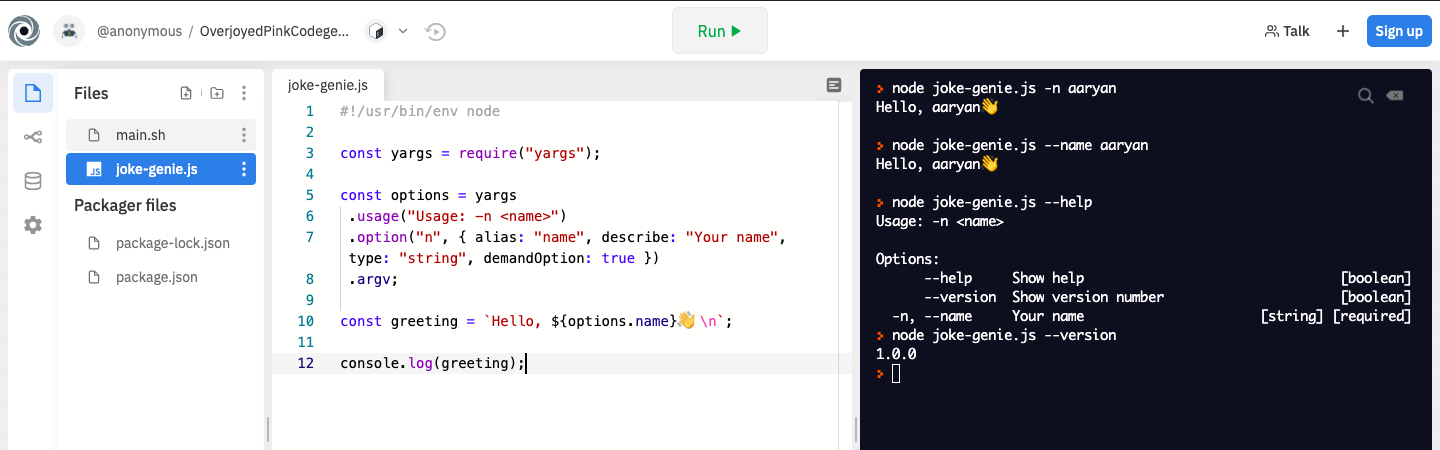
Your screen should look similar to the above screen!
But our app doesn't do a lot of stuff right now, so let's get to the next part!!
Part 5: Calling API from the Command Line
In this part of the tutorial, we are going to fetch a random joke from a jokes database and display it in the terminal, sounds fun, right?

One of the most popular libraries for retrieving and sending data to an API in Node.js is axios. Start by adding axios as a dependency:
npm install axios
Next, replace the contents of your JavaScript file with the following code.
#!/usr/bin/env node

const yargs = require("yargs");
const axios = require("axios");

const options = yargs
 .usage("Usage: -n <name>")
 .option("n", { alias: "name", describe: "Your name", type: "string", demandOption: true })
 .argv;

const greeting = `Hello, ${options.name}👋 \n`;
console.log(greeting);

console.log("Here's a random joke for you:");

const url = "https://icanhazdadjoke.com/";

axios.get(url, { headers: { Accept: "application/json" } })
 .then(res => {
   console.log(res.data.joke);
 });

Code Explanation:
In addition to responding with a greeting, the CLI application will now retrieve a random joke from the website's API using axios and display it immediately after the greeting. We'll take a look at how this works in a minute.
How does the app look now 🤔 ?
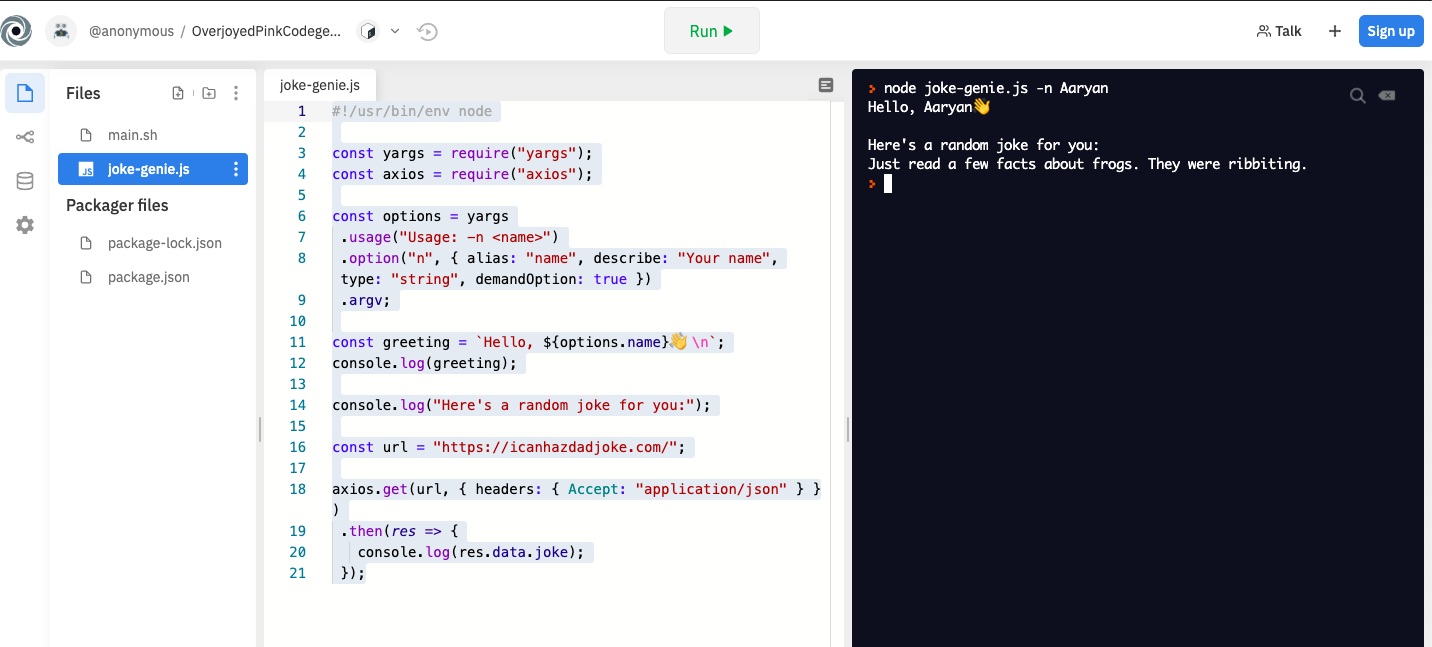
Pretty cool, right?

Adding Search Feature
For this lovely feature, we'll add another argument: --search or -s in short. For this we'll summon our Yargs module again 🏴☠️ !
Now let's update our JavaScript file again with the following code:
#!/usr/bin/env node

const yargs = require("yargs");
const axios = require("axios");

const options = yargs
 .usage("Usage: -n <name>")
 .option("n", { alias: "name", describe: "Your name", type: "string", demandOption: true })
 .option("s", { alias: "search", describe: "Search term", type: "string" })
 .argv;

const greeting = `Hello, ${options.name}👋 \n`;
console.log(greeting);

if (options.search) {
 console.log(`Searching for jokes about ${options.search}....`)
} else {
 console.log("Here's a random joke for you:");
}

// The url depends on whether user is searching or not!
const url = options.search ? `https://icanhazdadjoke.com/search?term=${options.search}` : "https://icanhazdadjoke.com/";

axios.get(url, { headers: { Accept: "application/json" } })
 .then(res => {
   if (options.search) {
        //if searching for jokes, loop over the results, where j is an iterator and \n is a newline character
     res.data.results.forEach( j => {
       console.log("\n" + j.joke);
     });
     if (res.data.results.length === 0) {
       console.log("no jokes found :'(");
     }
   } else {
     console.log(res.data.joke);
   }
 });
Now, where did the above code come from?
The website API allows us to do a lot of cool stuff, one of which is searching for a specific keyword from their database of jokes. To read more about how their API works and all the other cool stuff you can do, refer this documentation.
Alright you did it! But the journey has just begun -
"A journey of a thousand miles begins with a single step."
This was your first step, there's a whole journey ahead, enjoy it!
Where Can You Go From Here?
There are of course a lot of things that you can hack together in your app, but here are some points to ponder:
-
How to make our app look pretty ✨
-
Use the API documentation to add more features and to make it more powerful 💪 .
-
How to publish your npm package, for this - checkout one of our hack club hacker's awesome workshop here 🚀 .
How To Make Our App Look Pretty?
Let's take a look at two super cute libraries that you can add to your app:
-
Chalk: To format your text with colors, underlines, bold, italics and so much more
-
Boxen: Add all your text in a box!!
Now try to implement both of them in your app, first try on your own using the documentation, but if you fail to do so, or you want some inspiration:
API Documentation
Take a look at the docs here and try to add more features! Psst.. you can fetch the jokes as an image too!!!
Some Other Apps You Can Stem From Here
-
Want a taste of wisdom each day, straight from an owl 🦉 ?
Check out QOTD - QuoteOfTheDay app that works similar to the above workshop, and uses a REST API.
Source Code for QOTD is here
-
Wanna know today's weather 🌧 before heading out, right in your terminal?
Check out Weather-CLI - A simple weather CLI app, which uses OpenWeather. Open weather's API is very powerful and also requires an api key to use. Nowadays a lot of APIs require API keys, this example can help you understand how to use them.
Source Code for Weather CLI is here
What You've Learnt
You've made a fully functional Node.js cli application, you've learnt how to easily parse command-line arguments using yargs and to make cool help messages, and you learnt how to useaxios to work with APIs, and you upped your Node.js skills!
Next, you can learn how to publish your first npm package!
Additional Resources
Here are some resources to help you in your CLI-ninja 🥷 journey:
- Need ideas to make your own CLI app? Check out this awesome list for a plethora of ideas with source code too! (literally awesome!)
- nexe - To create a single executable out of a node.js app
- node.js cli best practices - Nodejs cli app best practices
Apps Built By Our Hack Club Hackers
- Khushraj Rathod built the whole app not only in Node.js but also in Deno using Typescript!
- Tanishq Soni built a random e-mail generator!
- Faisal Sayed wonderfully used
chalkto beautify the app!
Sharing With The Community
Now that you have finished building this wonderful project, you should share your own creation with other people! Remember, it's just as easy as giving them your URL!
Or better yet you can publish this app on npm!
Now, You probably know the best ways to get in touch with your friends and family, but if you want to share your project with the worldwide Hack Club community there is no better place to do that than on our Slack.
- In a new tab, open and follow these directions to sign-up for our Slack.
- Then, post the link to the
#scrapbookchannel to share it with everyone! Also ping me with what you've built!
And if you liked the workshop, or didn't, or need help with something - I'm @aaryanporwal on Slack, you can always contact me or thousands of other hackers!
All the best with your journey ahead! ^_^