
In this workshop, you'll learn how to make a very simple image editor using CSS Filters, jQuery, and Bootstrap. Follow along with me and see how easy it is!
Here's a live demo and the source code if you want to check it out before we start.
Set Up
This workshop requires a basic knowledge of the following languages: HTML, CSS & JS. Don’t worry if you get stuck at some point in the workshop, everything is explained the best way for you to understand!
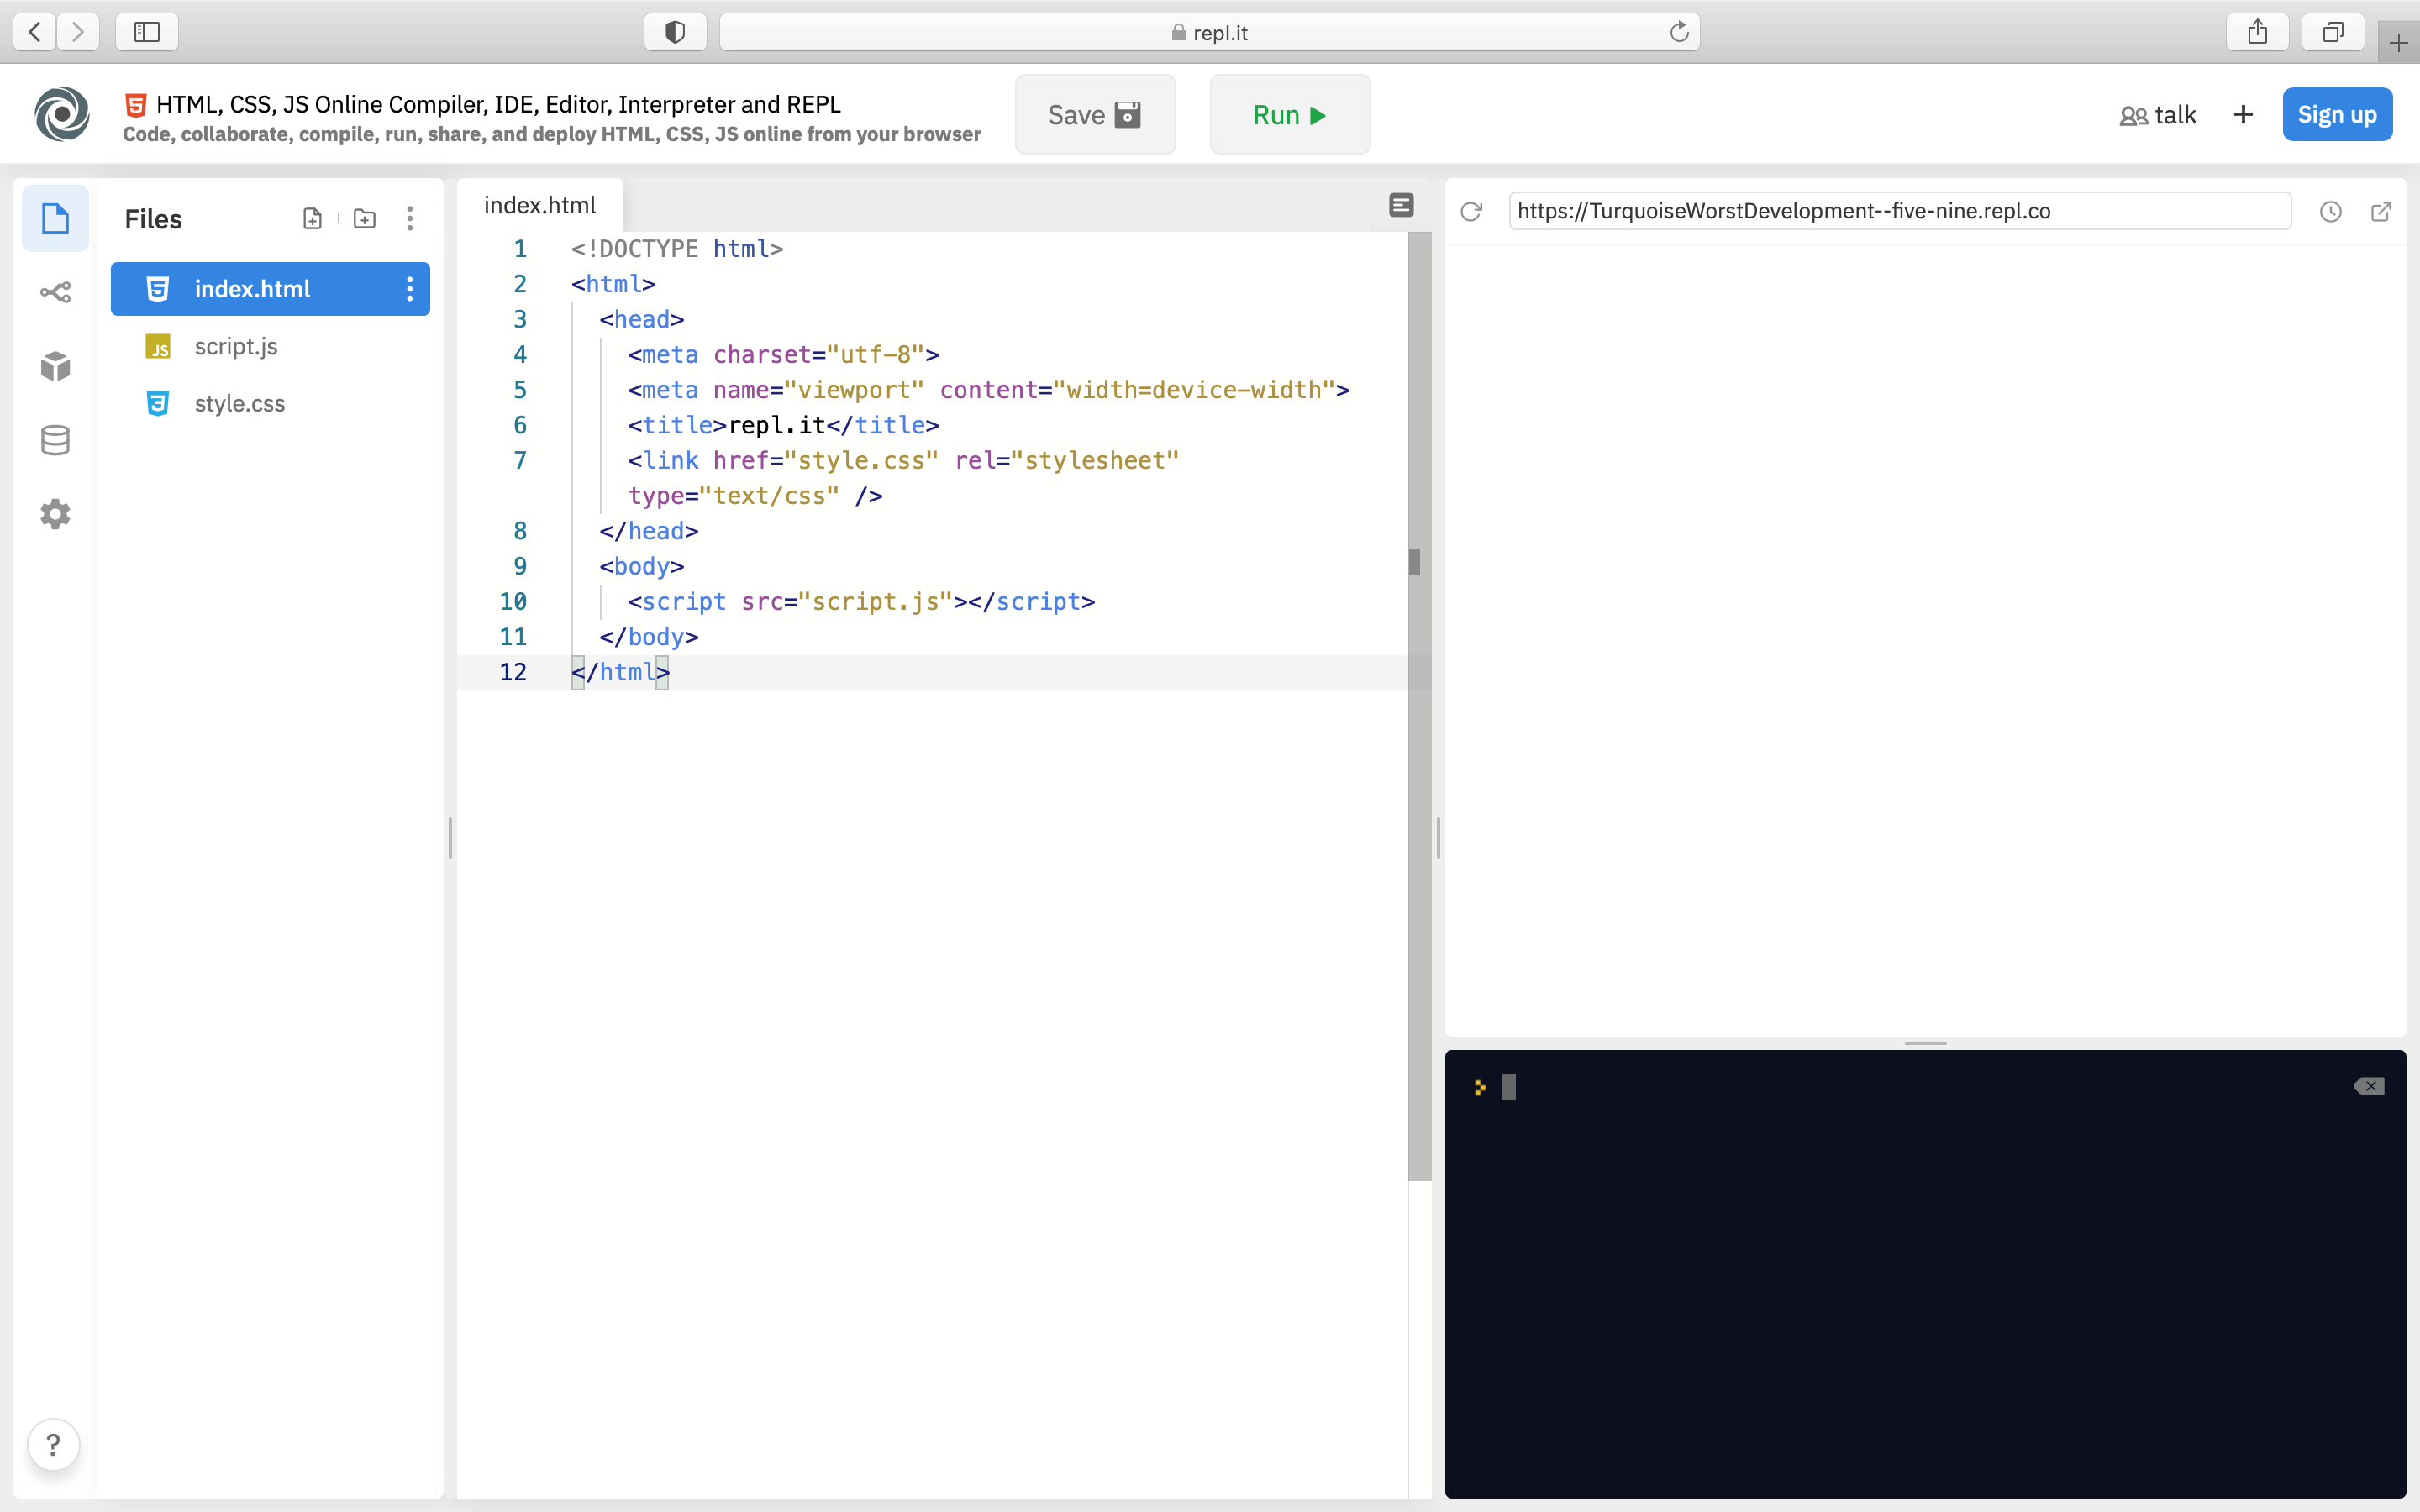
For this workshop we will use Repl.it, a free, online code editor. Click here to get started with a new HTML project on repl.it.
HTML
To begin, we're going to make all the elements that will be in our image editor. The layout will look like this:
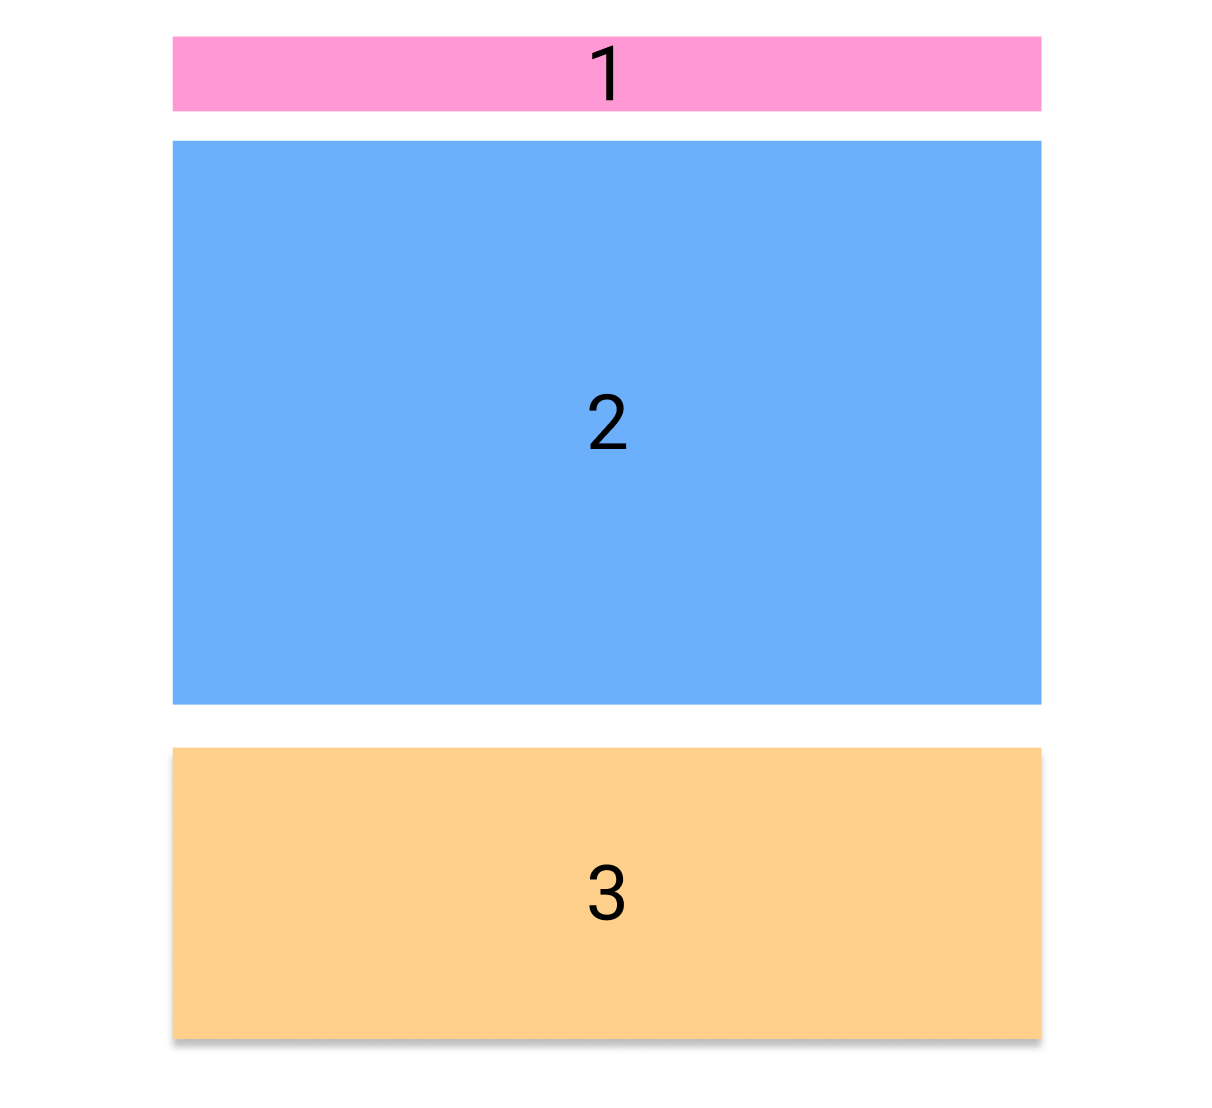 1. In section 1 we will put an image input and a button that updates the image displayed in section 2.
2. In section 2 the chosen image will be displayed.
3. In section 3 we will put some inputs that will let the user edit the image displayed in section 2.
1. In section 1 we will put an image input and a button that updates the image displayed in section 2.
2. In section 2 the chosen image will be displayed.
3. In section 3 we will put some inputs that will let the user edit the image displayed in section 2.
Coding the layout
We're going to use Bootstrap, a library that makes CSS styling easy, to easily make this layout.
Add the following code inside of your <head> tag. This links the HTML file to the Bootstrap CSS file, and it'll give our app a little bit of cool styling without us having to do it ourselves.
<link rel="stylesheet" href="https://stackpath.bootstrapcdn.com/bootswatch/4.5.2/cerulean/bootstrap.min.css" integrity="sha384-3fdgwJw17Bi87e1QQ4fsLn4rUFqWw//KU0g8TvV6quvahISRewev6/EocKNuJmEw" crossorigin="anonymous">
Bootstrap’s grid system uses a series of containers, rows, and columns to layout and align content. Our website will be full of them:
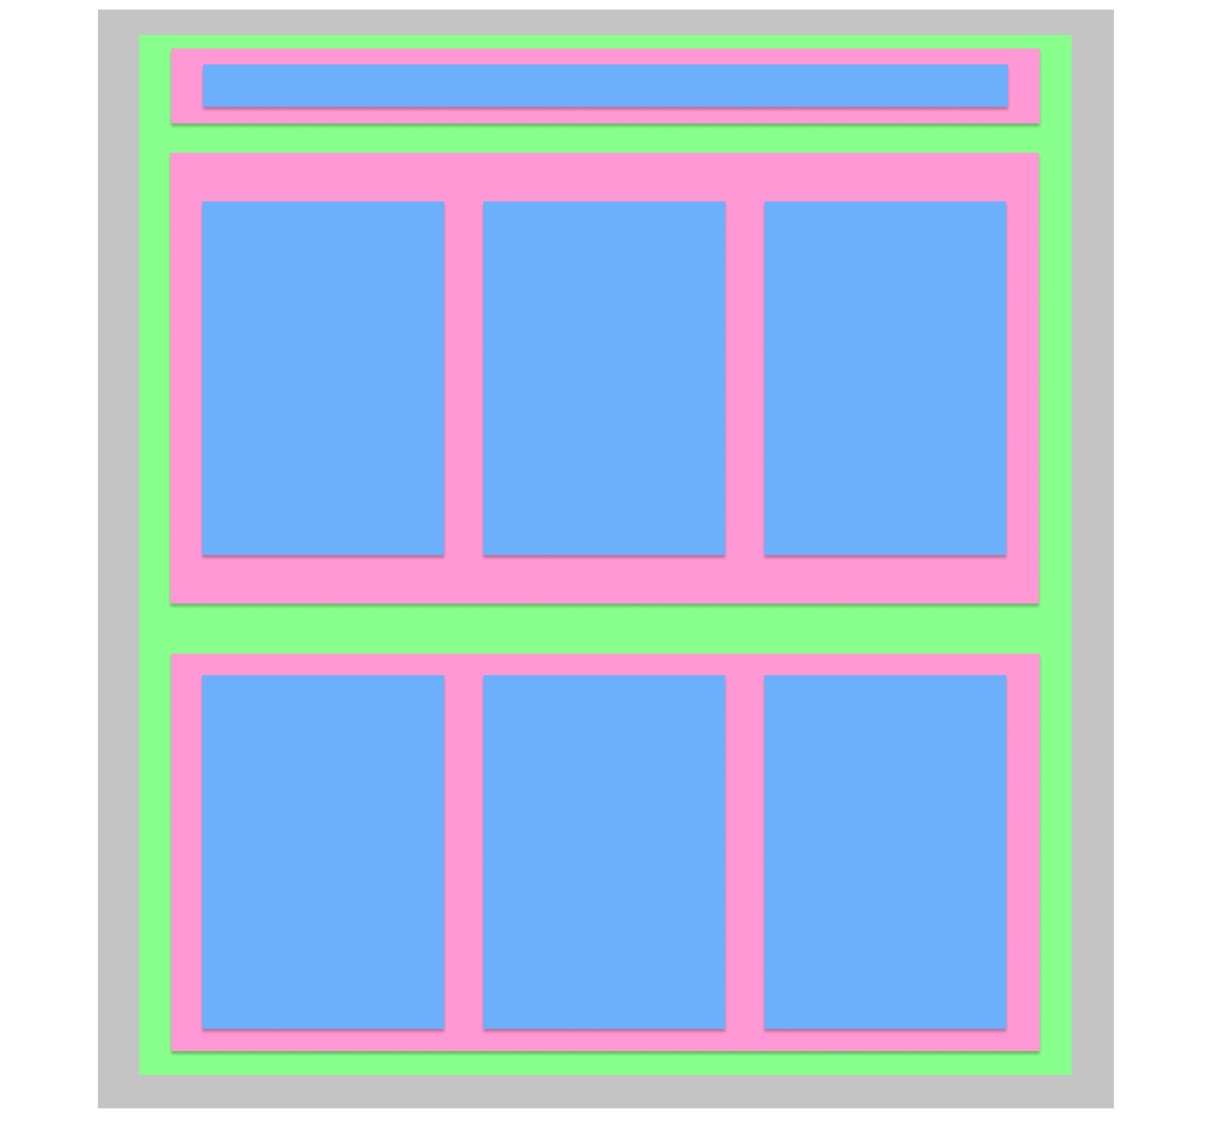
- Color grey represents the
<body>tag - Color green represents the main container.
- Color pink represents a row.
- Color blue represents a column, the two last rows are divided by 3 columns.
Add the following code inside your <body> tag:
<div class="container-fluid">

    <!--Section #1-->
  <div class="row">
    <div class="col-md-12">
    </div>
  </div>

  <!--Section #2-->
  <div class="row">
    <div class="col-md-4">
    </div>
    <div class="col-md-4">
    </div>
    <div class="col-md-4">
    </div>
  </div>

    <!--Section #3-->
  <div class="row">
    <div class="col-md-4">
    </div>
    <div class="col-md-4">
    </div>
    <div class="col-md-4">
    </div>
  </div>

</div>
<script src="script.js"></script>
Each <div> tag simply creates a container where the rows/columns will be in. What we actually need to understand are the classes that we are using:
- The main container has the class container-fluid, which is like any other div but that can expand/shrink depending on how big your browser is displaying the website. This is what's known as responsive web design.
- Column classes indicate the number of columns you’d like to use out of the possible 12 per row. We need three equal-width columns across, so we can use
col-md-4. We also need a single column for the first row, which is why we are usingcol-md-12.
Section 1
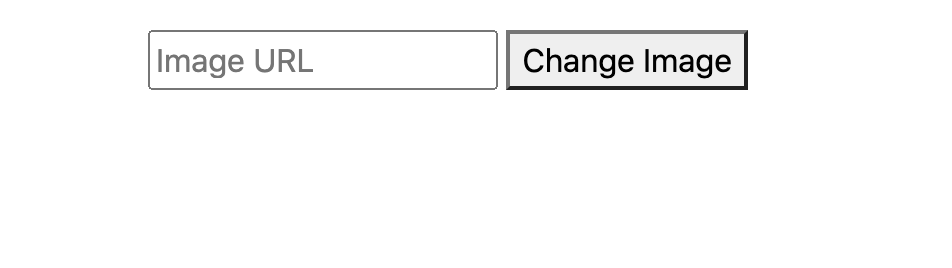
In this section we are going to put an input where people will be able to choose what image they want to edit. To do this we are going to need a form, a text input and a button with these values:
<!--Section #1-->
<div class="row">
  <div class="col-md-12 text-center mb-3 mt-3">
    <form id="imgurl">
      <input type="text" placeholder="Image URL" id="onlineurl">
      <button type="submit">Change Image</button>
    </form>
  </div>
</div>
Let's break this down:
- The class
text-centerkeeps the input and the button elements in the center of the column. - The class
mb-3gives the column 3px of margin to its bottom. - The class
mt-3gives the column 3px of margin to its top.
Here's how our HTML document looks so far:
<div class="container-fluid">

  <!--Section #1-->
  <div class="row">
    <div class="col-md-12 text-center mb-3 mt-3">
      <form id="imgurl">
        <input type="text" placeholder="Image URL" id="onlineurl">
        <button type="submit">Change Image</button>
      </form>
    </div>
  </div>

  <!--Section #2-->
  <div class="row">
    <div class="col-md-4">
    </div>
    <div class="col-md-4">
    </div>
    <div class="col-md-4">
    </div>
  </div>

    <!--Section #3-->
  <div class="row">
    <div class="col-md-4">
    </div>
    <div class="col-md-4">
    </div>
    <div class="col-md-4">
    </div>
  </div>

</div>
<script src="script.js"></script>
Section 2
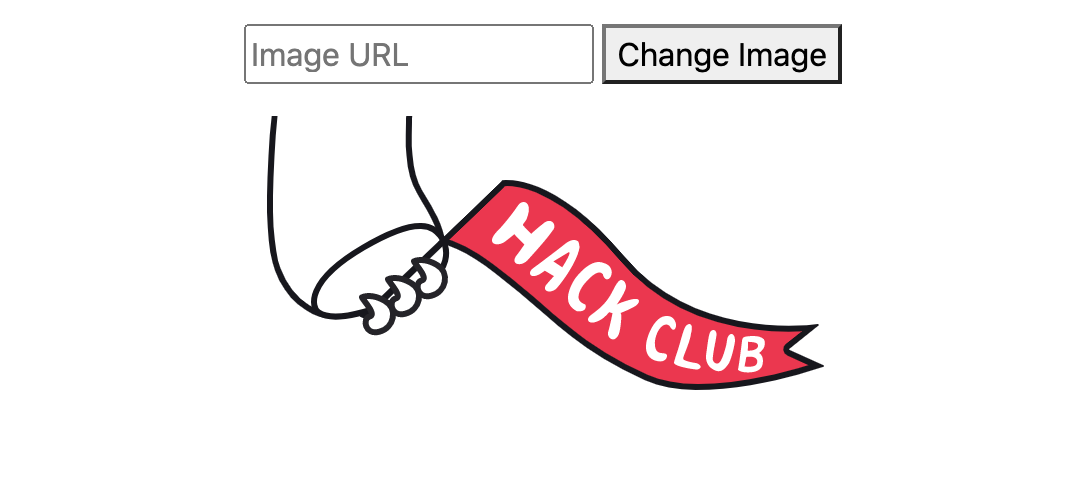
In section 2 we'll just have to add an image tag inside of the second column of the second row:
<!--Section #2-->
<div class="row">
  <div class="col-md-4">
  </div>
  <div class="col-md-4 text-center">
    <img src="https://assets.hackclub.com/flag-orpheus-top.svg" id="targetimage" alt="">
  </div>
  <div class="col-md-4">
  </div>
</div>
- The class
text-centeras seen before, keeps all the elements in the center. - The
srcattribute inside of the<img>tag let us put an image as default, feel free to change it if you want to!
Here's how our HTML document looks so far:
```html
<!--Section #3-->
Section 3
In this section we will put some inputs that will let the user edit the image displayed in section 2.
Let's start by adding a heading and a form:
<div class="col-md-4 p-2" id="section_three">
  <h3 class="text-center">Image Filters</h3>
  <form id="slider-form" class="text-center">
  </form>
</div>
Notes:
- The
p-2gives the column a 2px padding. - The column has an id because we want to style the section 3 later using css.
Now, inside of that form we're going to start adding range inputs that will let us play with the image filters:
<p>
  <label for="hue-rotate">Hue-Rotate</label>
  <input id="hue-rotate" name="hue-rotate" type="range" min="0" max="" value="0" class="slider">
</p>
All of these attributes are very important and deleting them might cause problems later.
And then we'll add 3 more inputs but with different values:
<p>
  <label for="gs">Grayscale</label>.
  <input id="gs" name="gs" type="range" min="" max="100" value="0" class="slider">
</p>

<p>
  <label for="blur">Blur</label>
  <input id="blur" name="blur" type="range" min="0" max="" value="0" class="slider">
</p>

<p>
  <label for="sepia">Sepia</label>
  <input id="sepia" name="sepia" type="range" min="0" max="" value="0" class="slider">
</p>
Finally we need a button that we can use to reset the filters, this button goes inside of the form too:
<button type="reset" class="btn btn-primary" >Reset</button>
The classes btn & btn-primary are used to style the button.
Here's how our HTML document looks so far:
```html
Image Filters
Grayscale.
Blur
      <p>
        <label for="hue-rotate">Hue-Rotate</label>
        <input id="hue-rotate" name="hue-rotate" type="range" min="0" max="" value="0" class="slider">
      </p>

      <p>
        <label for="sepia">Sepia</label>
        <input id="sepia" name="sepia" type="range" min="0" max="" value="0" class="slider">
      </p>

      <button type="reset" class="btn btn-primary" >Reset</button>
    </form>
</div>
<div class="col-md-4">
</div>
CSS
The Boostrap stylesheet we added at the beginning of this workshop gives us most of the styling we need. But let's do a little bit of our own customizing.
Open the style.css file on the sidebar on the left. Then, add:
img {
  width: 400px;
}

#section_three {
  border: 2px solid black;
}
Let's break this down:
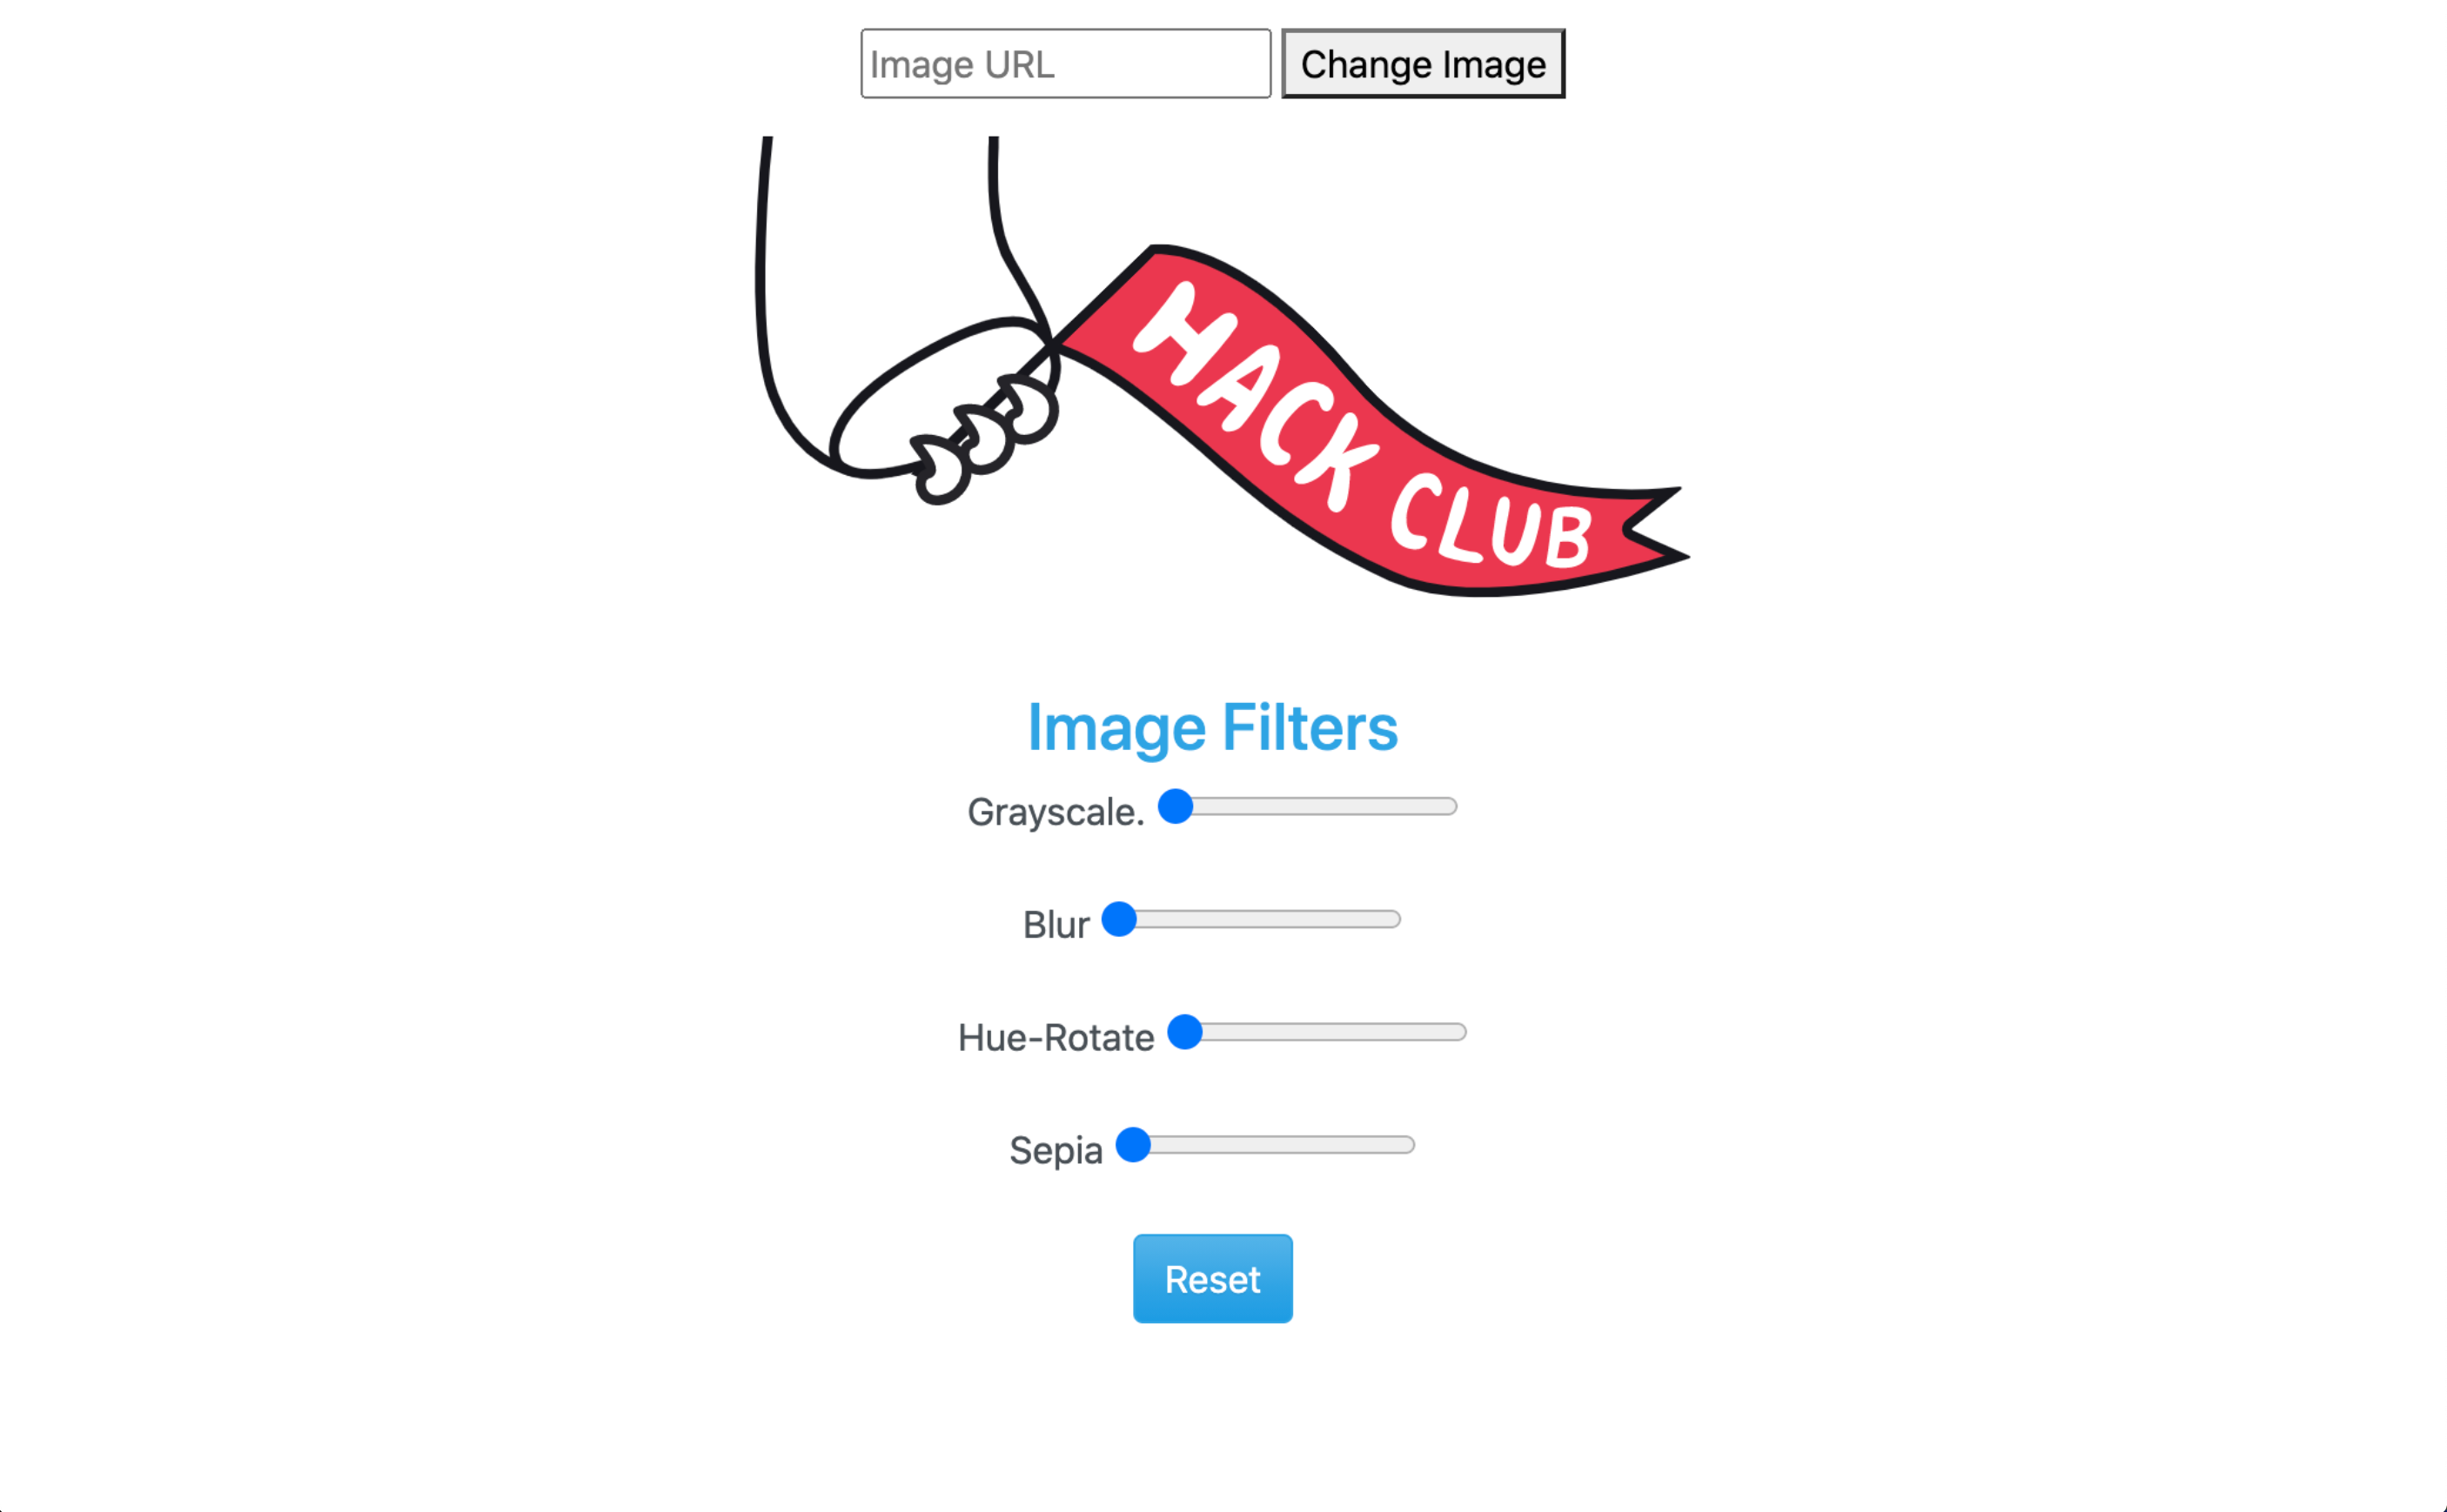
- First, we set
400pxas the default width for every image we edit because some images can be too big and otherwise might not fit on the website. - Then, we add a border to the section 3 to make it look a little bit better.
Here's the result:

Repl.it should have automatically linked the style.css file for you, but if you don't see your changes reflect when you click the green "Run" button at the top, make sure you have this line in the <head> in your index.html file:
<link rel="stylesheet" href="style.css">
JavaScript
This is my favorite part of the workshop, because this part makes the website actually work.
Navigate to the script.js file in your sidebar. Then, create these 3 variables:
let myForm = document.getElementById('imgurl');
let targetImage = document.getElementById('targetimage');
let inputRange = document.querySelectorAll('.slider');
- The first and second variable will hold html elements, we get those elements using the method
document.getElementById(''). So those variables will hold the form in section 1 and the image in section 2 respectively. - In the third variable, you'll find
document.querySelectorAllreturns a NodeList, a special type of list of elements, that will contain the amount of elements with the class ofsliderin the document. So the 3rd variable contains the value of all the range inputs in the section 3.
Next, we want to trigger some JavaScript code to run when the form is submitted. Under the three variables, add the following code:
myForm.addEventListener('submit', function(e) {
  let urlImage = document.getElementById('onlineurl');
  let urlImageval = urlImage.value;
  if(urlImageval.length){
    targetImage.setAttribute('src',urlImageval);
      urlImage.value = '';
  }

  e.preventDefault();
  console.log('Image displayed');
});
Let's break this down:
We are using the method addEventListener() to the first variable that we created, when the button in the form is submitted we call a function that:
1. Creates a variable that holds the text input that we placed in section 1.
2. Creates another variable that will hold the data we get from the text input, we do this using the value property.
3. Creates an if statement that checks if the variable urlImageval is empty or not using the length property, this property returns true if the length of the string is greater than 0 or false if the length of the string is 0. When the property returns true, it takes the img element in section 2 and sets its src to the value of urlImage, then it resets the value of urlImage.
4. Then we use the preventDefault(); method to prevent the default way the browser handles submit when it happens, which includes refreshing the page.
5. Finally, we use the function console.log(''); to send a message to the console.
Now let's test it:
Works perfectly!
Now we'll need to add an event listener to each range input in section 3, in order to be able to edit the image:
for (let i = 0; i < inputRange.length; i++) {
  inputRange[i].addEventListener('input', editImage);
}
Let's break this down:
In this code we are creating a for statement, in which we create a variable called i that starts at 0, on each iteration, we check if the condition is false or true, or in other words, whether i is smaller than the amount of elements in inputRange.
-
If the condition is true, for each input it adds an event listener to it, and when the event happens, the
editImagefunction gets called. -
If the condition is false, we stop the loop.
In order to get to the next iteration, we add one to
iusingi++.
Now we'll create a function that takes the values from the range inputs, and then update the style of the image applying the css filter function using those values:
function editImage() {
  let gs = document.getElementById('gs');
  let blur = document.getElementById('blur');
  let huerotate = document.getElementById('hue-rotate');
  let sepia = document.getElementById('sepia');

  let gsval = gs.value;
  let blurval = blur.value;
  let huerotateval = huerotate.value;
  let sepiaval = sepia.value;

  targetImage.style.filter = 'grayscale('+gsval+'%) blur('+blurval+'px) hue-rotate('+huerotateval+'deg) sepia('+sepiaval+'%)';
}
Breaking down:
1. The first 4 variables hold the range inputs from the HTML document using the method: document.getElementById('')
2. The next 4 variables take those range inputs and get their actual values, using the value property
3. Then we take the targetImage element and we style it using the style & filter properties, and we specify what filters we want to apply.
Let's test it:
Finally we'll need to give the reset button its functionality:
let sliderForm = document.getElementById('slider-form');
sliderForm.addEventListener('reset', function() {
  sliderForm.reset();
  setTimeout(function() {
    editImage();
  }, 0)
})
Let's break it down:
- We are creating a variable that holds the form in section 3.
- Then we are adding it an event listener, that when the button is clicked a function is called. What this function does is to reset the values for all the inputs inside of the form using the
reset()method, and then using thesetTimeout()method we call the functioneditImagein the given time (0 seconds).
Let's try it:

Hack it
Congratulations! You just made an amazing image editor.

Hack this workshop and share it in the Hack Club Slack, I would love to see what you can create using what you've learned in this workshop!
Other examples
- Check out this example that contains more CSS Filters.
- Also, check out this example that contains more CSS Filters and also has Font Awesome icons.
Resources
Check these resources to go even further: