Memory Game, also known as Matching Game, is a simple card game where you need to match pairs by turning over two cards at a time. In this workshop, we are going to build a simple memory game using JavaScript. Take a peek at the final project and the code.
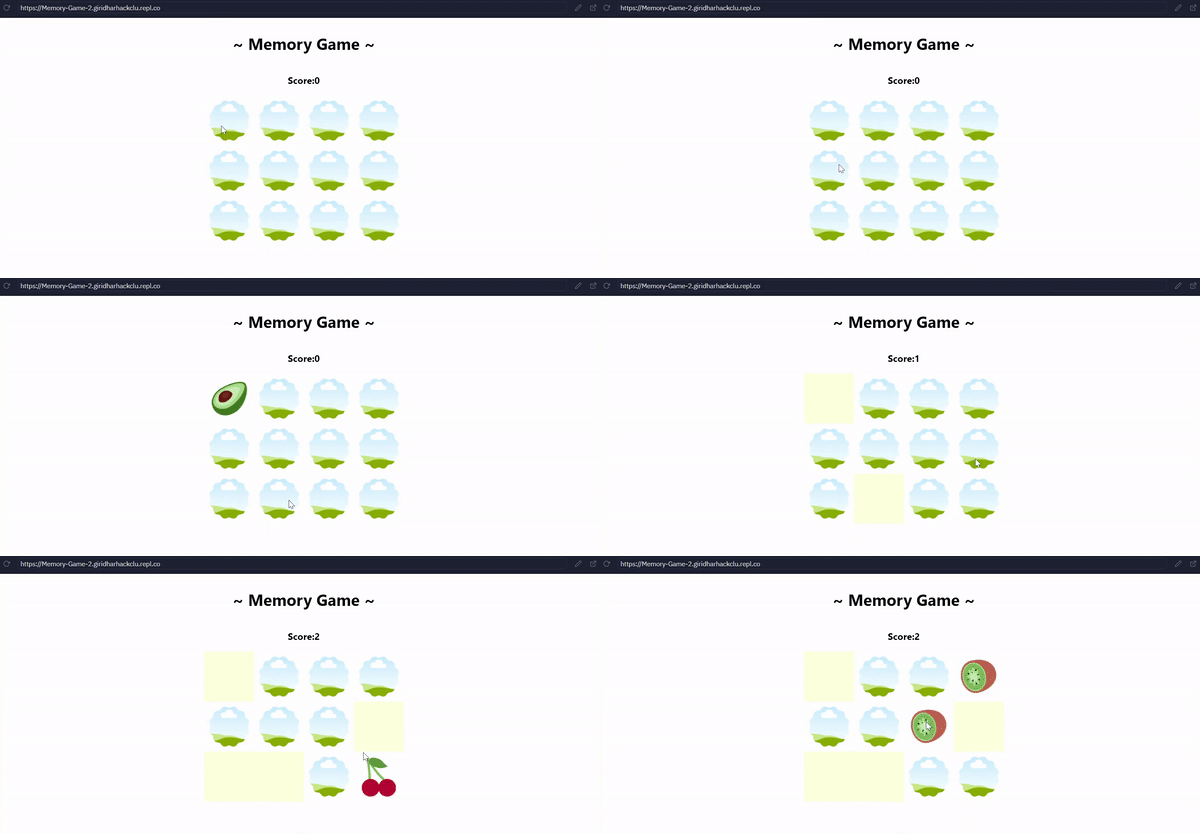
Live demo and source code.
How to play...
Rules
- You will start by flipping over one card
- If the next card you flip matches, you get +1 to your score
- These cards then disappear
- If the next card you flip does not match, the cards flip back
- The game continues until you match all the cards on the board
Prerequisites
 You should have basic knowledge of HTML5, CSS3, and JavaScript. We will use some in-built functions of JavaScript. Also, the styling will be as simple as possible.
Setup
Repl.it is an online code editor. There is no need to install anything, which makes coding simpler.
Fork the starter repl here. Your development environment will be ready in a few seconds!
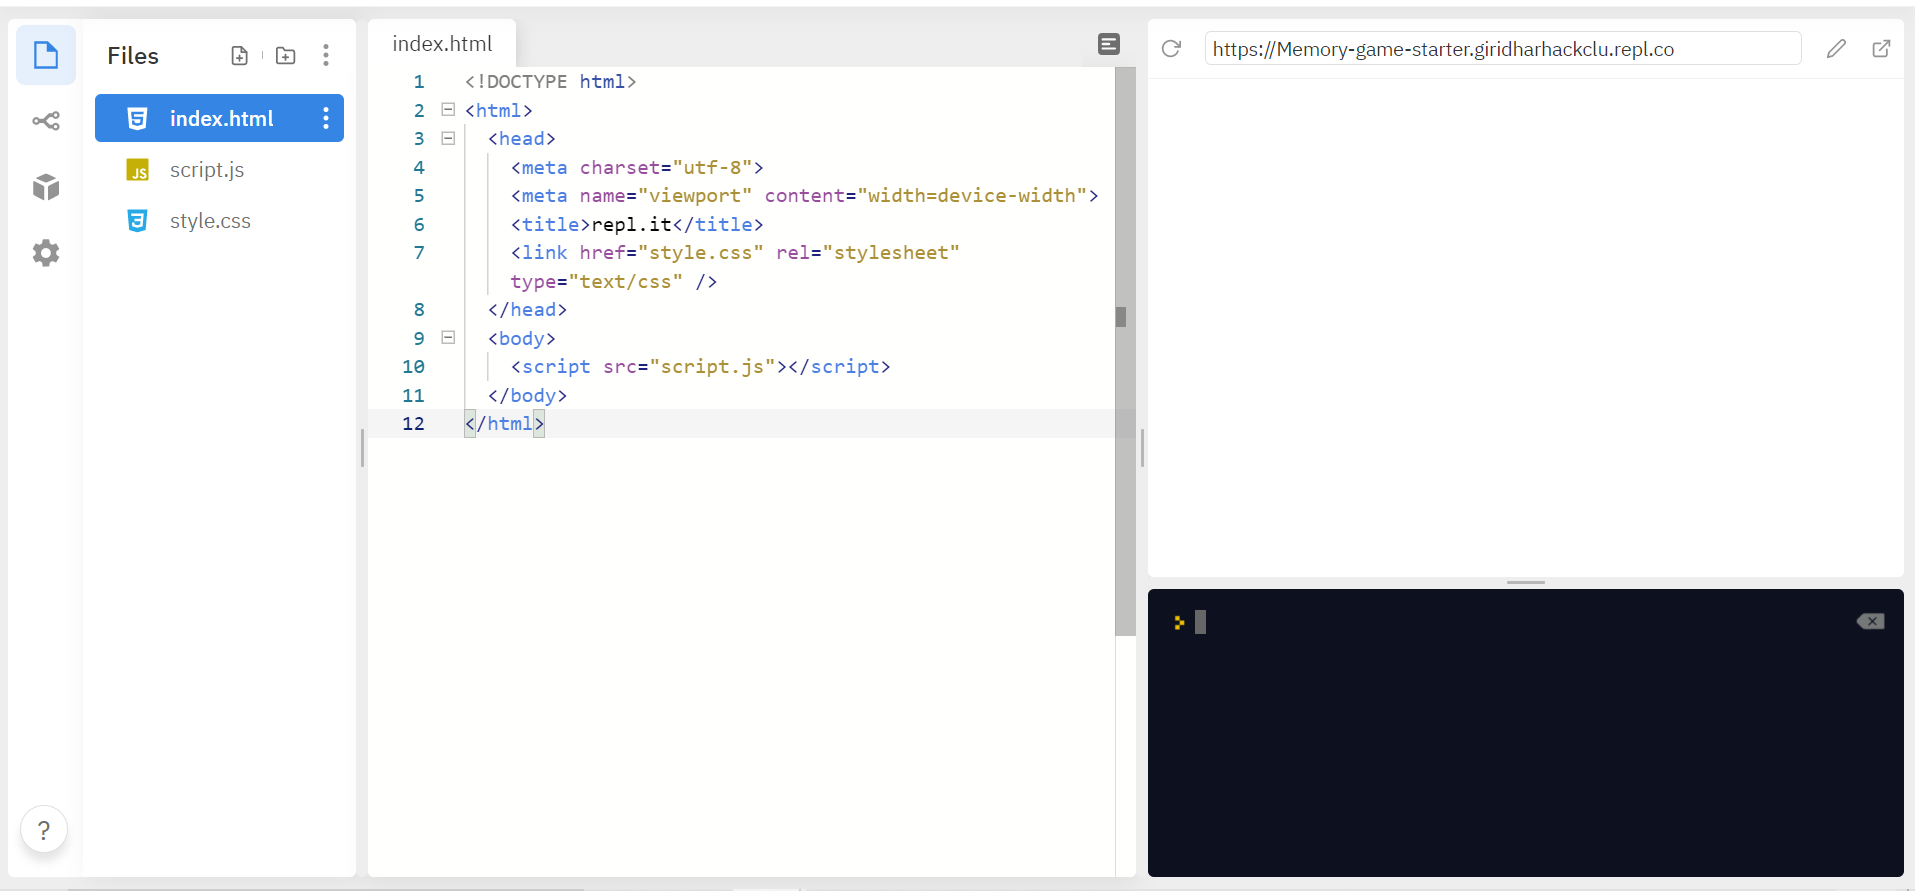
It contains an empty index.html file linked with style.css and script.js files.
We will create a simple 3 x 4 memory card game in this workshop, using images as cards. Public links for the images will be provided along with the code. If you prefer local images, you can download them here. You can also add your images. Please make sure that they are 100 x 100 px to avoid further styling.
After setting up, let's get going.
The HTML
Let's create the markup of our game.
Change the title and create a heading in the body. Now create a paragraph with a span of id score.
<h1>~ Memory Game ~</h1>
<p>Score:<span id="score"></span></p>
Create a div element with a class of board. We will create the game board using JavaScript inside this div.
<div class="board"></div>
Your final index.html will look something like this.
<!DOCTYPE html>
<html>
  <head>
    <meta charset="utf-8" />
    <meta name="viewport" content="width=device-width" />
    <title>Memory Game</title>
    <link href="style.css" rel="stylesheet" type="text/css" />
  </head>
  <body>
    <h1>~ Memory Game ~</h1>
    <p>Score:<span id="score"></span></p>
    <div class="board"></div>
    <script src="script.js"></script>
  </body>
</html>
Click the Run button to check your output, whether all the tags are working.
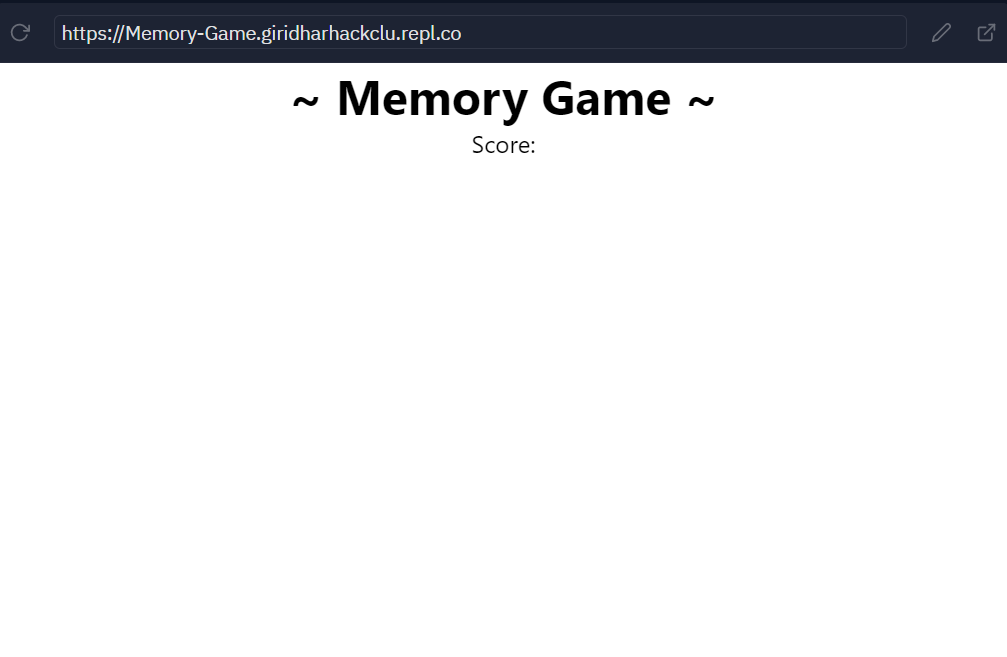
All the styles are prewritten in the starter template. You will see this kind of output. 👆
We completed the markup of our project. Now flip over to script.js, and let's start creating the game.
The JavaScript
Create a DOM event-listener for the event DOMContentLoaded. All our JavaScript code will be inside the event listener, which will be executed after the content of the web page is loaded.
document.addEventListener('DOMContentLoaded', () => {
  // code goes here!
})
Inside the event-listener, create an array for the cards which we use for the game. Add two of each card for matching the cards. The public links for the images are provided in the code below. If you downloaded the images or using your images, then add the relative path to the images. Also, name them as you wish.
document.addEventListener('DOMContentLoaded', () => {
  const cardArray = [
    {
      name: '1',
      img: 'https://cloud-5ystxzer7.vercel.app/11.png'
    },
    {
      name: '2',
      img: 'https://cloud-5ystxzer7.vercel.app/22.png'
    },
    {
      name: '3',
      img: 'https://cloud-5ystxzer7.vercel.app/33.png'
    },
    {
      name: '4',
      img: 'https://cloud-5ystxzer7.vercel.app/44.png'
    },
    {
      name: '5',
      img: 'https://cloud-5ystxzer7.vercel.app/55.png'
    },
    {
      name: '6',
      img: 'https://cloud-5ystxzer7.vercel.app/06.png'
    },
    {
      name: '1',
      img: 'https://cloud-5ystxzer7.vercel.app/11.png'
    },
    {
      name: '2',
      img: 'https://cloud-5ystxzer7.vercel.app/22.png'
    },
    {
      name: '3',
      img: 'https://cloud-5ystxzer7.vercel.app/33.png'
    },
    {
      name: '4',
      img: 'https://cloud-5ystxzer7.vercel.app/44.png'
    },
    {
      name: '5',
      img: 'https://cloud-5ystxzer7.vercel.app/55.png'
    },
    {
      name: '6',
      img: 'https://cloud-5ystxzer7.vercel.app/06.png'
    }
  ]

  // All the code goes here
})
Now we are good to create our game board.
Game Board
Remember, we are going code everything after the cardArray.
Now we have to create four constants as:
board: thedivelement with class ofboardusing querySelector.result: thespanwith an id ofscoreto add the live score.placeholder: for placeholder image. The placeholder image represents the backside of our cards.blank: for the blank image. In place of the blank card, a blank image is displayed.
const board = document.querySelector('.board')
const result = document.querySelector('#score')
const placeholder = 'https://cloud-5ystxzer7.vercel.app/7placeholder.png'
const blank = 'https://cloud-5ystxzer7.vercel.app/6blank.png'
Now create a function createBoard() and loop over through elements in cardArray using for loop and add cards to our game board.
function createBoard() {
  for (let i = 0; i < cardArray.length; i++) {
    // code goes here
  }
}
Create a img element using document.createElement for the every card.
var card = document.createElement('img')
Using setAttribute(), add src and data-id attributes to the image. Let's first set the src attribute to the placeholder image (i.e., let's assume the placeholder image as a reversed card). The link to the placeholder image is given in the code. Otherwise, add the relative path to the image.
card.setAttribute('src', placeholder)
card.setAttribute('data-id', i)
Explanation: Here,
- createElement() creates the HTML element specified by tagName
- setAttribute() sets the value of an attribute on the specified element
- data attribute allow us to store extra information on standard in the HTML tag.
According to the game, we have to flip the card that is clicked. Add a click event-listener for the card. Every time a card gets clicked, the flipCard function will be executed, which we will define later on the flow. For now, comment on the event-listener as flipCard that hasn't yet been defined.
card.addEventListener('click', flipCard)
Then add the card into the board using appendChild().
board.appendChild(card)
The method appendChild() adds a node to the end of the list of children of a specified parent node.
The function we created finally, will be:
const board = document.querySelector('.board')
const placeholder = 'https://cloud-5ystxzer7.vercel.app/7placeholder.png'

// create game board
function createBoard() {
  for (let i = 0; i < cardArray.length; i++) {
    var card = document.createElement('img')
    card.setAttribute('src', placeholder)
    card.setAttribute('data-id', i)
    card.addEventListener('click', flipCard)
    board.appendChild(card)
  }
}
createBoard()
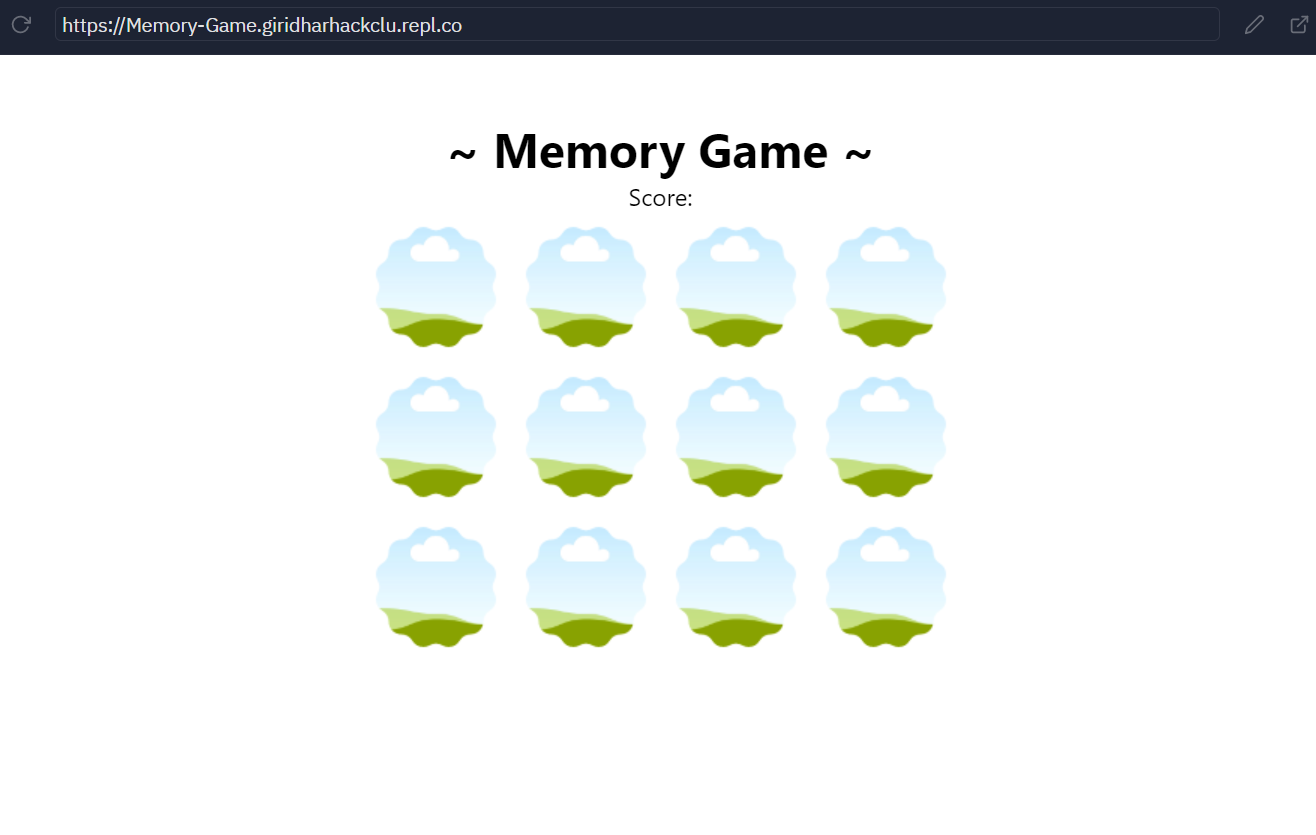
Press the run button and see your game board.
It looks like this with all the cards turned down (i.e., placeholder images).
Flip Card
When a card is clicked, let's flip the card.
Create two empty variable arrays cardsClicked and cardsClickedId. Also, create a variable cardsMatched array to push the matched cards
var cardsClicked = []
var cardsClickedId = []
var cardsMatched = []
Create a function flipCard(). Then inside this function, create a variable cardId, which is the data-id attribute of the clicked card, using getAttribute().
function flipCard() {
  var cardId = this.getAttribute('data-id')
  // code goes here
}
Now add name of this card into cardsClicked array based on cardId using push() method. Also push the id of this card (i.e., cardId) into cardsClickedId array.
cardsClicked.push(cardArray[cardId].name)
cardsClickedId.push(cardId)
Then add the front side of the card, the image in cardArray corresponding to cardId, using setAttribute.
this.setAttribute('src', cardArray[cardId].img)
After selecting two cards, we have to check for a match. For that, if two cards are clicked, i.e., the length of cardsClicked array is equal to 2, invoke checkForMatch() inside setTimeout() so that everything doesn't happen too fast.
if (cardsClicked.length === 2) {
  setTimeout(checkForMatch, 500)
}
Explanation: Here,
- getAttribute() returns the value of a specified attribute on the element.
- push() method adds one or more elements to the end of an array and returns the new length of the array.
- setTimeout() sets a timer that executes a function or specified piece of code once the timer expires.
Final flipCard function will be:
function flipCard() {
  var cardId = this.getAttribute('data-id')
  cardsClicked.push(cardArray[cardId].name)
  cardsClickedId.push(cardId)
  this.setAttribute('src', cardArray[cardId].img)
  if (cardsClicked.length === 2) {
    setTimeout(checkForMatch, 500)
  }
}
Here's what the code looks like so far:
 document.addEventListener('DOMContentLoaded', () => {
 const cardArray = [....]// the cardArray we created before

 const board = document.querySelector('.board')
 const result = document.querySelector('#score')
 const placeholder = "https://cloud-5ystxzer7.vercel.app/7placeholder.png"
 const blank = "https://cloud-5ystxzer7.vercel.app/6blank.png"
 var cardsClicked = []
 var cardsClickedId = []
 var cardsMatched = []

 //creating game board
 function createBoard() {
   for (let i = 0; i < cardArray.length; i++) {
     var card = document.createElement('img')
     card.setAttribute('src', placeholder)
     card.setAttribute('data-id', i)
     card.addEventListener('click', flipCard)
     board.appendChild(card)
   }
 }

 //flip the card
 function flipCard() {
   var cardId = this.getAttribute('data-id')
   cardsClicked.push(cardArray[cardId].name)
   cardsClickedId.push(cardId)
   this.setAttribute('src', cardArray[cardId].img)
   if (cardsClicked.length === 2) {
     setTimeout(checkForMatch, 500)
   }
 }
 createBoard()
})
Don't forget to uncomment the event-listener of the card.
Comment the if statement in the flipCard function and check whether the images are changing or not. The output works like this.
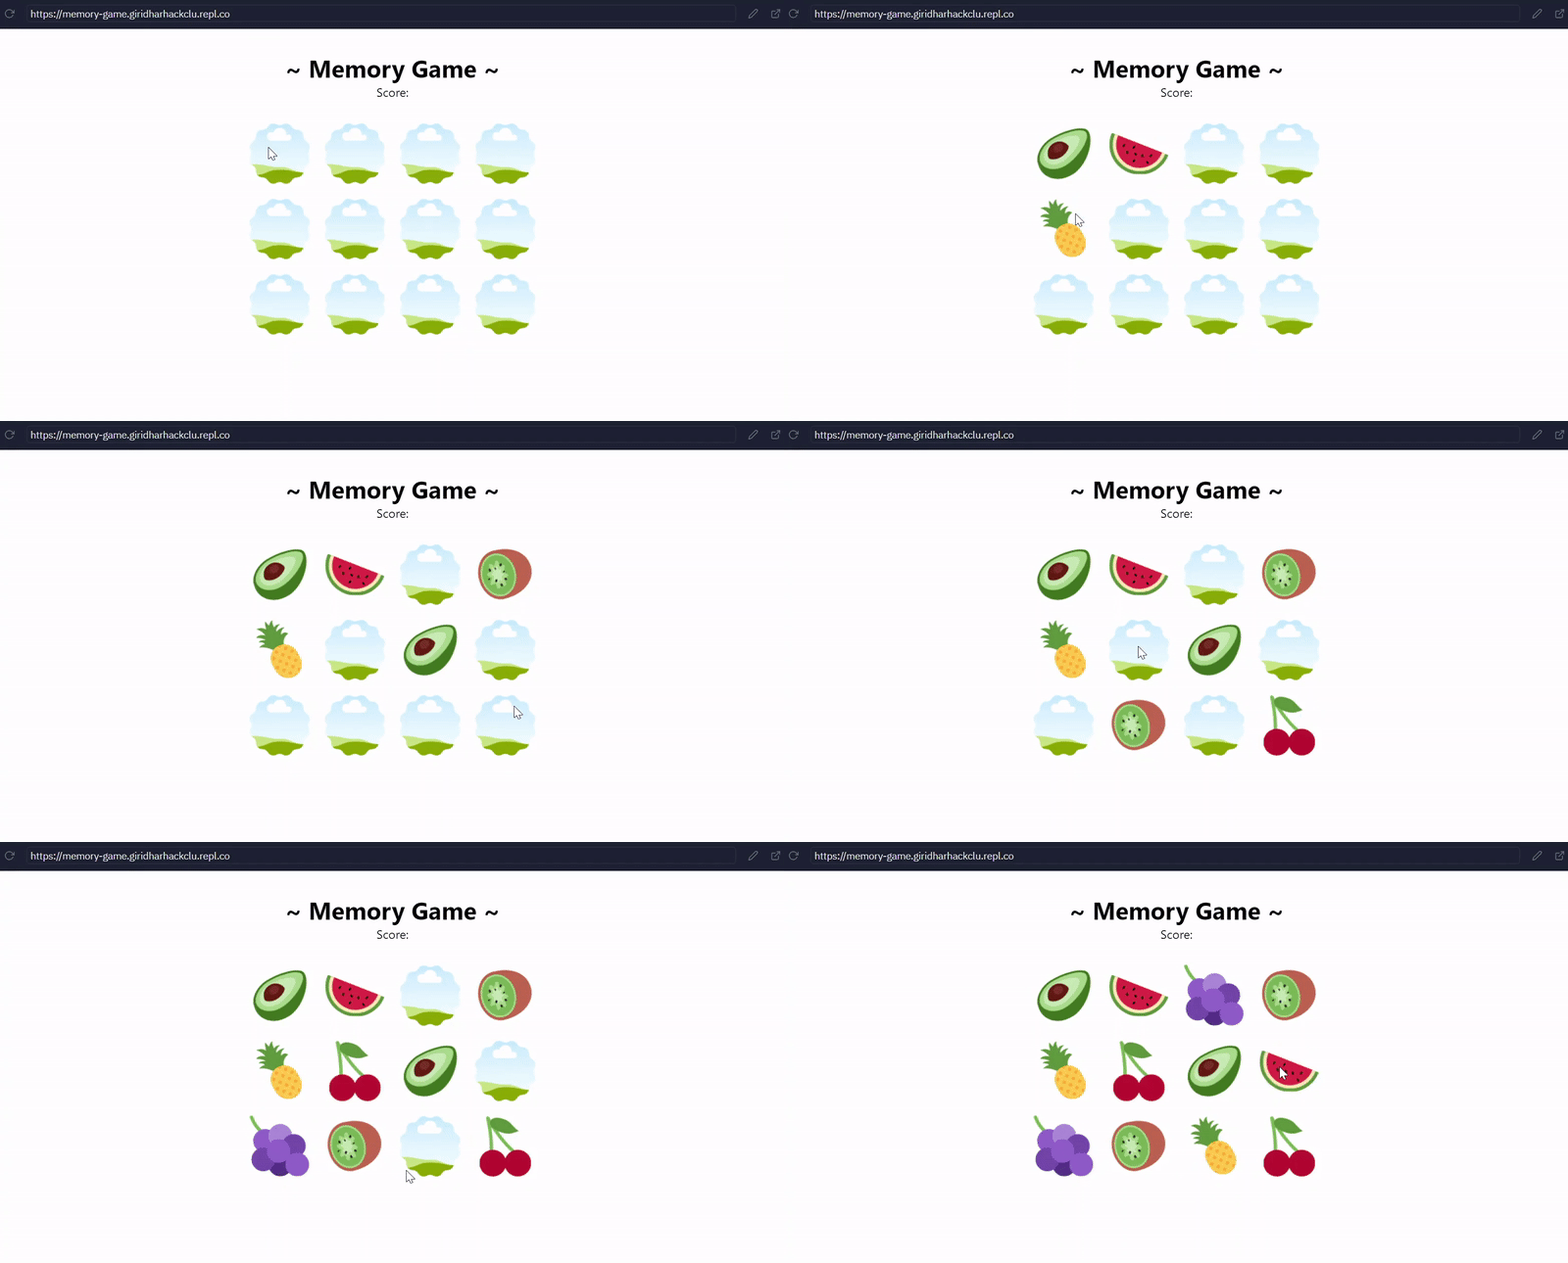
We created a flippable game board.

Now that we have flipping cards let's handle the matching logic.
Match Card
When we click the first card, it needs to wait until another card is flipped. Now, when the user clicks the second card, we will check to see if it's a match.
In order to do that, let’s create a function checkForMatch(). Inside the function, select all the images we created using querySelectorAll() and define a cards array. Also get the two elements in cardsClickedId array into two variables firstCard and secondCard respectively.
function checkForMatch() {
  var cards = document.querySelectorAll('img')
  const firstCard = cardsClickedId[0]
  const secondCard = cardsClickedId[1]
  // upcoming code
}
If you click the same card again, a pop-up alert notifies you, and the cards flip back.
if (firstCard === secondCard) {
  cards[firstCard].setAttribute('src', placeholder)
  cards[secondCard].setAttribute('src', placeholder)
  alert('You have clicked the same image!')
}
Else, if the two cards match, you get +1 to your score. These cards then disappear(i.e., a blank card is displayed). We add the matched cards to the cardsMatched array we created before using the push() method. The length of the cardsMatched array is your score.
else if (cardsClicked[0] === cardsClicked[1]) {
  cards[firstCard].setAttribute('src', blank)
  cards[secondCard].setAttribute('src', blank)
  cardsMatched.push(cardsClicked)
}
Once we have a match, the blank cards are still "clickable", which's a flaw as far as user experience goes.
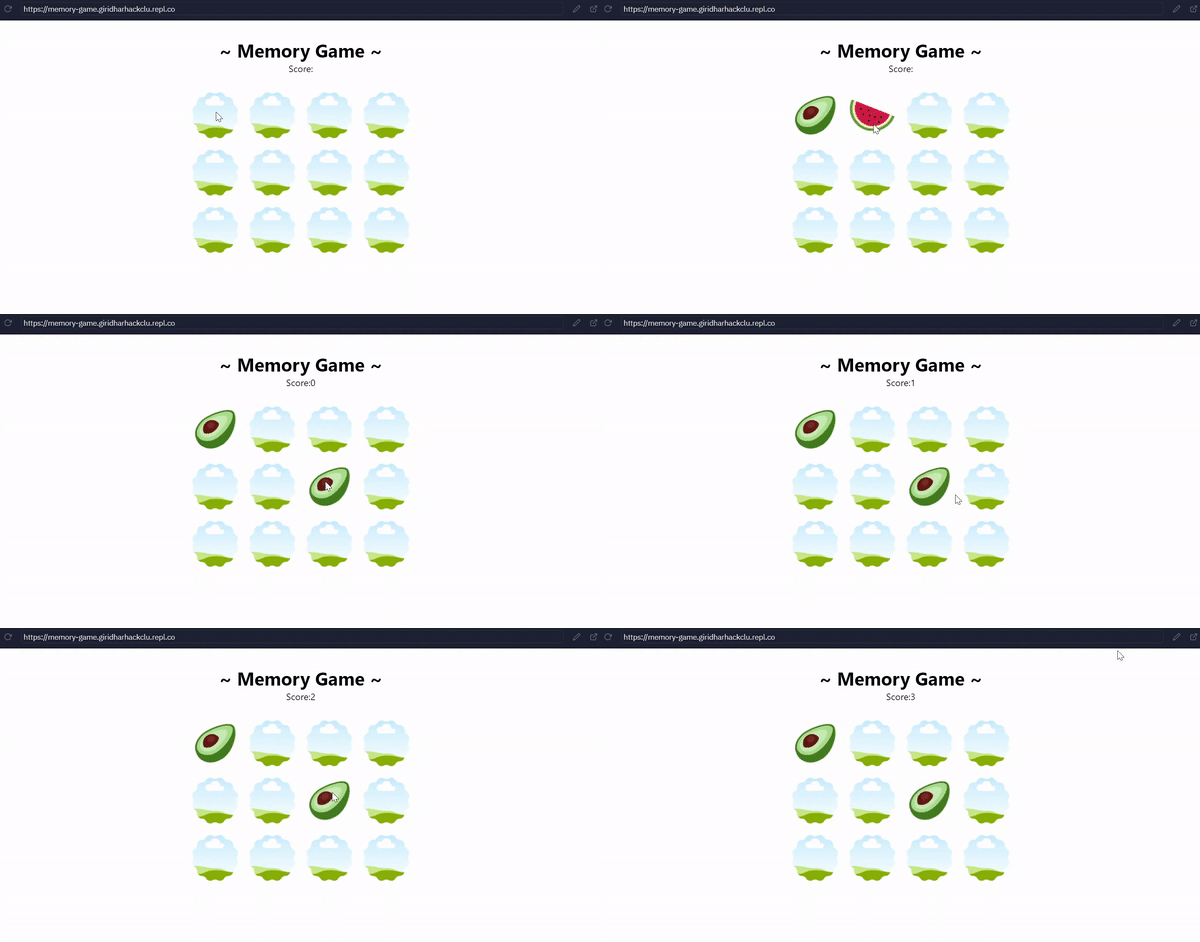
So we have to remove the "click" event listener of the matched pairs. The removeEventListener() method removes from the EventTarget an event listener previously registered.
else if (cardsClicked[0] === cardsClicked[1]) {
  // previous code
  cards[firstCard].removeEventListener('click', flipCard)
  cards[secondcard].removeEventListener('click', flipCard)
}
If the next card you flip does not match, the cards flip back. The game continues until you match all the cards on the board.
else {
  cards[firstCard].setAttribute('src', placeholder)
  cards[secondCard].setAttribute('src', placeholder)
}
We have to add the live score into result using textContent. After the logic is executed, we have to clear both the cardsClicked and cardsClickedId arrays no matter what.
cardsClicked = []
cardsClickedId = []
result.textContent = cardsMatched.length
Our code so far:
document.addEventListener('DOMContentLoaded', () => {
  const cardArray = [....]

  const board = document.querySelector('.board')
  const result = document.querySelector('#score')
  const placeholder = "https://cloud-5ystxzer7.vercel.app/7placeholder.png"
  const blank = "https://cloud-5ystxzer7.vercel.app/6blank.png"
  var cardsClicked = []
  var cardsClickedId = []
  var cardsMatched = []

  //creating game board
  function createBoard() {....}

  //flip the card
  function flipCard() {....}

  //check for match
  function checkForMatch() {
    var cards = document.querySelectorAll('img')
    const firstCard = cardsClickedId[0]
    const secondCard = cardsClickedId[1]

    if(firstCard === secondCard) {
      cards[firstCard].setAttribute('src', placeholder)
      cards[secondCard].setAttribute('src', placeholder)
      alert('You have clicked the same image!')
    }
    else if (cardsClicked[0] === cardsClicked[1]) {
      cards[firstCard].setAttribute('src', blank)
      cards[secondCard].setAttribute('src', blank)
      cards[firstCard].removeEventListener('click', flipCard)
      cards[secondCard].removeEventListener('click', flipCard)
      cardsMatched.push(cardsClicked)
    }
    else {
      cards[firstCard].setAttribute('src', placeholder)
      cards[secondCard].setAttribute('src', placeholder)
    }
    cardsClicked = []
    cardsClickedId = []
    result.textContent = cardsMatched.length
    if  (cardsMatched.length === cardArray.length/2) {
      result.textContent = 'Congratulations! You found them all!'
    }

}

createBoard()
})
You might notice that the cards are not random. So we have to shuffle the cardArray every time before creating the board, using the sort() method. The sort() method sorts the elements of an array in place and returns the sorted array.
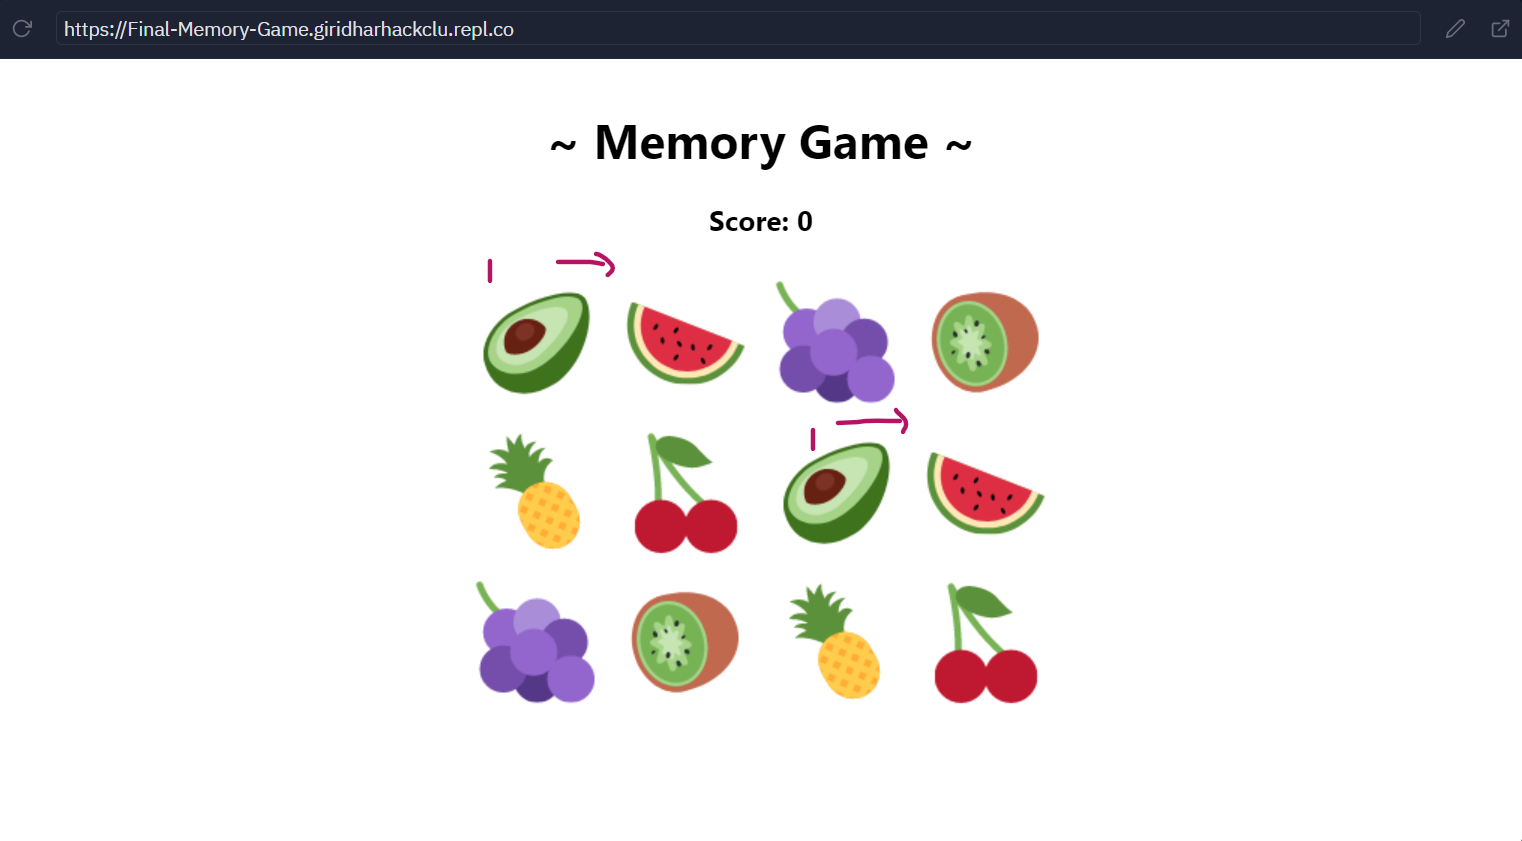
Add the following piece of code just after the cardArray, before the constants we created.
cardArray.sort(() => 0.5 - Math.random())
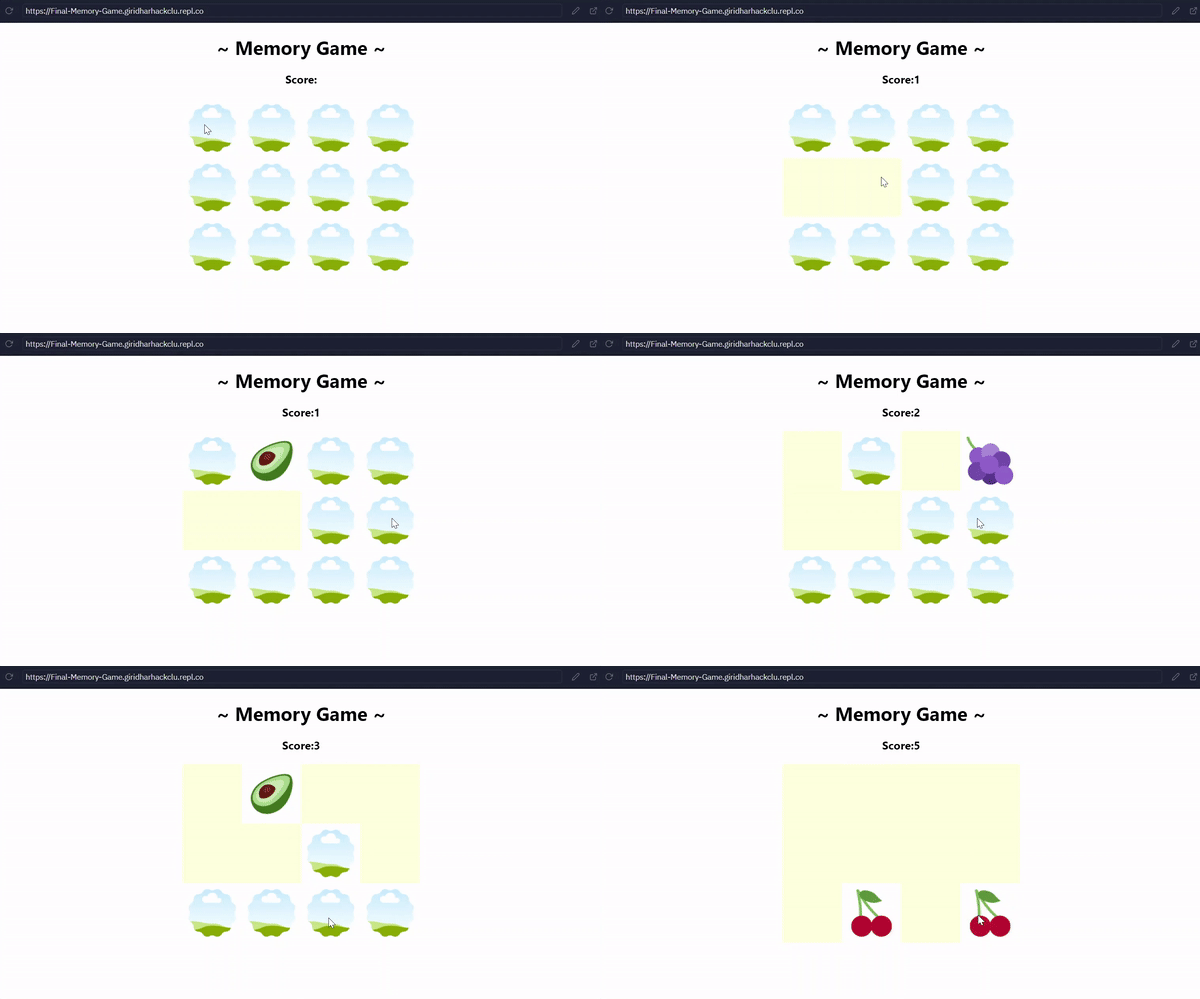
Finally, we finished our memory game.

Check the final code here.
Hacking
It's your turn to customize.
- Use your creativity and go wild with the styles. You can use the desired theme and create different card games.
- The game consists of an even number of cards. You can add different levels with the different dimensions of the board, e.g.:- 3 x 4, 4 x 4, 6 x 4, etc.
- For more functionality of the game, you can add a timer, track the number of moves.
- You can also add a two-player mode with more number of cards.
- Also, there are many ways of creating the board. If you are good at JavaScript, use the
innerHTMLmethod for adding cards to the board.
I hope you love this workshop! :v:
After customizing, do share with me on slack as @Giridhar. I'd love to see your project.
Inspiration
These are some other projects to inspire you.
- Memory Game: Full functionality Memory Game.
Demo. Source Code. - Memory game using animations: The cards animate while flipping, making them 3D. Advanced CSS3 is used in this project.
Demo. Source Code. - Two player Memory Game: This memory card game can be played by two players.
Demo. Source Code.

