

Have you ever heard about the popular BBC micro:bit? In this workshop we are going to work with BBC micro:bit and create a basis Flappy Bird Game using it. Check out the final project.
[
Here's the demo/code.
How to play...
The objective is to direct a flying bird :bird: which is moving continuously to the right, between sets of obstacles. If the player touches an obstacle, they lose. You can check the original Flappy Bird Game here.
Prerequisites
We are going to use JavaScript to code our micro:bit. So you should have good knowledge of JavaScript and some ES6 concepts.
If you don't have the hardware, don't worry we'll use a simulator in this workshop. Makecode's micro:bit simulator is excellent!
Getting Started
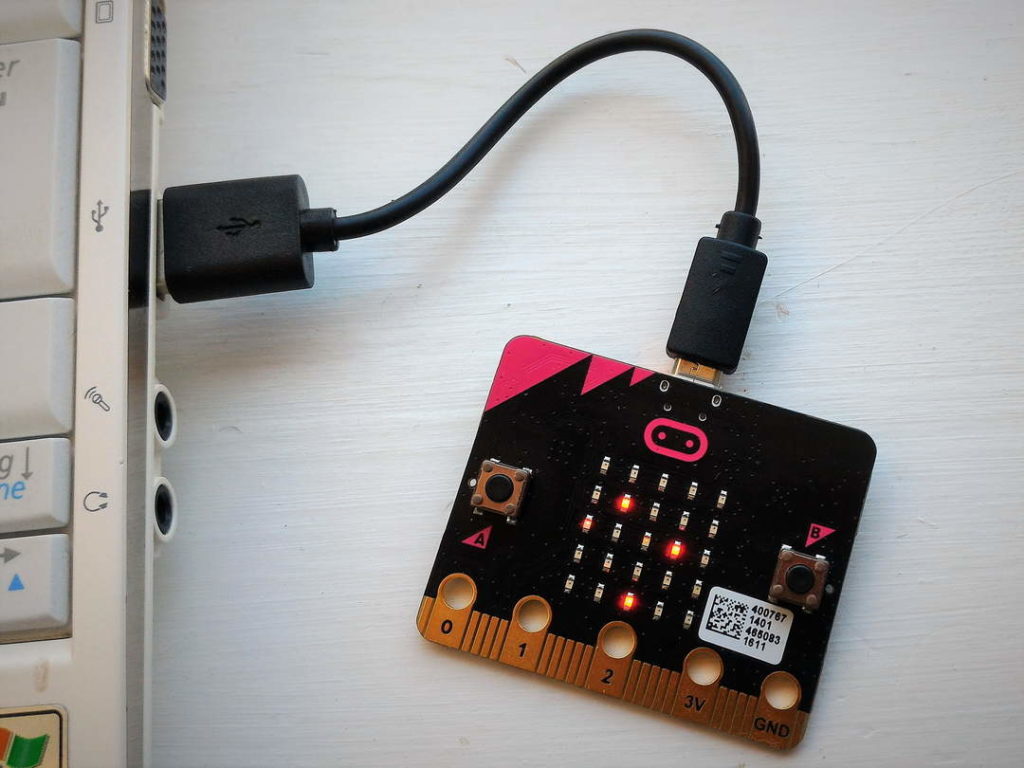
A micro:bit is a tiny piece of hardware with many features. It a pocket-sized computer which performs according to your instructions written in form of program. A micro USB cable is used to transfer the program from computer to micro:bit.
You can use different programming languages to program your micro:bit. You can use Makecode to program in code blocks or JavaScript. You can also use Python to program a micro:bit.
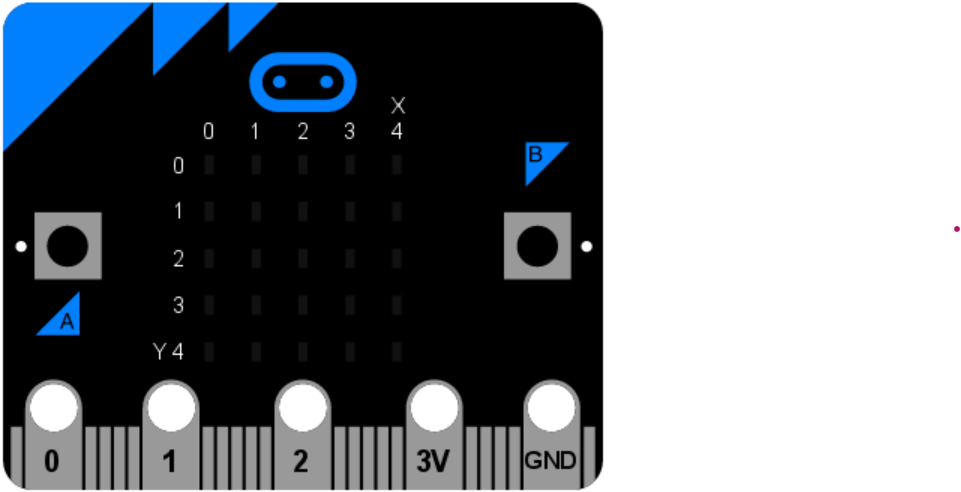
On the front face, it has 25 LEDs which we will use to display our game. And on the back face, it have some awesome pre-built sensors.
These are the main parts of a micro:bit 👇
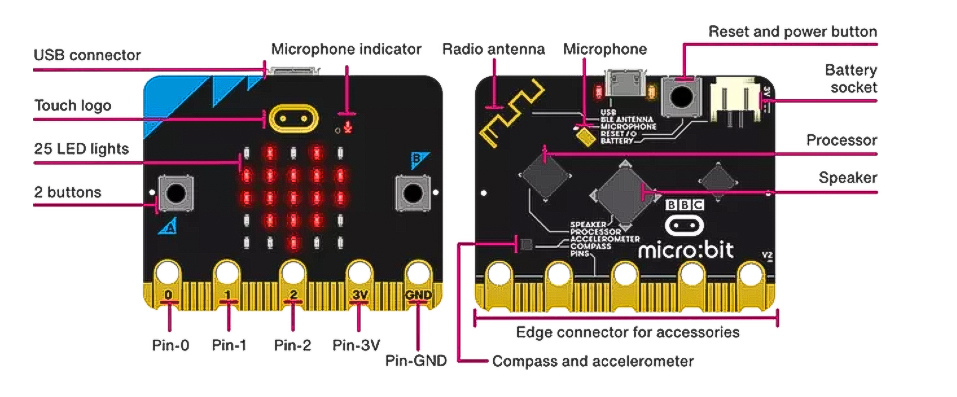
Learn more about micro:bit here.
Setup
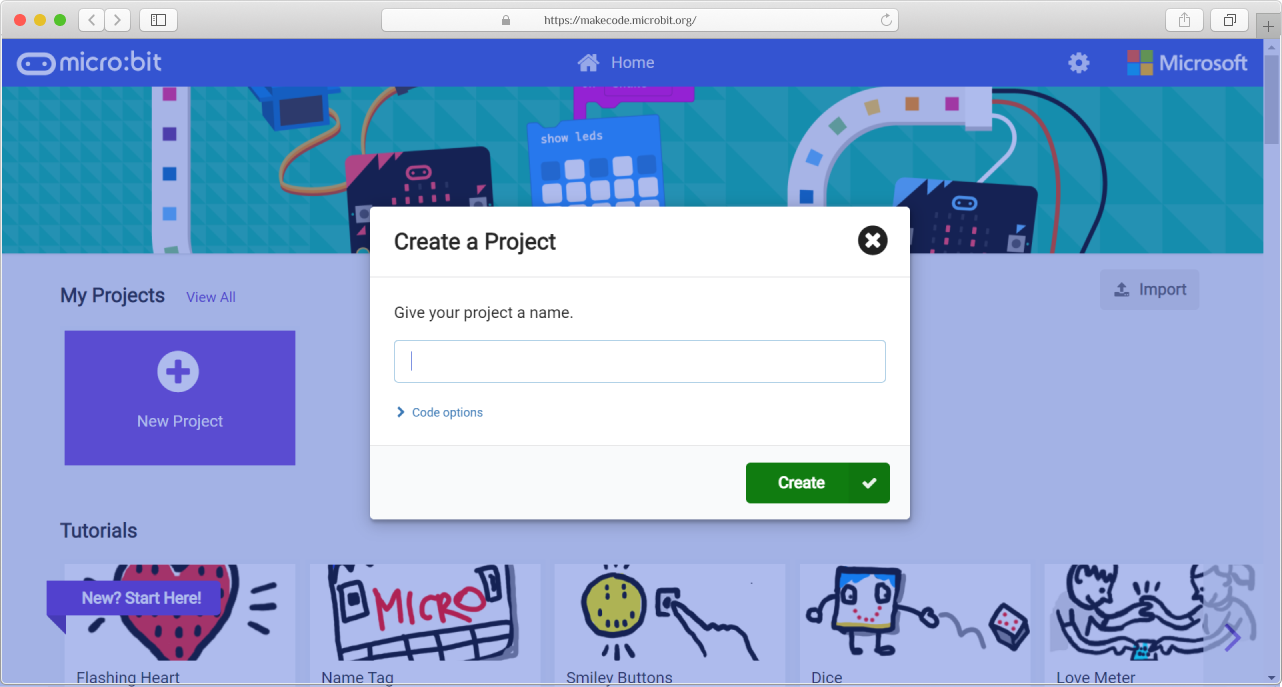
Open Makecode and click on ➕New Project.
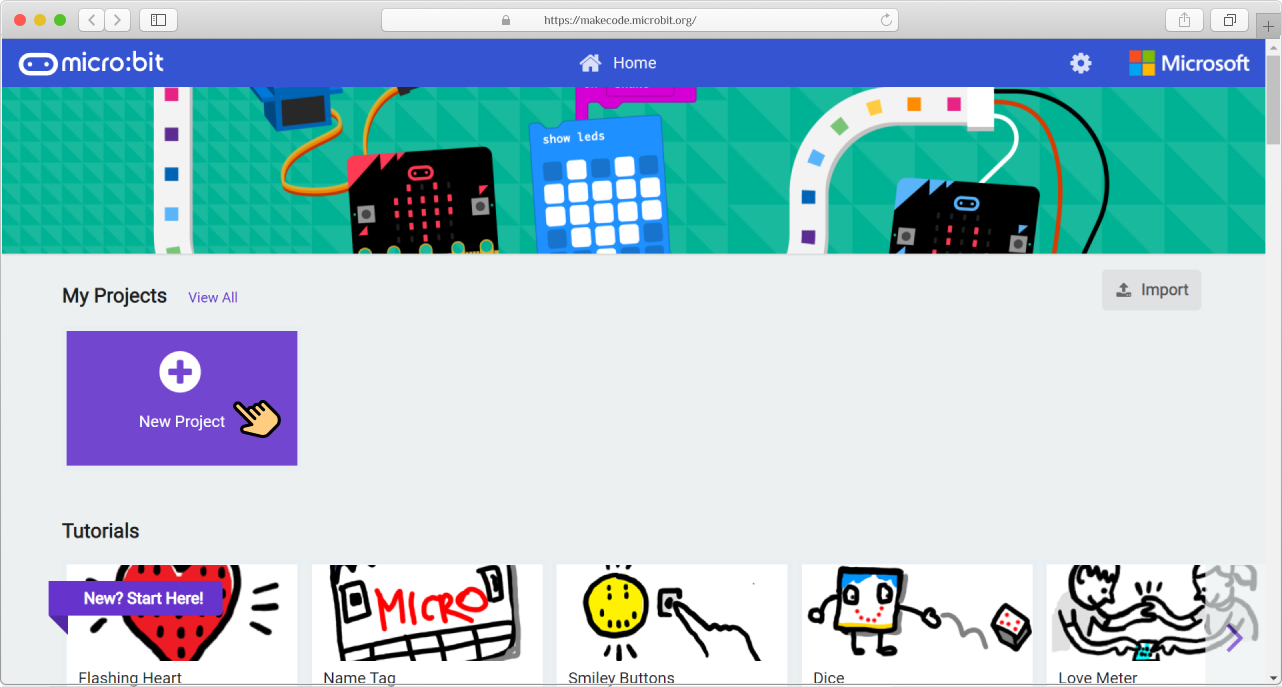
Give it a name.
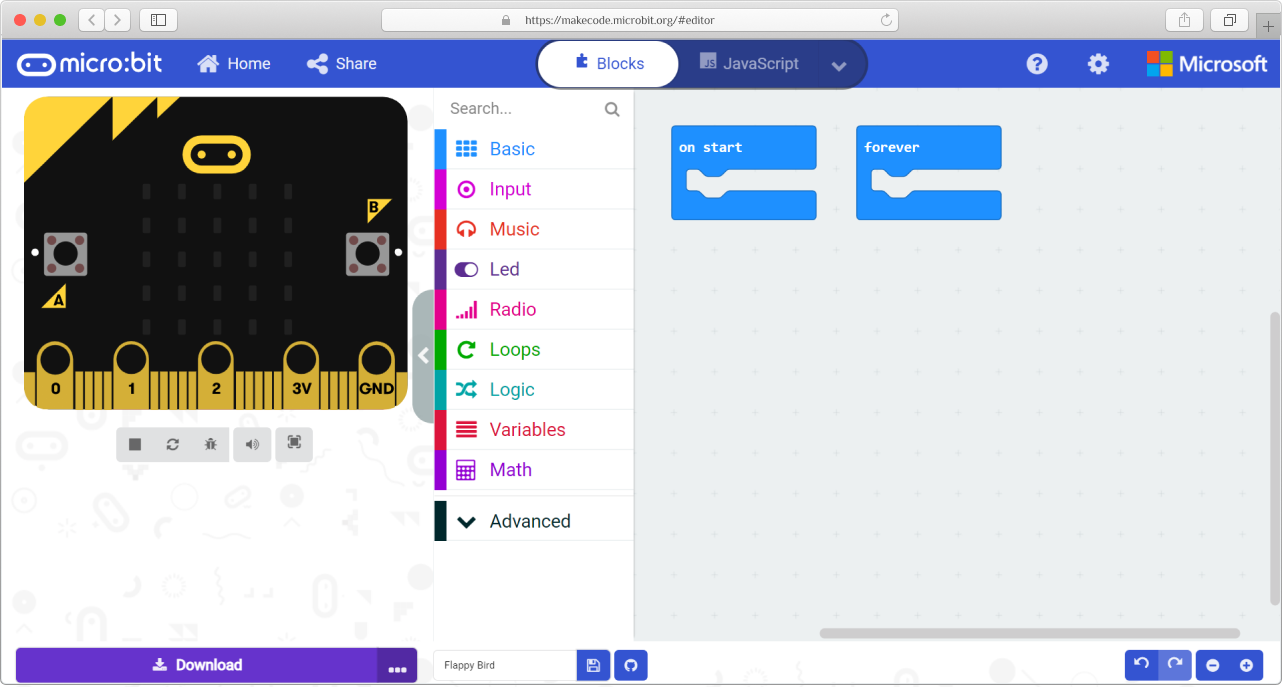
You should see something like this.
Once you finish setting up, let's get going 🚀
JavaScript
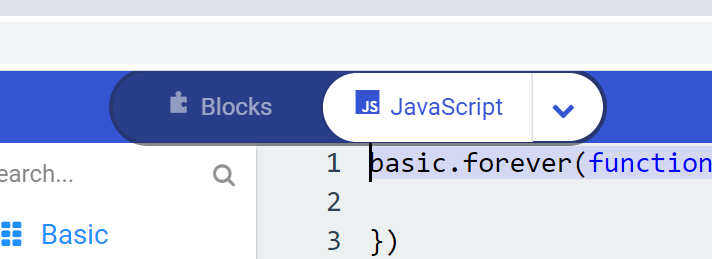
By default, MakeCode open's a project with code blocks. At top of the window, switch to JavaScript.
The MakeCode programming environment uses JavaScript along with the Static TypeScript language. Don't worry about TypeScript. It is super similar to JavaScript. We will use many of the micro:bit’s built-in JavaScript functions. For example, the showString() function displays a string on the LED screen. It will scroll to the left if it’s bigger than the screen.
Try displaying your name. Here's mine: 😊
basic.showString("Giridhar!")

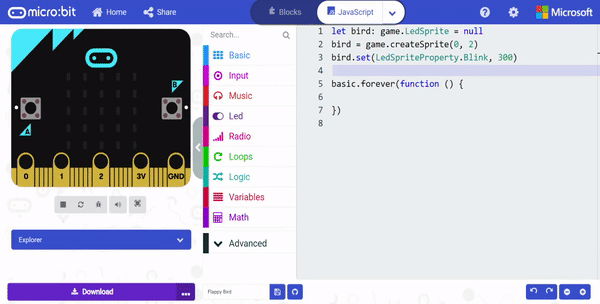
Step 1: Add the Bird to the Game
Let's start with adding the bird. We just have 25 LEDs. So unfortunately, we'll have to assume a blinking LED as a bird 😂.
Don't mind about the previously existing code.
Create a new LED sprite pointing to the right.
let bird: game.LedSprite = null
bird = game.createSprite(0, 2)
bird.set(LedSpriteProperty.Blink, 300)
Here, the variable bird is declared in TypeScript and initiated as null. One of the syntax of declaring a varible in TypeScript is: let identifier:data-type = value;. Learn more about variables in TypeScript here.
The game.createSprite(x,y) creates a sprite(our bird) in position (x, y) on the 5x5 grid of LEDs.
⚠ Note: A sprite is like a little LED creature you can tell what to do.
We can set the properties of the item using set() method. Then we set the Blink property of sprite for every 300 milliseconds.
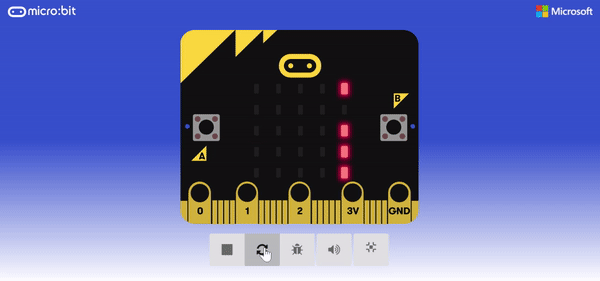
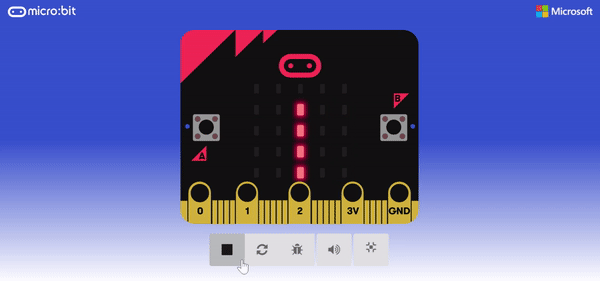
You can see our bird flying like this: 👇
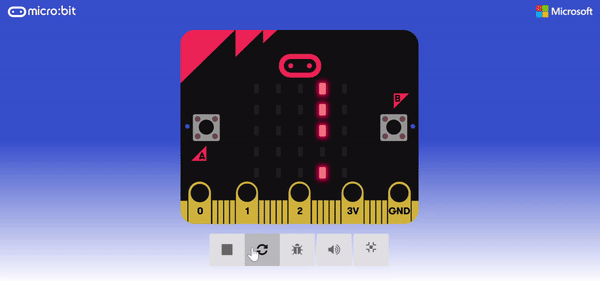
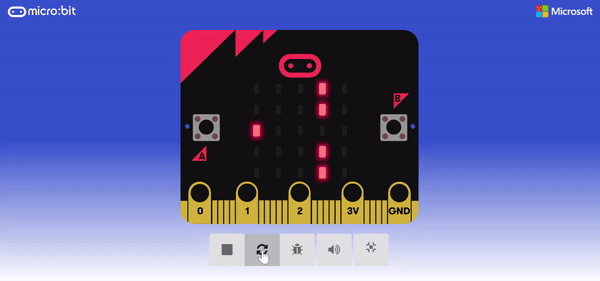
Step 2: Make the Bird fly
Now let's add some controls so that we can move around. We’ll control the bird by pressing the A button to go up or the B button to go down.
Micro:bit has built-in event handlers that are associated with a particular event, such as "button A pressed". The onButtonPressed() handler works when button A or B is pressed, or A and B together. They are just like event listeners in JavaScript but with custom events.
input.onButtonPressed(Button.A, function () {
    bird.change(LedSpriteProperty.Y, -1)
})
input.onButtonPressed(Button.B, function () {
    bird.change(LedSpriteProperty.Y, 1)
})
Here, we use change() method to change property of the item. We can change the Y coordinate of the LED sprite using change() method.
Now when any of the 2 buttons is pressed, the position of the bird should change by 1 unit(up or down).

Step 3: Generating obstacles
Let's create some randomly generated obstacles for the bird to crash 💥
We’ll keep all obstacles inside an array of Led Sprites. All obstacles will have a single hole for the bird to fly through.
First, create an array of obstacles that will hold all of the obstacle sprites.
let obstacles: game.LedSprite[] = []
Now let's generate vertical obstacles consisting of 4 sprites and 1 random hole. Create a variable emptyObstacleY and store a random number between 0 and 4 in it. The function randint(a,b) creates a random number between a and b.
let emptyObstacleY = 0
let obstacles: game.LedSprite[] = []

emptyObstacleY = randint(0, 4)
Using the for loop, iterate from 0 to 4. For every coordinate not equal to emptyObstacleY, create and add obstacle sprites to the end of the obstacles array using the push() method.
let emptyObstacleY = 0
let obstacles: game.LedSprite[] = []

emptyObstacleY = randint(0, 4)
for (let index = 0; index <= 4; index++) {
    if (index != emptyObstacleY) {
        obstacles.push(game.createSprite(4, index))
    }
}
Now with every micro:bit restart you should see different automatically generated vertical obstacles.
Before continuing, make sure that obstacles are generated randomly and that the bird is moving up and down. If it doesn't work as expected, try to cross check your code.
Step 4: Make obstacles move
Let's make the obstacles move towards the bird. We have to make them move forever. The code inside basic.forever() keeps running in the background forever.
Inside forever() access each obstacle using a for loop (iterate over the obstacles array) and decrease the obstacle X coordinate by 1 so that we can see them moving towards left.
let obstacles: game.LedSprite[] = []

basic.forever(() => {
    for (let obstacle of obstacles) {
        obstacle.change(LedSpriteProperty.X, -1)
    }
    basic.pause(1000)
})
Here, basic.pause() pauses the program for 1000 milliseconds(i.e., 1 second) for our convenience. You can control the speed of the obstacles by changing the pause time.
Now obstacles should move towards the left every second.
Step 5: Make obstacles disappear
Now let's make obstacles disappear after reaching the leftmost corner(i.e if their X coordinate is equal to 0). Iterate over all obstacles, delete the obstacle sprites where the X coordinate equals 0, and remove them from the obstacles array. We can use get() method to read the properties of an item. The removeAt(n) method is used to remove an element at n in an array and delete() method is used to delete it.
let obstacles: game.LedSprite[] = []

basic.forever(() => {
    while (obstacles.length > 0 && obstacles[0].get(LedSpriteProperty.X) == 0) {
        obstacles.removeAt(0).delete()
    }

    for (let obstacle of obstacles) {
        obstacle.change(LedSpriteProperty.X, -1)
    }
    basic.pause(1000)
})
Now you see that when the obstacle reaches the bird it will just disappear.
Step 6: Generate more obstacles
At the moment, our code generates just one vertical obstacle at a time. We need to put obstacle generation code into the forever loop so that it keeps generating more and more obstacles.
let emptyObstacleY = 0
let obstacles: game.LedSprite[] = []

basic.forever(() => {
    // all the previous code

    emptyObstacleY = randint(0, 4)
    for (let index = 0; index <= 4; index++) {
        if (index != emptyObstacleY) {
            obstacles.push(game.createSprite(4, index))
        }
    }
    basic.pause(1000)
})
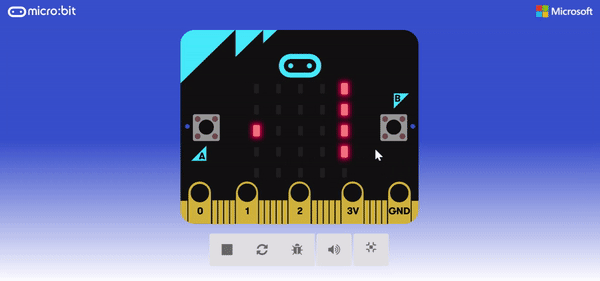
Now our screen is full of moving obstacles like this: 👇
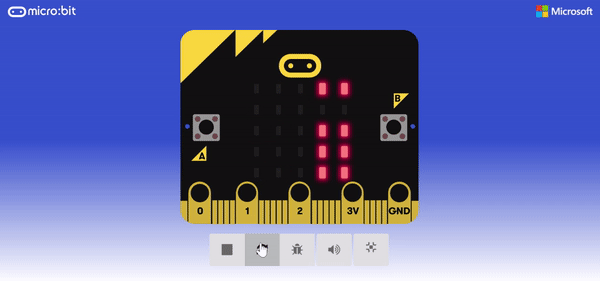
Let's create some spaces between generated obstacles. Create a new variable ticks to count how many iterations the forever loop has done and execute obstacle creation only if ticks is divisible by 3. The space between the obstacles depends on the number you use. Try add different numbers insted of 3 and observe the patterns generated. 😇
let ticks = 0
let emptyObstacleY = 0
let obstacles: game.LedSprite[] = []

basic.forever(() => {
    // all the previous code

    if (ticks % 3 == 0) {
        emptyObstacleY = randint(0, 4)
        for (let index = 0; index <= 4; index++) {
            if (index != emptyObstacleY) {
                obstacles.push(game.createSprite(4, index))
            }
        }
    }
    ticks += 1
    basic.pause(1000)
})
Now you can see obstacles created with a space of 2 blocks between them and moving towards the left.

Step 7: Game Over
We are now in the last part of creating the Flappy Bird game.
Right now nothing happens when the bird is hits an obstacle. We should end the game when the bird crashes into an obstacle. The built-in function gameover() ends the game and shows some cool animations.
To do this, we have to iterate over the obstacles array and check if any obstacle sprite's coordinates are the same as the bird's coordinates. If this condition turns out to be true, we call the gameover() function.
let bird: game.LedSprite = null
let ticks = 0
let emptyObstacleY = 0
let obstacles: game.LedSprite[] = []

basic.forever(() => {
    // all the previous code

    for (let obstacle of obstacles) {
        if (obstacle.get(LedSpriteProperty.X) == bird.get(LedSpriteProperty.X) && obstacle.get(LedSpriteProperty.Y) == bird.get(LedSpriteProperty.Y)) {
            game.gameOver()
        }
    }

    ticks += 1
    basic.pause(1000)
})
Now the game ends when the bird is hit by an obstacle.
Our final code should look something like this:
let ticks = 0
let emptyObstacleY = 0
let obstacles: game.LedSprite[] = []
let index = 0
let bird: game.LedSprite = null
input.onButtonPressed(Button.A, () => {
    bird.change(LedSpriteProperty.Y, -1)
})
input.onButtonPressed(Button.B, () => {
    bird.change(LedSpriteProperty.Y, 1)
})
index = 0
obstacles = []
bird = game.createSprite(0, 2)
bird.set(LedSpriteProperty.Blink, 300)
basic.forever(() => {
    while (obstacles.length > 0 && obstacles[0].get(LedSpriteProperty.X) == 0) {
        obstacles.removeAt(0).delete()
    }
    for (let obstacle2 of obstacles) {
        obstacle2.change(LedSpriteProperty.X, -1)
    }
    if (ticks % 3 == 0) {
        emptyObstacleY = randint(0, 4)
        for (let index2 = 0; index2 <= 4; index2++) {
            if (index2 != emptyObstacleY) {
                obstacles.push(game.createSprite(4, index2))
            }
        }
    }
    for (let obstacle3 of obstacles) {
        if (obstacle3.get(LedSpriteProperty.X) == bird.get(LedSpriteProperty.X) && obstacle3.get(LedSpriteProperty.Y) == bird.get(LedSpriteProperty.Y)) {
            game.gameOver()
        }
    }
    ticks += 1
    basic.pause(1000)
})
Step 8: Working with Hardware
If you are using hardware, connect the micro:bit to PC using USB cable. Now Click on the Download button and follow the instructions.
You're all set. Now you can just play the game. 😋
That's it! You created a simple Flappy Bird game on a micro:bit. ✌
Hacking
It's time for you to take charge.
-
Try to count and show the game score. We have a built-in function
score()for counting score. Learn more here. -
Try to make the obstacles move faster every time an obstacle is passed.
-
We can play music using the micro:bit. You can explore it here. Try to add sound when the bird is hit by an obstacle.
-
As said, micro:bit is wonderful. It has so many built-in sensors. An accelerometer can check how the micro:bit is moving. Try to control the bird by tilting the micro:bit. You can use the
input.rotate()function to find how much the micro:bit is tilted in different directions. You can learn more here.
Inspiration
These are some examples from the makers of the micro:bit to inspire you.
-
Adding score: Simple clicking game- Press button
Aas much as possible to increase the score. PressBto display the score and reset the score. -
Using accelerometer: micro:bit leveler and Egg and Spoon Race
-
Playing music: Simple tilt alarm
Improve the functionality of the game and share it on #ship in the Slack.
PS: I'm @Giridhar on Slack!