

In this workshop, you are going to make a random alphanumeric password generator using which you can safeguard your social media accounts and much more, in just 20 minutes! 🤩
Note: The purpose of this workshop is to teach you how to generate and store passwords. For the purposes of this workshop, the passwords are stored in a table in plaintext. In real life, passwords are encrypted and stored behind many layers of security. Don't store your real-life passwords on the website this workshop makes!
Here’s the live demo and its source code. For entering inside the website, use hariom as password.

Part 1: Prerequisites
Basic knowledge of HTML, CSS, and JavaScript would be helpful for better understanding but is not necessary to continue further in this workshop.
Part 2: Setup
Setting up our code environment
We’ll be using repl.it, a free, online code editor, to make this website. Get started by going to repl.it/languages/html. Your coding environment will instantly spin up!
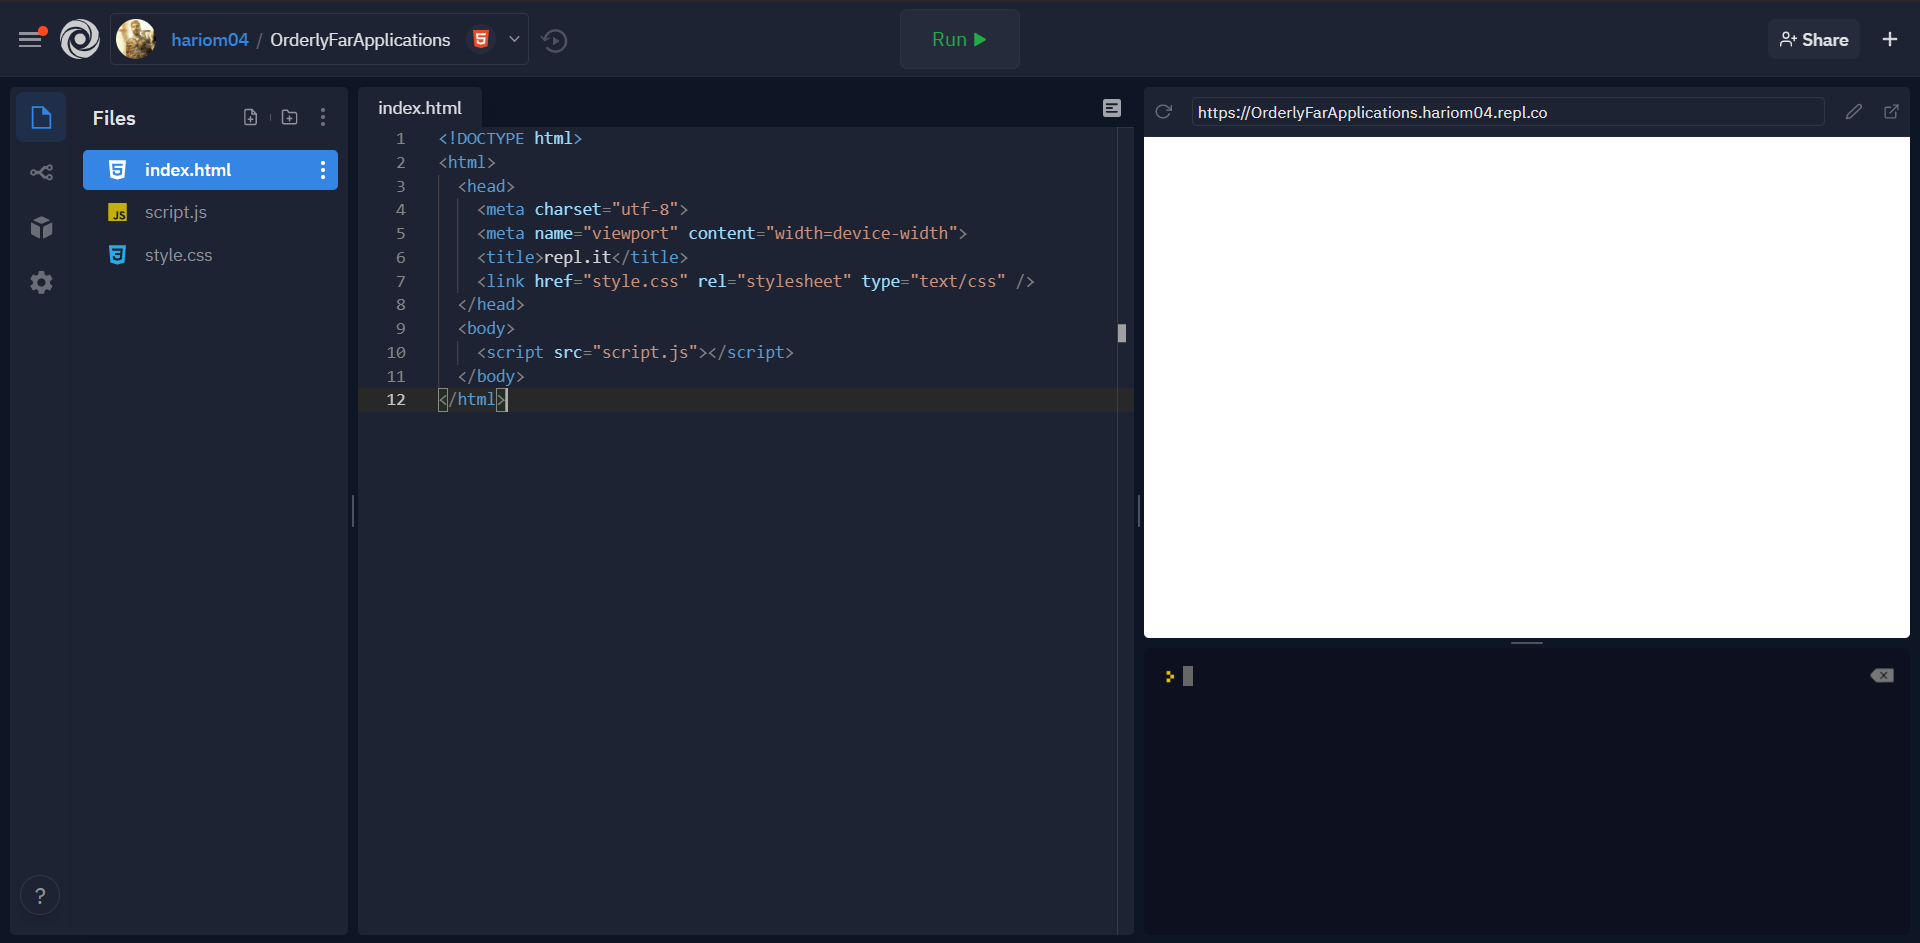
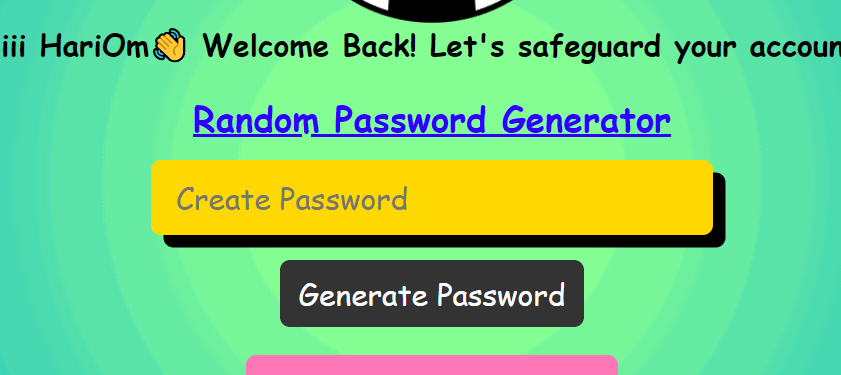
^ Right now, your page will look like this.
Part 3: Building the Project
1) HTML
Adding image and welcoming text
Inside the body tags, we will insert an image using
<img src="https://cloud-puhemcmfs.vercel.app/0image.png" width="250" height="250">
Here, img and src stand for ‘image’ and ‘source’ respectively. You are free to replace that URL with your image and set its width & height accordingly.
Next, we will add a welcome message. Under your image, add <h2> & </h2> tags like this:
<h2> Hiii HariOm👋 Welcome Back! Let's safeguard your accounts. </h2>
Now we want to leave the next line as blank in our output to separate our main tool from the welcoming line. For that, we use a <br> tag. So, in the next line, type <br>.
Making our password generator tool.
Make a new section with the assistance of the <div> tag below your break (<br>) line. Add the attribute class="inputbox" inside that segment. Adding class attribute gives this particular div its own “name”, which will allow us to reference it directly using CSS (as we’ll see later in this workshop!).
<div class="inputbox"></div>
Now from here, we will add some elements inside this section.
Add a sub heading using <h2> tag stating the topic of our project that is “Random Password Generator”. Then underline it using <u> to make it more attractive. 😍
<h2><u> Random Password Generator </u></h2>
Now we will create a box where we will get the passwords, for that we will have to use <input> tag. Add the attributes type="text", placeholder="Create Password", id="password" and readonly="" inside that.
<input type="text" placeholder="Create Password" id="password" readonly="">
Uses of these attributes:
- The
typeattribute specifies the type of<input>, the element should display. - The
placeholderattribute specifies a short hint inside the input field. - The
idattribute specifies an unique id for the element. We will learn more about it later in this workshop. - The
readonlyattribute specifies that the input field is read-only.
Add a new section with the help of <div> tag and give attributes id="btn" and onclick="getPassword()". Then put the text you want to display on the button responsible for generating our passwords. When you are done with that, close that section using </div> tag. We will learn more about onclick="getPassword()" later in this workshop.
<div id="btn" onclick='getPassword()'> Generate Password </div>
Now we will navigate out of our first section. Your code block will look something like this:
<div class="inputBox">
  <h2><u> Random Password Generator </u></h2>
  <input type="text" placeholder="Create Password" id="password" readonly="">
  <div id="btn" onclick='getPassword()'> Generate Password </div>
</div>
Leave next line as blank using <br> tag.
3- Creating a table to store our passwords.
Add a new section using <div> tag and give attribute class=”mypasswords”.
<div class="mypasswords">
</div>
Give a heading using <h2> tag that you want to show above your password's table like this:
<h2>Your Passwords</h2>
Now we will create actual table using the following codes:
<table border=10px>
  <tr>
    <th>Service</th>
    <th>Password</th>
  </tr>
  <tr>
    <td>Facebook</td>
    <td>gug_Jais}T</td>
  </tr>
  <tr>
    <td>Instagram</td>
    <td>f!Mh4s}09{</td>
  </tr>
  <tr>
    <td>Twitter</td>
    <td>Zd1EU%OzD(</td>
  </tr>
</table>
Explanation:
Here <table> tag specifies that we want to create a table and its attribute border=10px describes the thickness of the border. Next, we have a <tr> tag that stands for table row and it specifies the occurrence of a new row. We write our table entries inside <tr></tr> to ensure they are in same line. After that, we have <th> tag that stands for table heading and specifies that the text written inside this will be bold in appearance. We use <th> to describe the heading of our table. For entering the normal (default entries) we use <td> that stands for table data. After we are done with all the row entries, we close the table tag using </table>.
Our output of this code will look something like this. 👇

Finally, we are done with the HTML part, but our webpage doesn’t look like the final output we saw in the beginning. So, let’s jump to the next part of our workshop where we will add some styling to our project.
2) CSS
Navigate to the style.css file appearing on your sidebar.
Now add the following code:
*{
  margin: 0;
  padding: 0;
  font-family: Comic sans MS;
  user-select: none;
}
body{
  background: rgb(133,255,147);
  background: radial-gradient(circle, rgba(133,255,147,1) 16%, rgba(34,193,195,1) 55%, rgba(255,153,0,0.9110994739692753) 86%);
}
Explanation:
Here we opened a new section (code block) using {. In line 2 & 3, padding and margin is marked as zero. After that in line 4 (font-family: Comic sans MS;), we described the specific font that should be used on our webpage.
In line 5, we gave the user-select value as none because we don’t want the user to select the content of our webpage due to the following reason. 👇
If we don’t give user-select: none; then when the user clicks on the button that says Generate Password for more than once simultaneously, that button's text will be selected that looks little weird. So to get rid of this, we have used that line of code.
Now in the next block (line 8), we have applied background to our webpage, you can use any solid color or gradient of your choice.
For making your gradient, simply navigate to cssgradient.io and create a gradient of your imagination by dragging the markers. After that, copy the code given below and paste it into the background section. By this, your custom gradient background will be applied.
Now add the following code below the body block.
.inputBox{
  position: relative;
  width: 450px;
}
.inputBox h2{
  font-size: 28px;
  color:rgb(47, 0, 255);
}
.inputBox input{
  position: relative;
  width: 100%;
  height: 60px;
  border: none;
  margin: 15px 0 20px;
  background: rgb(255, 217, 0);
  padding: 0 20px;
  font-size: 24px;
  Letter-spacing: 4px;
  box-sizing: border-box;
  border-radius: 8px;
  color: rgb(0, 0, 0);
  box-shadow: 10px 10px;
}
.inputBox input::placeholder{
  Letter-spacing: 0px;
}
Explanation:
Here in the first block that is .inputBox, we described the position and width of the box (the one containing our tool).
In the second block that is .inputBox h2, we specified the size of the <h2> tag and its color, you are free to replace those values and customize it differently.
Then in the third block that is .inputBox input, we have customized the box which will return (show) the generated passwords. We marked its height as 60px and removed its border. In the line number 14, margin of the box is changed to (15px 0 20px). After that in line 15, we have changed the background color of the box, you can set any color of your choice. Later we have customized its padding, font-size, and box-sizing according to our requirements. box-radius specifies the amount of curve in corners. In line 21, color represents the font color of the password text. box-shadows specifies the direction of shadow in the x and y-axis respectively.
In the fourth block that is .inputBox input::placeholder, we described the space that is to be given between the letters for prefilled text in that box that is “Create Password”. In the third block, we have specified that space as 4px as we want to keep the password text separated from each other.
Add the following code given below:
.inputBox #btn{
  position: relative;
  cursor: pointer;
  color: #fff;
  background: #333;
  font-size: 24px;
  display: inline-block;
  padding: 10px 15px;
  border-radius: 8px;
}
.inputBox #btn:active{
  background: #9c27b0;
}
Explanation:
Now we are going to customize the button that says “Generate Password”.
In the first block that is .inputBox #btn, we specified its cursor as a pointer, which means when you will hover your cursor over that area then your cursor will convert into a pointer. After that, we described its color that is font color, background color, and font size as required. You are free to change the values of these fields.
In the second block that is .inputBox #btn:active, we changed the background color, this color will be applied to the button for the time we will keep that button pressed.
Add the codes below:
.mypasswords{
  position: relative;
  background: rgb(255, 119, 183);
  font-size: 24px;
  display: inline-block;
  padding: 10px 15px;
  border-radius: 8px;
}
th{
background-color: #65ffea;
}
Explanation:
In the first block that is .mypasswords, we described the position, background, font-size, display, padding, and border-radius as per our requirements like we did earlier in this workshop.
Then in the next block that is th, we have a customized heading of the table where we have applied <th> tag. We have changed its background color.
Finally, we are done with the CSS part of our workshop.
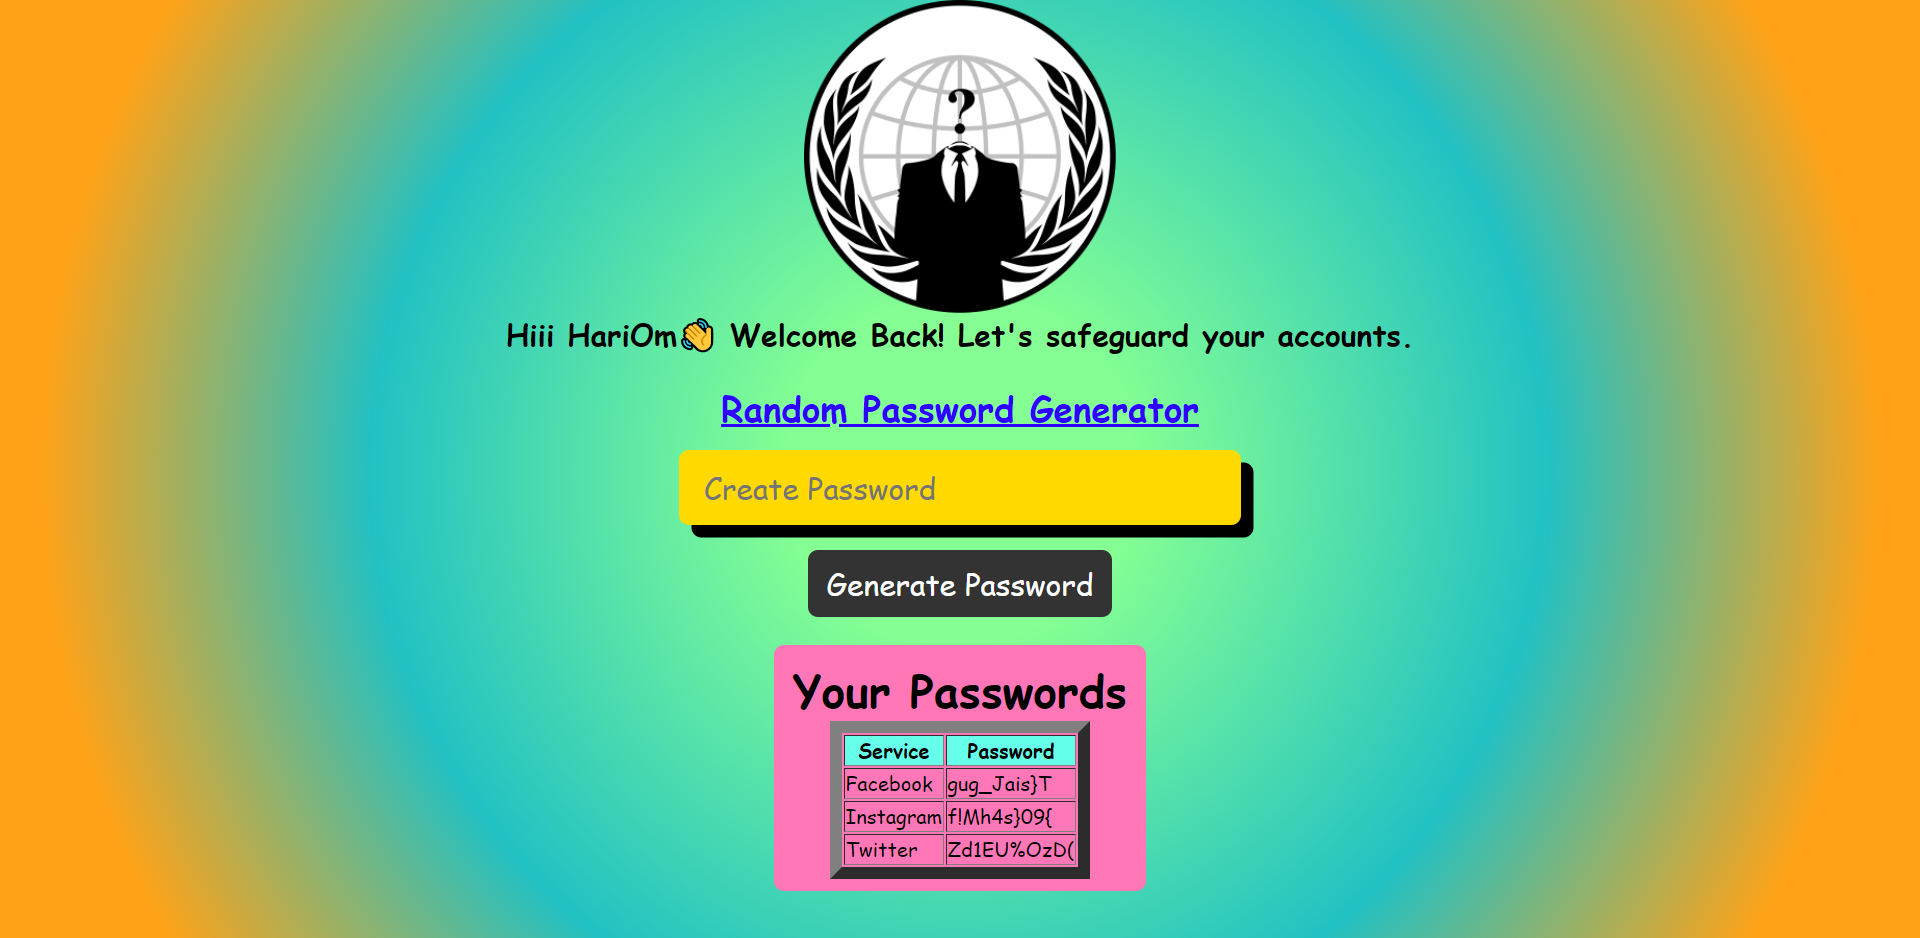
^^^Final output of our codes after completetion of CSS part. But it is not functional yet.
What we did so far:
1- We built the structure of the password generator tool and webpage.
2- We customized it to make it look more attractive.
Now with JavaScript, we will add functionality to our tool and will set up a password to the website.
3) JavaScript
Navigate to script.js file.
1- Adding a password to the website.
Disclaimer: This isn't the greatest method of securing a web app as password is visible in source code.
You should run all authentication code server side when shipping a final product.
Create a variable “password” with help of var and set it to empty.
var password = '';
Create another variable “pass1” like we did above and set its value of own your choice (this value will be the password for opening your website.)
var pass1="hariom";
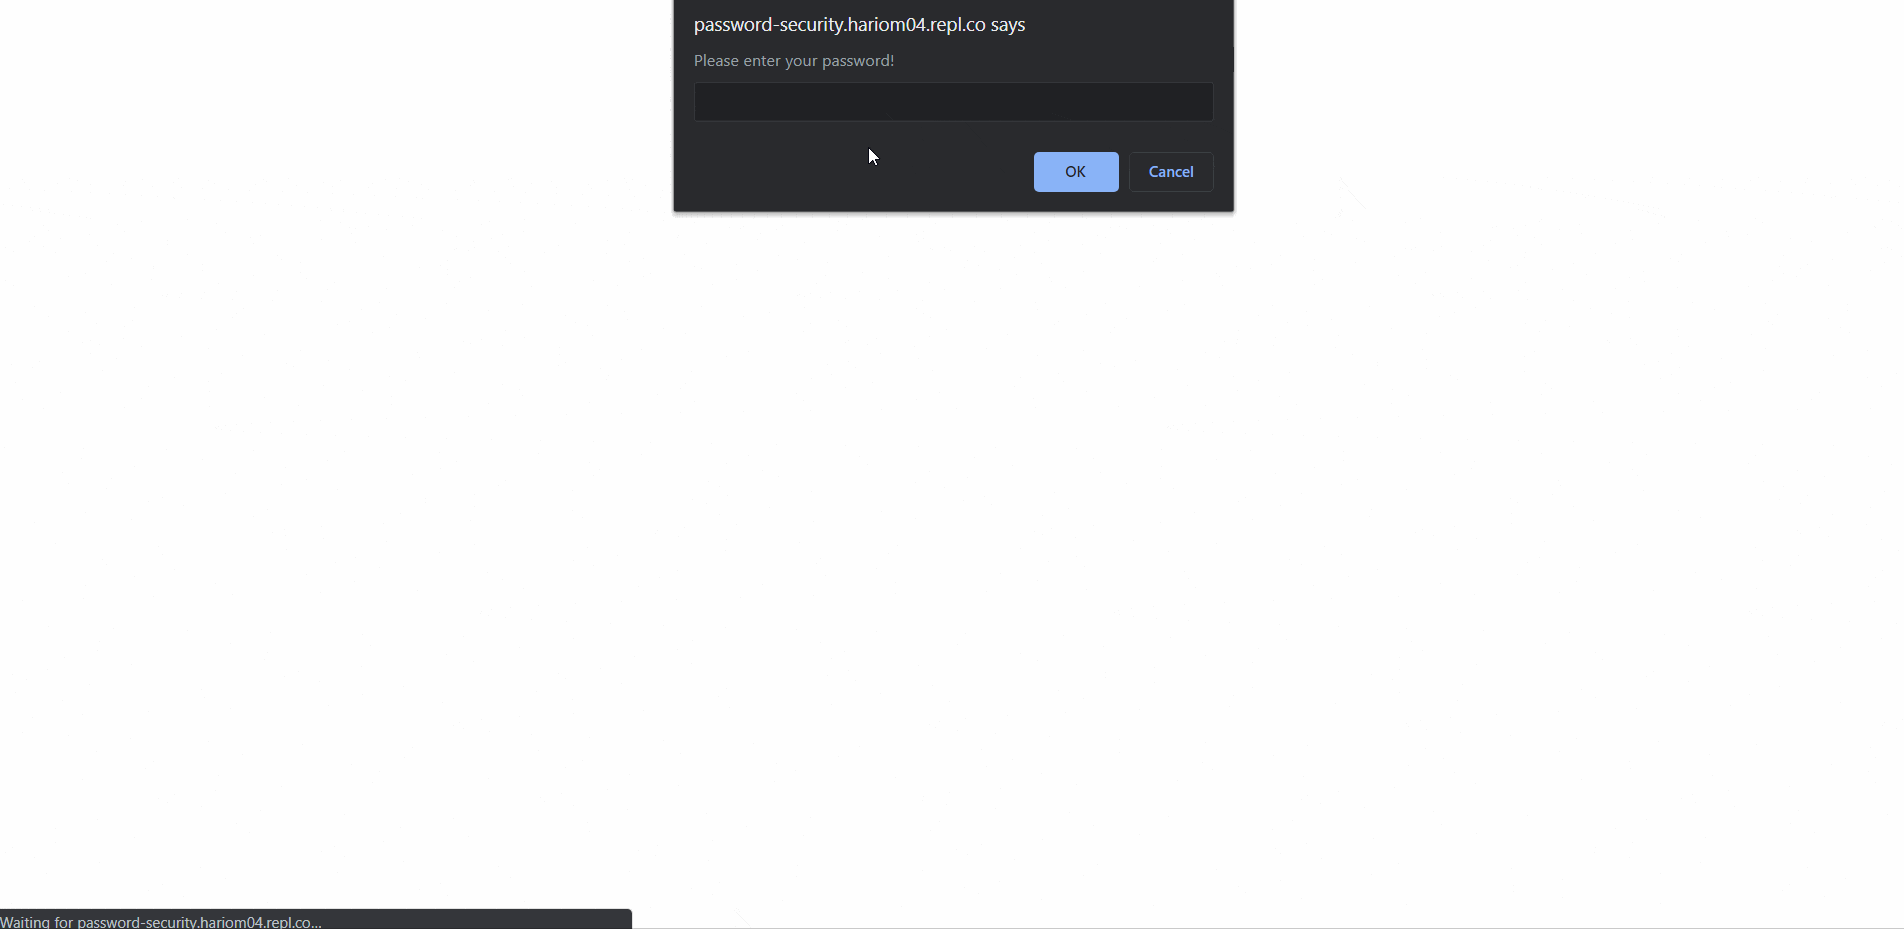
Set the password variable as prompt(‘Please enter your password!’). Here prompt event will display a message asking for the password.
password = prompt('Please enter your password!');
By this step we stored the value we will enter in the prompt box, then later we can apply conditions based on which we can redirect our user.
Lets apply the condition. Add this code below.
if (password == pass1)
  alert('Password Correct! Click OK to enter!');
else {
  location = "https://password-security.hariom04.repl.co/";
}
Here in line 1, we checked whether the password user-entered inside the prompt box matches with the one that we added in our code (var pass1="hariom";). If it does then the user will get a message to "Click OK" and then he will enter the webpage.
In line 3, we used else statement that means if the above condition is not followed then this part will take place. Here we forwarded the user to the URL of our website to make a loop. So whenever the user enters the wrong password, the website will refresh, and the prompt will appear again. If you want to have fun then you can add any website of your choice like this one. 😂
2- Making our tool functional
Now we will add the function named getPassword().
function getPassword() {
}
This function will be work on the section of HTML code where we wrote onclick="getPassword()".
Create a variable chars and give the alphanumeric symbols you want to include in your password.
| Name | Characters |
|---|---|
| Numbers | 0123456789 |
| Lower alphabets | abcdefghijklmnopqrstuvwxtz |
| Capital alphabet | ABCDEFGHIJKLMNOPQRSTUVWXYZ |
| Other symbols | !@#$%^&*()_+?><:{}[] |
Suppose if you want to include all of them then just copy them one by one and paste it inside that variable without any space like this. 👇
var chars = "0123456789abcdefghijklmnopqrstuvwxtzABCDEFGHIJKLMNOPQRSTUVWXYZ!@#$%^&*()_+?><:{}[]";
Create another variable named passwordLength and set it to the size of the password you want to be generated. Suppose if you want a password with 10 symbols then:
var passwordLength = 10;
In the next line, set the value of the variable password as empty using blank quotation marks.
password = ""
After you are done with that, use the below codes and add it.
for (var i = 0; i < passwordLength; i++) {
  var randomNumber = Math.floor(Math.random() * chars.length);
  password += chars.substring(randomNumber, randomNumber + 1);
}
document.getElementById("password").value = password
Explanation:
We have used for loop, it will run repeatedly until the condition inside it is true. After that, we did some basic mathematics and stored our password in password variable which we have used in HTML to print the password.
Understanding the logic:
In the first line, we created a variable i and marked its value as 0. Then, we put a condition i < passwordLength and increased the value of i after each loop.
Later we created a new variable randomNumber which will give a random index of any character inside the chars.
math.random will find a number between 0 and 1. Multiplying it by chars.length will make it a number between 0 and chars.length.
.floor is applied to remove the decimal part of the number like 7.9 when floored will convert into 7.
Now, we have a random integer number from 0 to the passwordLength.
In line 3, we searched for the character having that particular index number then for each loop we concatenated that with the past one.
So, at the end of our loop, we got a random password selected from the characters we gave.
Finally, we are done with the JavaScript part of our project.
^^^Your webpage will look something similar to this. 😍🤩
Congratulations

You accomplished it! Now your tool is fully functional and looks creative. 😍🥳
Hacking
Here are some hacks you can try in your project.
1- Try creating a button saying "add", using which you can add more entries to your password's table. Here's live demo and final output.
2- Try linking the website of the services used in password's table. Here's live demo and final code.
3- Try creating a tool in which user can select characters that needs to be included and excluded. Insert copy to clipboard button too. Here's live demo and final code.
Happy Hacking!