

In this workshop, we'll be building a random quotes generator using an API in React. By the end of it, you'll have learned about handling APIs in React, as well as some cool concepts like React Hooks!

Here's the source code.
Part 1: Prerequisites
You should know some basics of React and I recommend you to follow this workshop before proceeding further. If you're having trouble, feel free to ask me or anyone in the Hack Club Slack!
Part 2: Setup
For writing our code, we'll be using CodeSandbox which turns out to be the best online code editor for React.
To get started, go to this starter code. Press ctrl+s / cmd+s and it will automatically fork it for you. Now, we have everything set up so let's get started!
Part 3: Building the project
1) Inspecting the starter code
Let's first have a look at our project's starter code.
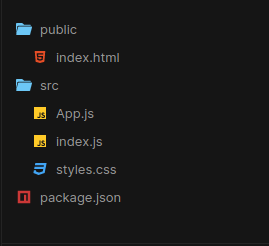
First, there are 2 main directories and a package.json file. We'll ignore the package.json file for now and let's have a look at the 2 directories, namely, public/ and src/.
Usually, the public/ directory contains an HTML file and all your assets. We won't be touching the public/ directory during the whole workshop, not even the HTML file!
Next is the src/ directory which contains all your JavaScript files and your CSS files. We have an index.js file, which basically renders our React code. The style.css file is already written for you.
Next is the App.js file. Now basically, when we build big projects, we don't start directly with the App.js file. We create small components and then add them together in the App component. But today, we'll be building a quotes generator, which turns out to be pretty small and easy. So, we'll start writing our code directly in the App component to avoid making unnecessary components.
This is what our App.js file looks right now.
import React from "react";
import "./styles.css";

export default function App() {
  return (
    <div className="App">
      <p>Hello World</p>
    </div>
  );
}
This code simply renders out Hello World on your browser.
Now we know where we are with our code, so it's time to start!
2) The UI
First let's build the basic UI of how our website should look like. Write the following code in the App component's return().
export default function App() {
  return (
    <div className="App">
      <h1 className="title">Quotes Generator</h1>
      <p className="quotes">This is a quote</p>
      <p className="author">- author name</p>
      <button className="button">New Quote</button>
    </div>
  );
}
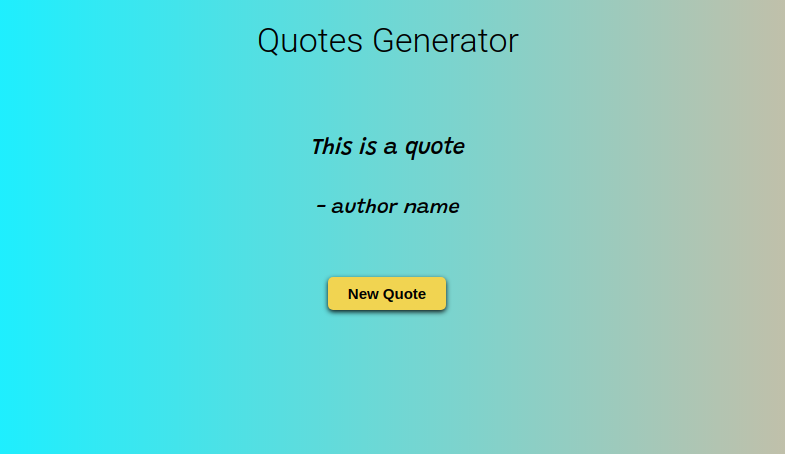
We built a very basic UI for our project and everything is self-explanatory here. The button doesn't work right now and also we haven't yet made any API calls. So let's start adding the main functionality.
This is what your preview window should look like:
3) API Call
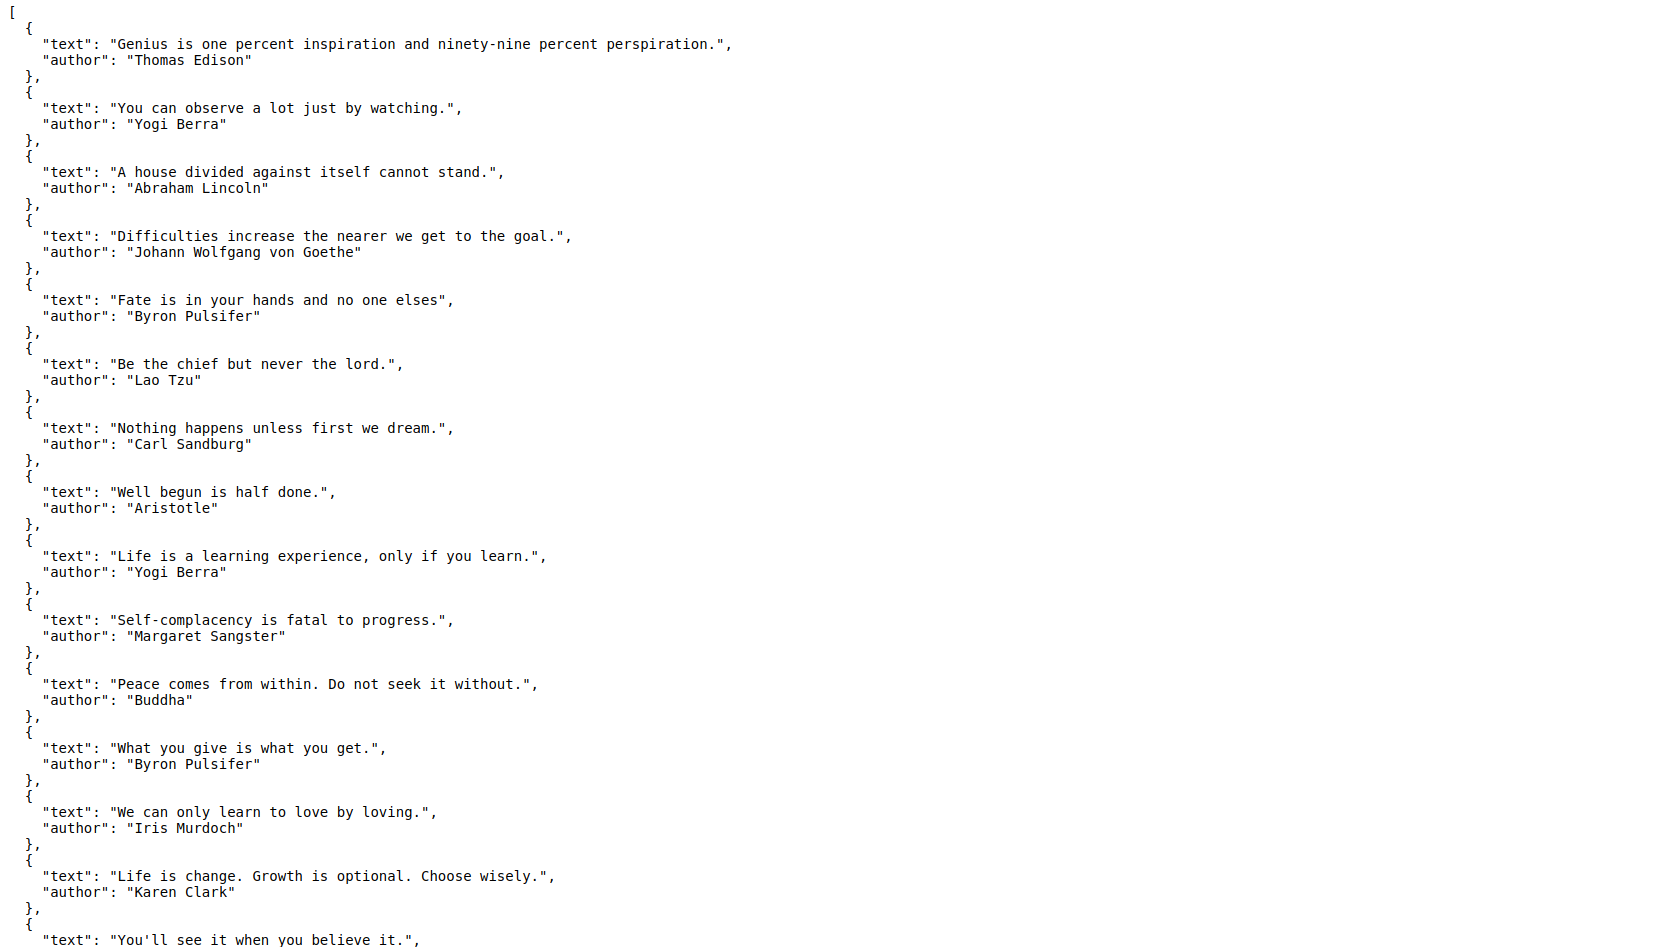
Basically, we'll be making an API request to a url which will return us a json of quotes and their authors. Then we'll store this data in a state using the useState hook so we can re-render our component whenever it changes.

The url where we will make the request is https://type.fit/api/quotes. If you open this link in the browser, you'll see a json file full of quotes!
Let's start working with it.
Inside the App.js, first we'll create a new variable to store this url, next we'll create an empty state to store the data.
import React, { useState } from "react"; //<-- Import useState
import "./styles.css";

const url = "https://type.fit/api/quotes"; // The API URL

export default function App() {
  const [quotes, setQuotes] = useState({}); // Creating a state

  // Returning all the jsx we wrote below this line.
  return (...)
}
Explanation: We create a url variable using const so its value never changes again and assign it to the API's URL. Then we'll import useState from react and using the basic boilerplate code, we create a quotes state. It is currently assigned to an empty object, but will be replaced soon!
Now let's write a function which will make the API request and fetch the data from that URL. We'll use async functions because it will return us a promise. We'll also use await inside the async function.
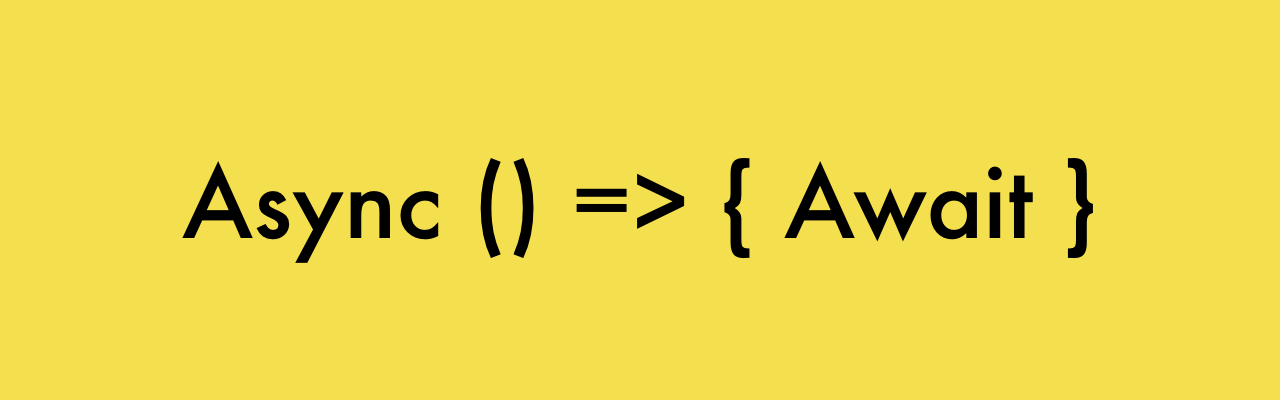
The await operator is used to wait for a Promise to either resolve or reject. It can only be used inside an async function.
Async functions can contain zero or more await expressions. Await expressions suspend progress through an async function, yielding control and subsequently resuming progress only when an awaited promise-based asynchronous operation is either fulfilled or rejected. The resolved value of the promise is treated as the return value of the await expression. Use of async / await enables the use of ordinary try / catch blocks around asynchronous code.
Learn more about Async await.
Inside our App component, we'll create an async function getQuotes() and now let's start fetching the data.
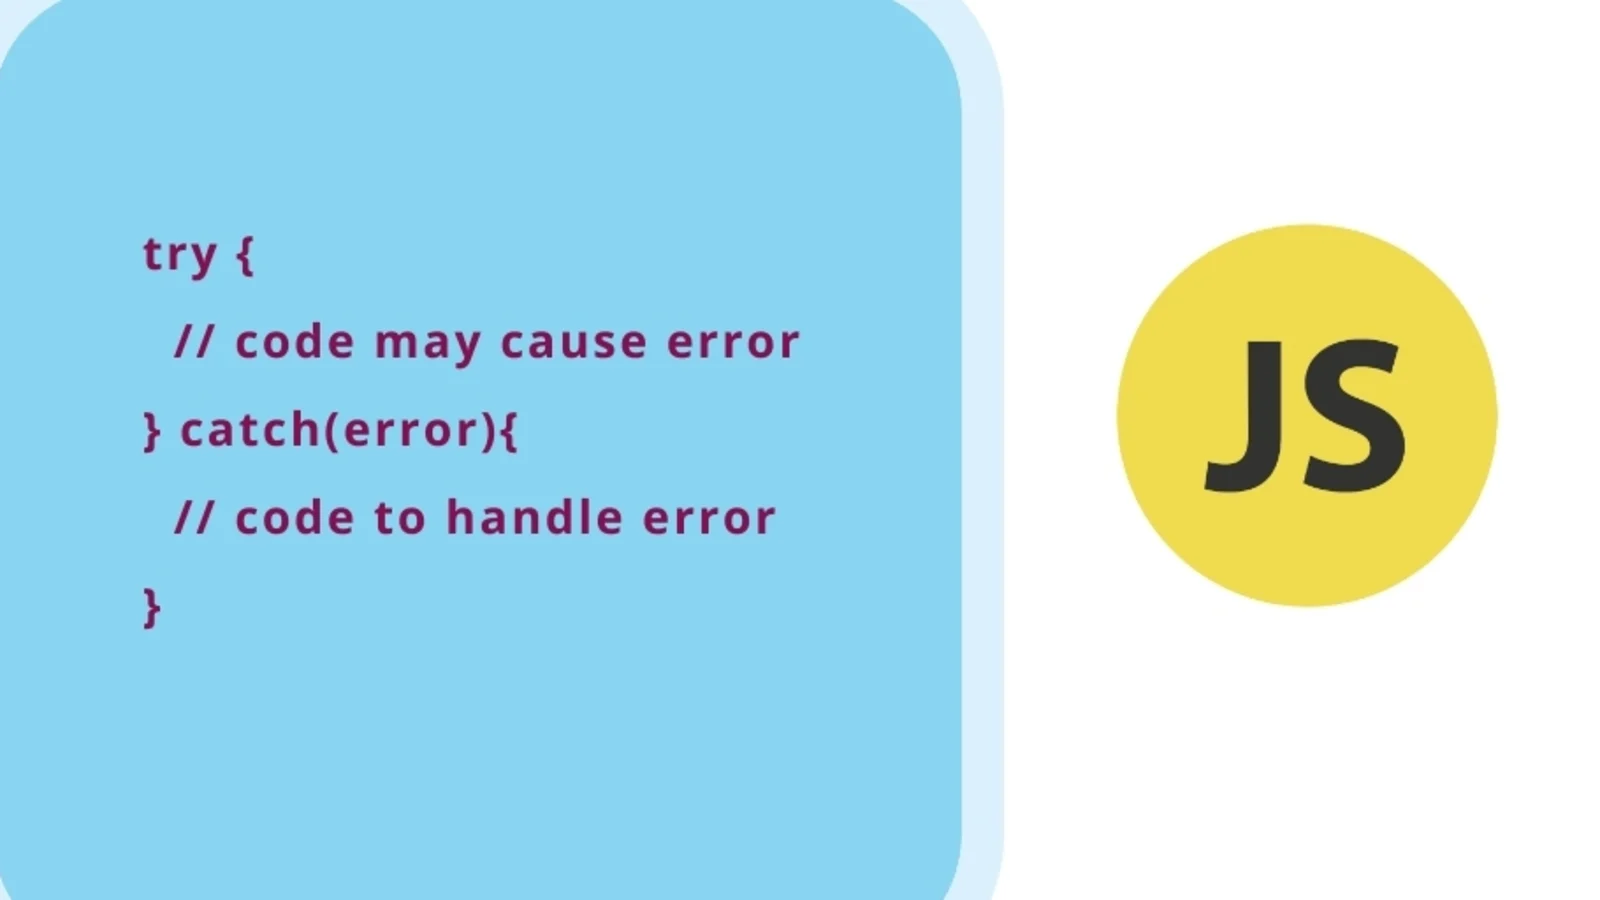
async function getQuotes() {
  try {
    const res = await fetch(url);
    const data = await res.json();
    setQuotes(data);
  } catch (err) {
    console.log(err);
  }
}
Explanation: Inside our async function, we add a try / catch block, which will help us to get the data or throw errors if not successful. We create a variable called res (shortform for response) which will store the response we get after we fetch the data from the URL. Now this response is not yet ready to use and we need to convert it to json() format before using it. So we store that json formatted data in the data variable. And lastly, we store all the data inside our quotes state using setQuotes.
The catch block will simply catch an error (if any) and then log it to the console.
Our async function is complete and we can now use the data we got from the API request.
Now if we take a look at the value stored inside our state, we'll notice that it is a whole big array consisting of 100s of objects containing quotes!
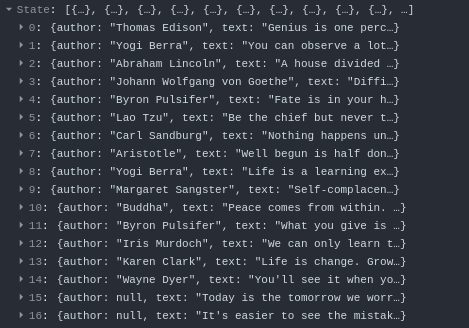
NOTE: You can check this in the codeSandbox's React DevTools (next to the console).
We only need to display 1 random quote at a time. So, for this, we only need to store a single random object from that array inside our state.
Using the formula for getting a random number, let's create a function outside our component which will return us a random number.
// ...

const randomNo = () => Math.floor(Math.random() * data.length) + 1;

export default function App() {
  // code from earlier workshop
}
Now this function will always return a random number between 1 and data.length (the length of the data array).
The browser must be yelling at you that data is undefined. It is because we have defined it later inside our component. So, a quick fix for this will be to create a data variable using let above our randomNo() function and remove the const keyword from the data inside the async function.
What we basically did is that we already defined data but we'll pass the value to it later inside the async function.
Now we have a random number generated everytime the randomNo() function is called. And if we pass it to an array, it will return us the value on that index. So, inside the async function, when we set the state, we'll add square brackets to data and call randomNo() in it.
setQuotes(data[randomNo()]);
This will return us the object which is on the index of the randomNo().
Now only one random object containing the quote and the author will be stored inside the quotes state.

Your code so far:
import React, { useState } from "react";
import "./styles.css";

const url = "https://type.fit/api/quotes";
let data;
const randomNo = () => Math.floor(Math.random() * data.length) + 1;

export default function App() {
  const [quotes, setQuotes] = useState({});

  async function getQuotes() {
    try {
      const res = await fetch(url);
      data = await res.json();
      setQuotes(data[randomNo()]);
    } catch (err) {
      console.log(err);
    }
  }

  return (
    <div className="App">
      <h1 className="title">Quotes Generator</h1>
      <p className="quotes">This is a quote</p>
      <p className="author">- author name</p>
      <button className="button">New Quote</button>
    </div>
  );
}
The next thing we want to implement is that we want to get a random quote everytime our website is loaded. This can easily be done by creating a useEffect hook inside our component, calling our getQuotes() function in it and passing an empty dependency array to it.

Note: Make sure you import useEffect from react.
import React, { useState, useEffect } from "react";
export default function App() {
  const [quotes, setQuotes] = useState({});

  useEffect(() => {
    getQuotes();
  }, []);
  // Rest of the code
Learn more about the useEffect hook.
We can now edit our jsx code to display the quote and the author name.
return (
  <div className="App">
    <h1 className="title">Quotes Generator</h1>
    <p className="quotes">{quotes.text}</p>
    <p className="author">- {quotes.author ? quotes.author : "Anonymous"}</p>
    <button className="button">New Quote</button>
  </div>
);
Explanation: The quote (which is in the object as text) is now rendered on the page. Notice how I used a ternary operator to render the author name. It is because, there are some quotes which don't have an author, so we check if there's an author inside our object. If it's there, we render the name of the author. If its not there, we render Anonymous on the browser screen.
Now if you look at the preview window, you'll see that we are pretty much done! The last thing remaining is to add an onClick to our button.
<button className="button" onClick={getQuotes}>New Quote</button>
Whenever the button will be clicked, the getQuotes() function will be called which will return a new random quote, resulting into a state change which will cause our component to re-render!
Woah! You just wrote some mind blowing code!

The Final Code:
import React, { useEffect, useState } from "react";
import "./styles.css";

const url = "https://type.fit/api/quotes";
let data;
const randomNo = () => Math.floor(Math.random() * data.length) + 1;

export default function App() {
  const [quotes, setQuotes] = useState({});

  useEffect(() => {
    getQuotes();
  }, []);

  async function getQuotes() {
    try {
      const res = await fetch(url);
      data = await res.json();
      setQuotes(data[randomNo()]);
    } catch (err) {
      console.log(err);
    }
  }

  return (
    <div className="App">
      <h1 className="title">Quotes Generator</h1>
      <p className="quotes">{quotes.text}</p>
      <p className="author">- {quotes.author ? quotes.author : "Anonymous"}</p>
      <button className="button" onClick={getQuotes}>
        New Quote
      </button>
    </div>
  );
}
This what our project looks like:
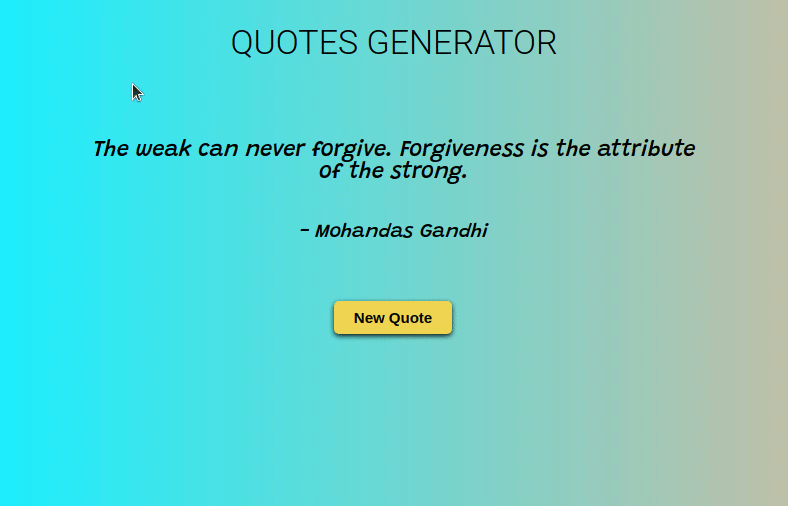
Yay! We are done! We learnt how to handle APIs in React and we built a simple but sweet random quotes generator!!

Part 4: The End
Make sure you create an account on codesandbox.io to save this wonderful piece of creation or you'll lose it 😧.
Here are some tasks for you:
-
Try to display a list of quotes on your website.
Example -
Try to add the functionality of going back and forth in your quotes app!
Example
Now that you know how to handle APIs in React, here are some APIs for you to play around with!
Check out what other Hack Clubbers built!
Now that you have finished building it, you should share your beautiful creation with other people! (I can't wait to see you ship this!)
You probably know the best ways to get in touch with your friends and family, but if you want to share your project with the worldwide Hack Club community there is no better place to do that than on Slack.
1. In a new tab, open and follow these directions to signup for our Slack.
2. Then, post the link to the #ship channel to share it with everyone and also ping me!
PS. I'm @fayd on slack.