Having a plain old profile picture is so 2020. Having a Slack Profile Picture that changes throughout the day is a great way to mix things up on Slack. In this workshop, we'll be learning how to make a dynamic profile picture that changes as the day progresses. We'll be using Node.js deployed as a Vercel Serverless Function and triggered by cron-job.org. You'll be learning the basics of getting a Slack User Token, creating a Node.js program and deploying that program as a serverless function.
Obtaining a Slack Token
In my opinion this is the most painful part of this process.
To begin you will need to be a member of a Slack Workspace. The easiest way to join one is to join Hack Club's.
Then visit the Slack "Build" page. Click the large green button that says Create an App and select From scratch on the next screen.
Name it whatever you'd like, and choose the workspace you'd like the app to be for.
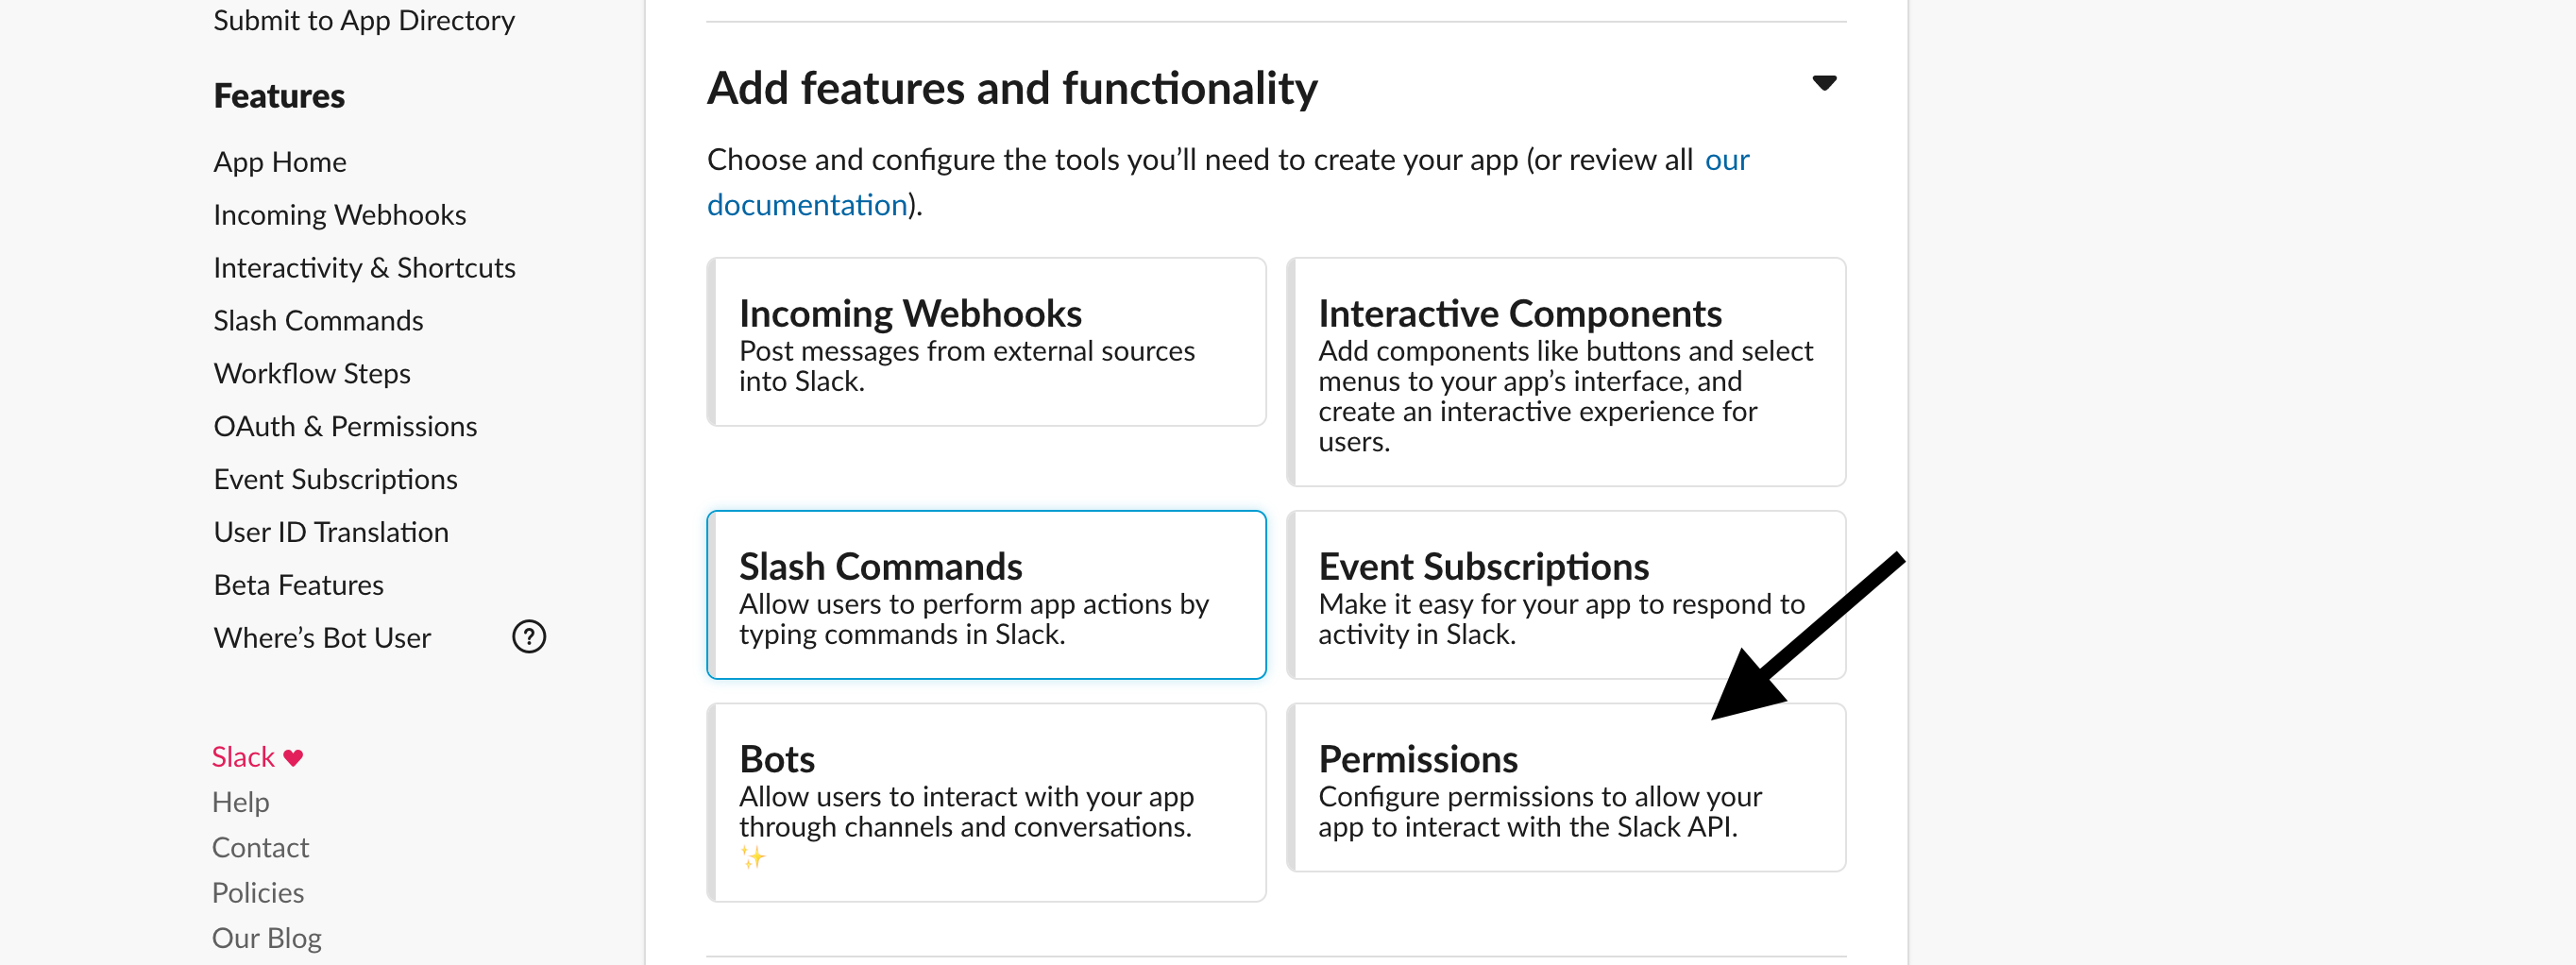
On the next screen, find the Add features and functionality section and select Permissions.
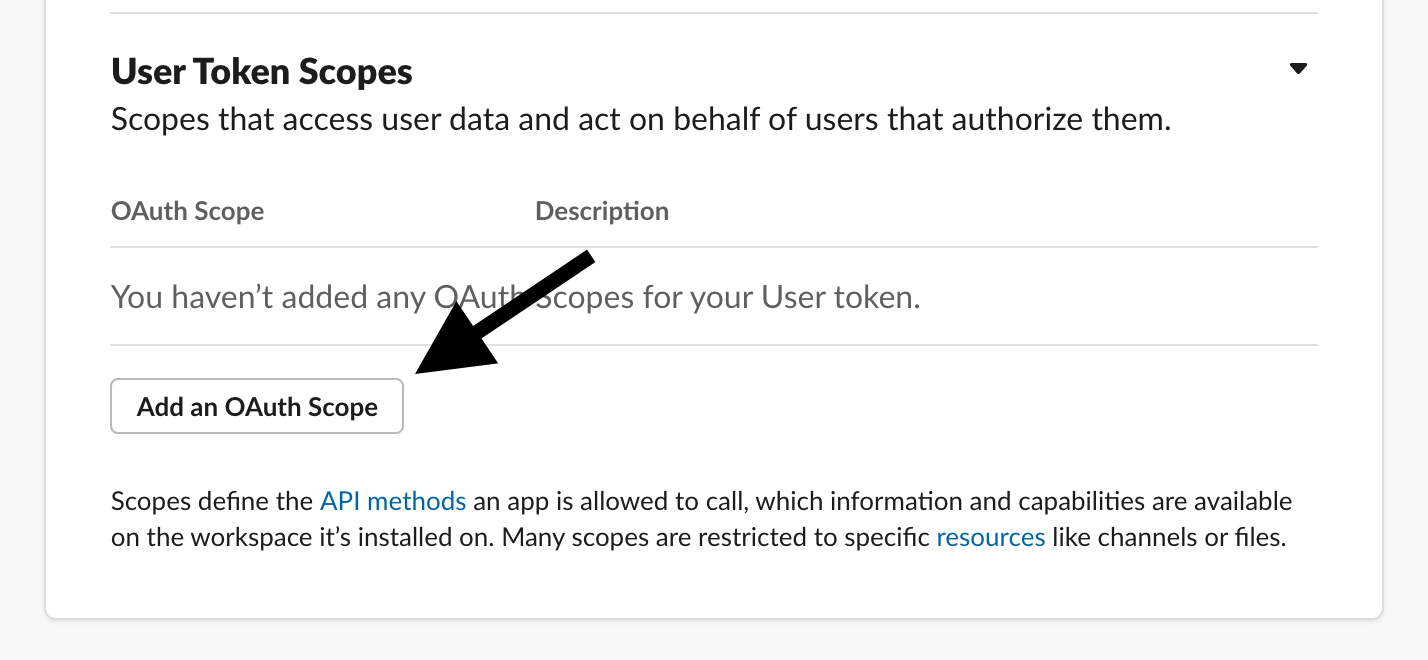
On this screen, scroll down to the User Token Scopes section and select the button that says Add an OAuth Scope.
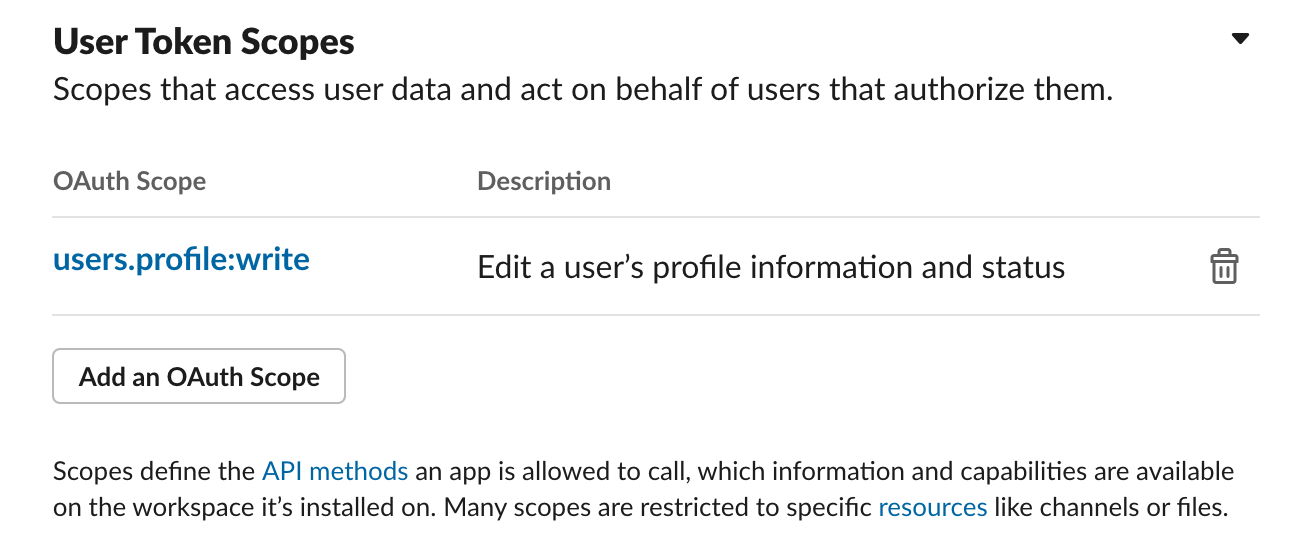
In the pop-up box that follows, select users.profile:write and add that scope.
Scroll to the top of the page, click Install to Workspace, then Allow and then you will receive a token in return.
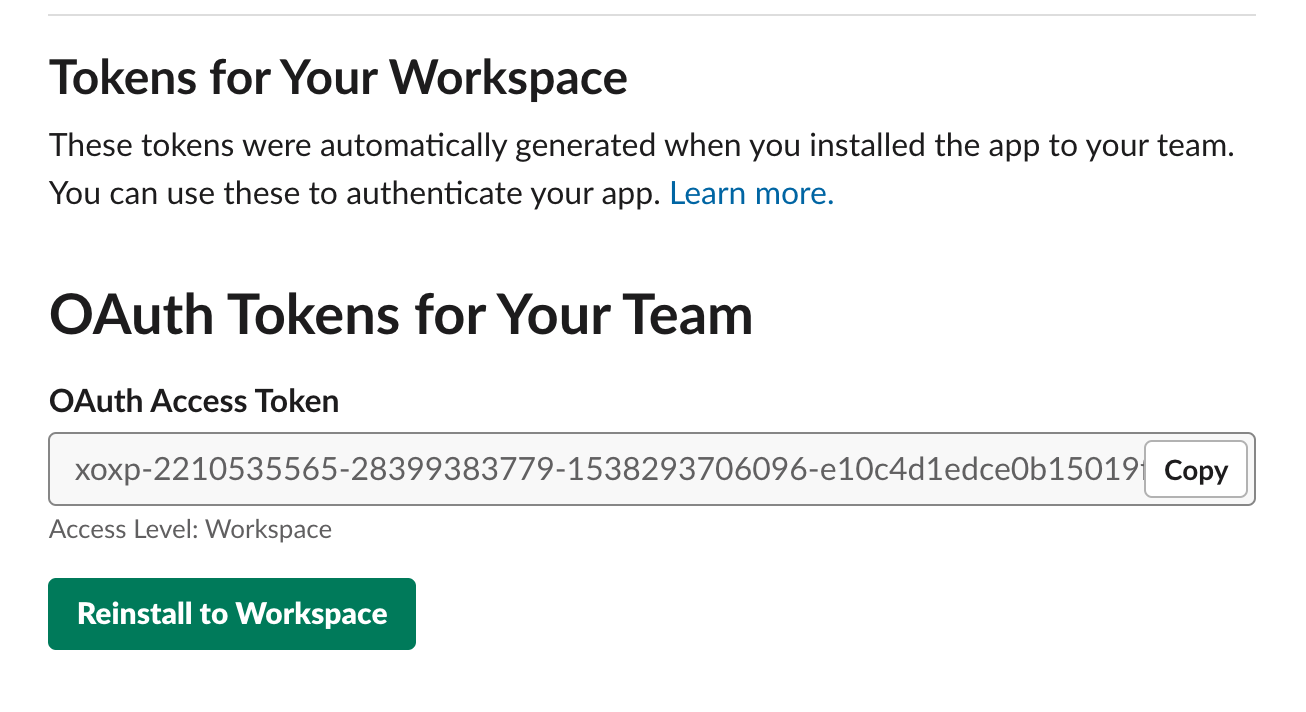
Copy the generated token and store it in a safe space. Don't share it with anyone else (this is a fake token in the image, don't worry).
Building our program
To get started you are going to want to create a new Node.js repl.it project, click here to do so.
Let's get going by adding your Slack token to your environment variables. What are environment variables? These are super secret variables that you don't want to store publicly.
Repl.it provides us an easy way to pass in these environment variables to our app, head over to the "Secrets" tab in the left sidebar:

and inside the "key" type SLACK_TOKEN and inside the "value" section, paste in your Slack OAuth token and click on Add new secret button:

Now, let's add two packages (axios & @slack/web-api) to our index.js file.
const { WebClient } = require('@slack/web-api');
const axios = require('axios').default;
Axios will be used to fetch the images from URLs and the Slack Web API package will be used to interact with Slack.
Next, let's create a data object with each of our images. Replace each URL with your own to make this program your own.
const images = {
  "morning": "https://images.unsplash.com/photo-1517188206596-1e1f7c954177?ixlib=rb-1.2.1&ixid=eyJhcHBfaWQiOjEyMDd9&auto=format&fit=crop&w=1650&q=80",
  "afternoon": "https://images.unsplash.com/photo-1566452348683-91f934cd9051?ixlib=rb-1.2.1&ixid=eyJhcHBfaWQiOjEyMDd9&auto=format&fit=crop&w=2090&q=80",
  "night": "https://images.unsplash.com/photo-1519446251021-1c4ee77fec1e?ixlib=rb-1.2.1&ixid=eyJhcHBfaWQiOjEyMDd9&auto=format&fit=crop&w=913&q=80"
}
Setting our profile picture
Now that we've got our images we need to create an async function that will handle setting our profile picture.
async function setPFP() {
  console.log(images)
}
An async function is important as it allows us to wait for a line of code to complete before moving to the next line using the await keyword.
What should we do first? How about setting a profile picture! Inside our setPFP function add the following lines. This will fetch the contents of the image.
const image = await axios.get(images.afternoon, {
  responseType: "arraybuffer"
});
Awesome! We now have the image, let's set it to our profile picture on Slack. We can do this using the users.setPhoto API endpoint.
const client = new  WebClient();
const slackRequest = await client.users.setPhoto({
  image: image.data,
  token: process.env.SLACK_TOKEN
});
In the above code we are creating an instance of the Slack Web API Client. Then we make a request to the users.setPhoto API endpoint, with our image data and our token. We need the token so that Slack knows who we are and that we are allowed to make this change. We're sending the data as an array buffer, these are a bit complicated but if you're curious you can read more about them here.
Now to run this function, just add the following to the bottom of you index.js file:
setPFP()
This simply calls your function, now click Run ►.
Check Slack... do you see any difference in your profile? Fingers crossed you do but if you don't, check the console for any errors and check your code for any typos ;)
Changing the Profile Picture Based on Time
Sooooo it may be the afternoon for you but it may not ¯\_(ツ)_/¯
Try changing images.afternoon to images.morning and running your program. You should see a different image as your profile picture after a couple of seconds.
To do so we'll need to know how many hours have passed in the day, right?
var hour = new Date().getHours()
Add this code to your program at the start of your function, it creates a variable and assigns it the value of how many hours have passed. If you add console.log(hour) you'll notice that these hours aren't in your timezone (unless you are in an exact UTC zone). This is because these times are in UTC. I'm not going to go on and on about timezone nonsense but you'll need to add or remove the UTC offset for your region.
For example, I live in Singapore so my timezone is UTC+8 and has an offset of +8 so I would write:
var hour = new Date().getHours() + 8
Now let's set the image based on hours using a couple of if statements and an else statement:
let image
if (5 < hour && hour < 12) {
  image = await axios.get(images.morning, {
    responseType: "arraybuffer",
  });
}
else if (12 < hour && hour < 20) {
  image = await axios.get(images.afternoon, {
    responseType: "arraybuffer",
  });
}
else {
  image = await axios.get(images.night, {
    responseType: "arraybuffer",
  });
}
We want to replace our original image fetching code block with this to make our final code file this:
const { WebClient } = require('@slack/web-api');
const axios = require('axios').default;
const images = {
  "morning": "https://images.unsplash.com/photo-1517188206596-1e1f7c954177?ixlib=rb-1.2.1&ixid=eyJhcHBfaWQiOjEyMDd9&auto=format&fit=crop&w=1650&q=80",
  "afternoon": "https://images.unsplash.com/photo-1566452348683-91f934cd9051?ixlib=rb-1.2.1&ixid=eyJhcHBfaWQiOjEyMDd9&auto=format&fit=crop&w=2090&q=80",
  "night": "https://images.unsplash.com/photo-1519446251021-1c4ee77fec1e?ixlib=rb-1.2.1&ixid=eyJhcHBfaWQiOjEyMDd9&auto=format&fit=crop&w=913&q=80"
}
async function setPFP() {
  var hour = new Date().getHours() + 8
  let image
  if (5 < hour && hour < 12) {
    image = await axios.get(images.morning, {
      responseType: "arraybuffer",
    });
  }
  else if (12 < hour && hour < 20) {
    image = await axios.get(images.afternoon, {
      responseType: "arraybuffer",
    });
  }
  else {
    image = await axios.get(images.night, {
      responseType: "arraybuffer",
    });
  }
  const client = new WebClient();
  const slackRequest = await client.users.setPhoto({
    image: image.data,
    token: process.env.SLACK_TOKEN
  });
}

setPFP()
Making it serverless on Vercel
Serverless is basically a buzz word by hosting companies that means running code server side, without managing your own server. Yep, it's not really serverless.
Anyhow, we'll need to move our code inside of an api folder. So create a new folder called api , create a index.js file in there and copy all of your code into it.
Now we'll need to replace setPFP() with:
export default async (req, res) => {
  await setPFP()
  res.send("Started changing your PFP!")
}
That's all the code changes we'll need. Now we need to deploy it!
First, we'll add it to GitHub (a code hosting platform). If you don't have an account please register one here and then come back :)
Click the Version Control button:
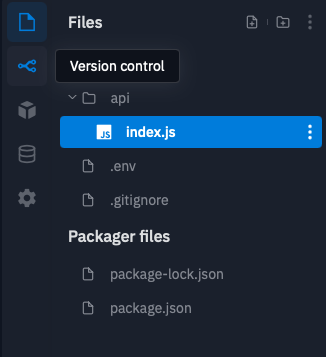
Then click the Create a Git Repo button
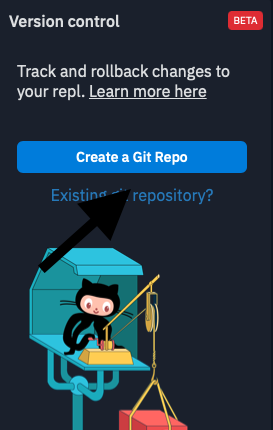
Then click Connect to GitHub. The following process is different for different people so please follow the onscreen instructions.

Once you get to this screen, copy this link.
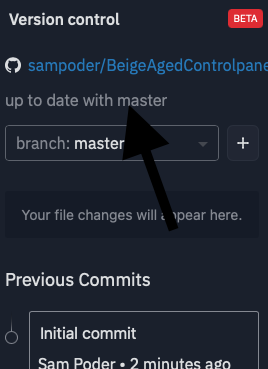
Now head to vercel.com and register for an account.
Once you have registered for Vercel, visit https://vercel.com/import and click this button:
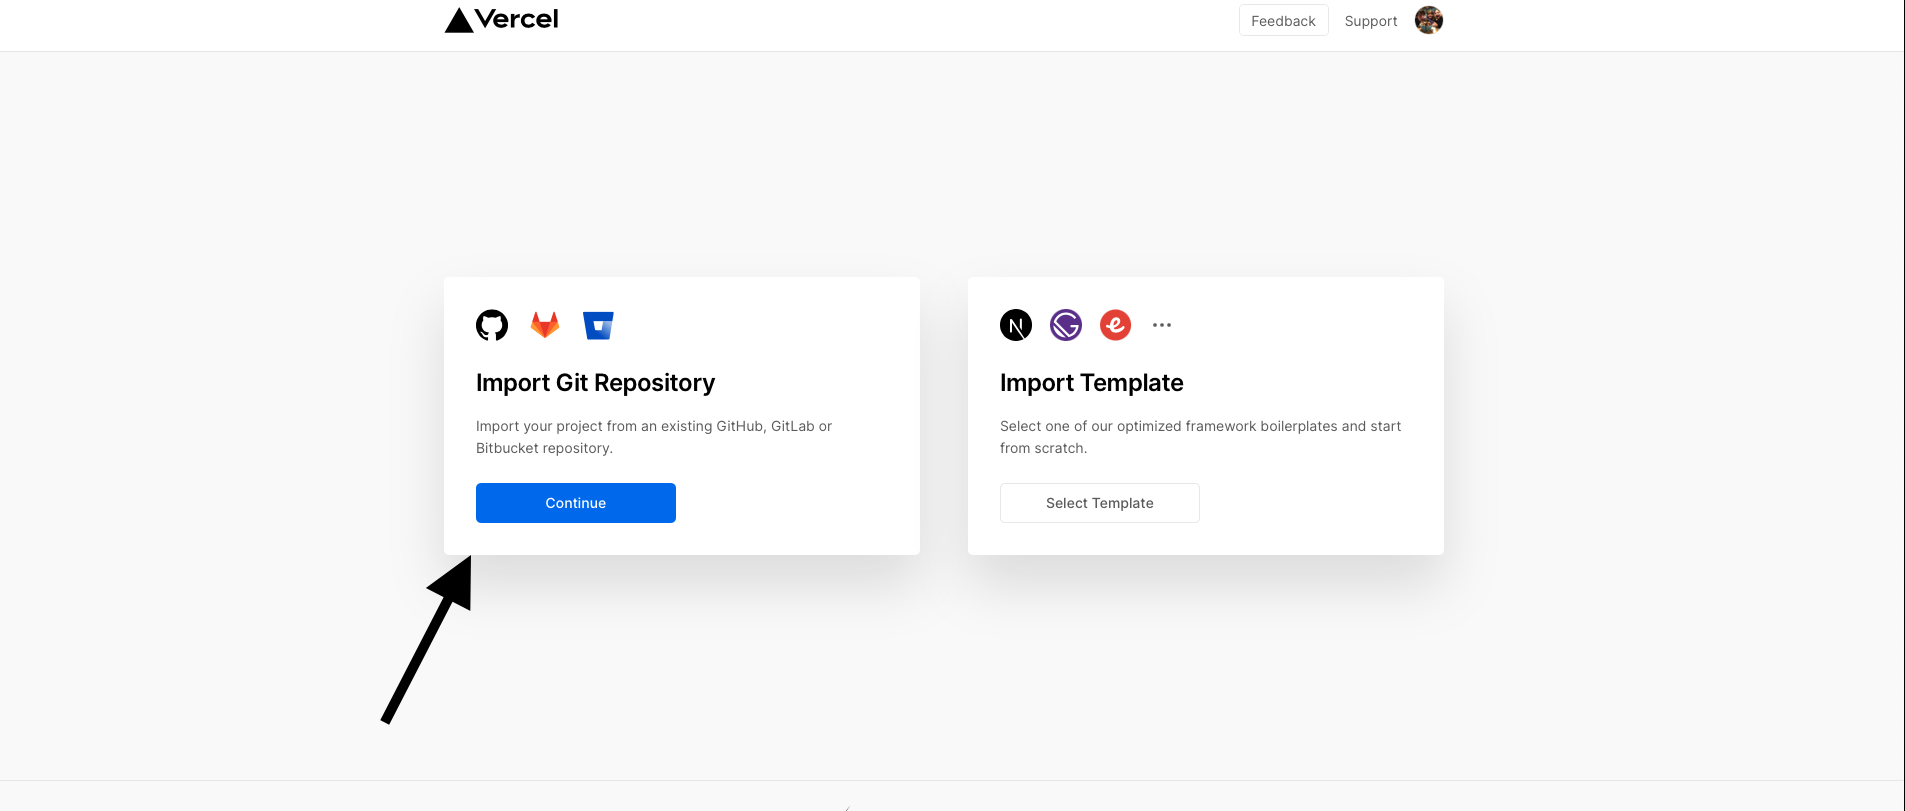
Paste in the link you previously copied and click continue. Click continue again and then deploy!
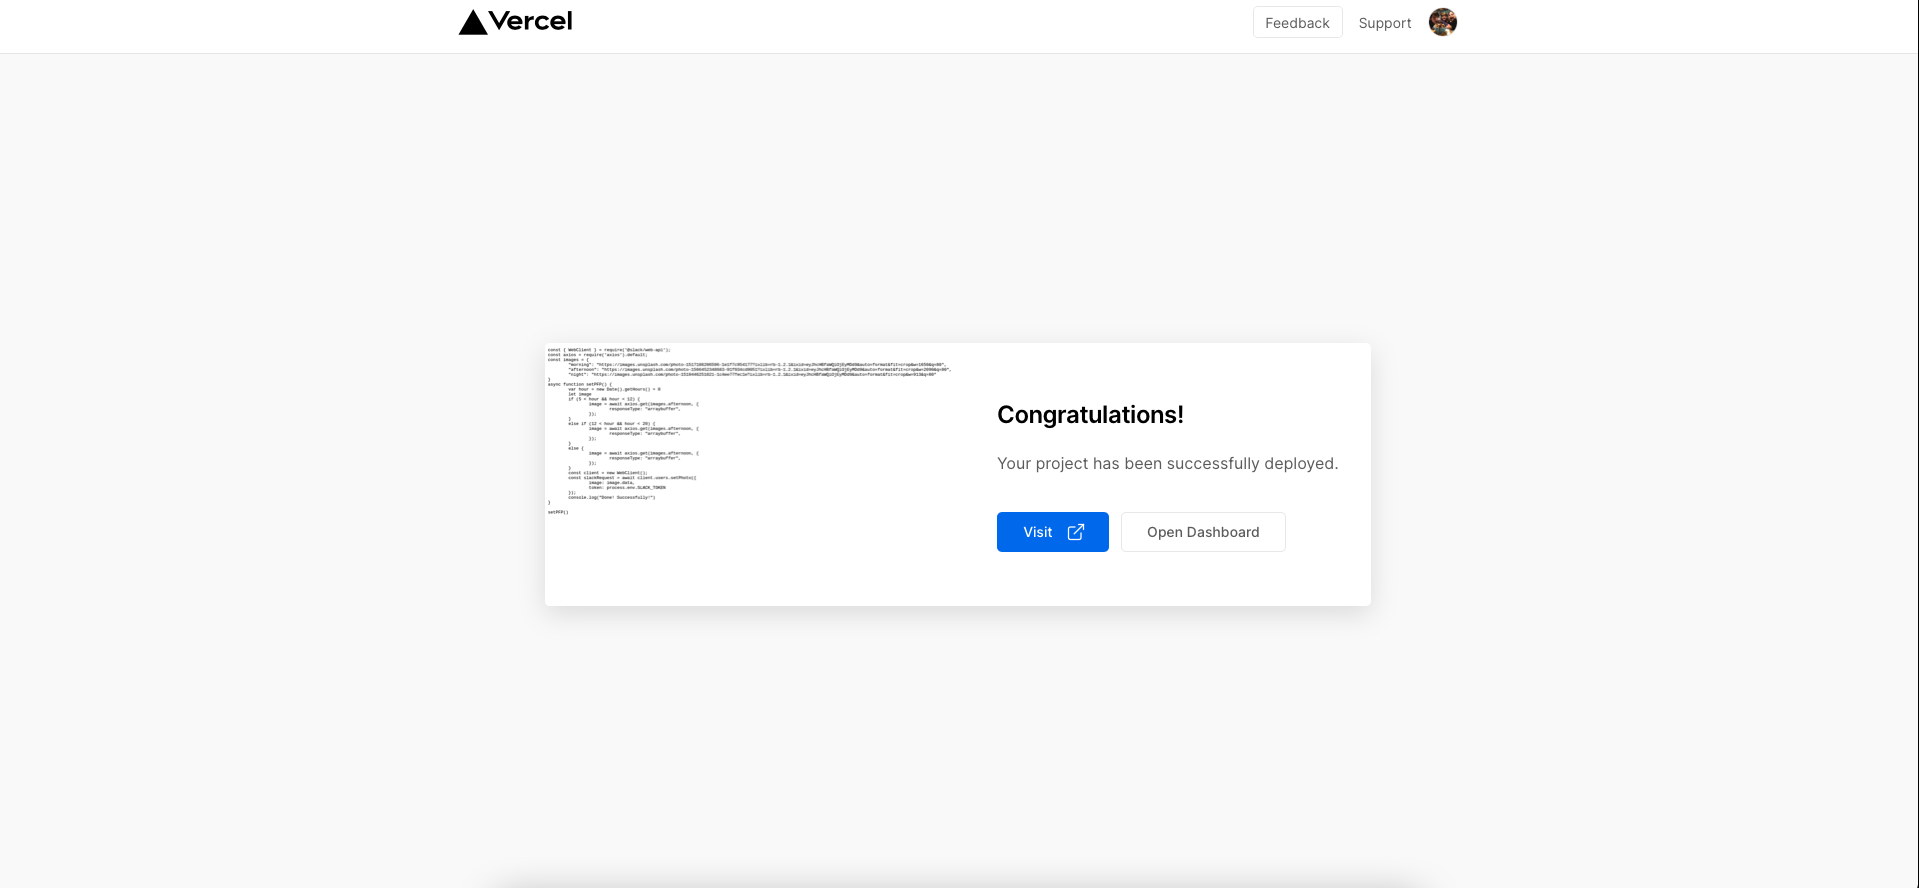
If all goes to plan you should see this page, yay!! We have deployed it. Now we need to configure our environment variables. Open the dashboard up.
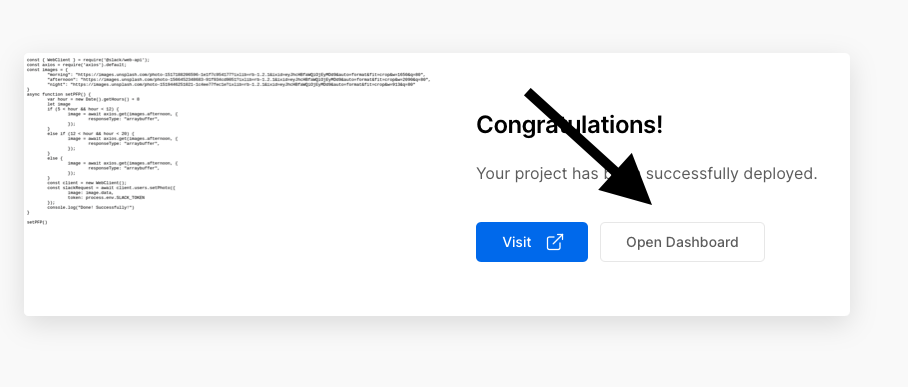
Then open up the settings:

Create an environment secret for your Slack token with the following settings:
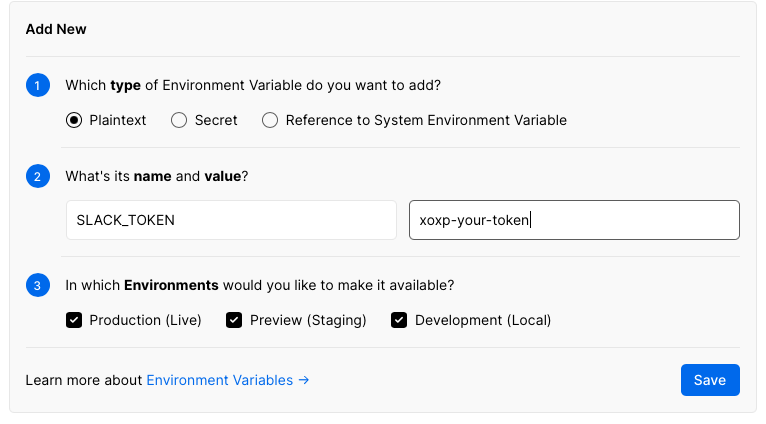
Now we need to redeploy our app. You can do this by going to Deployments:

Then select the top one:

Then in the top right, click the three dots and then the redeploy button.
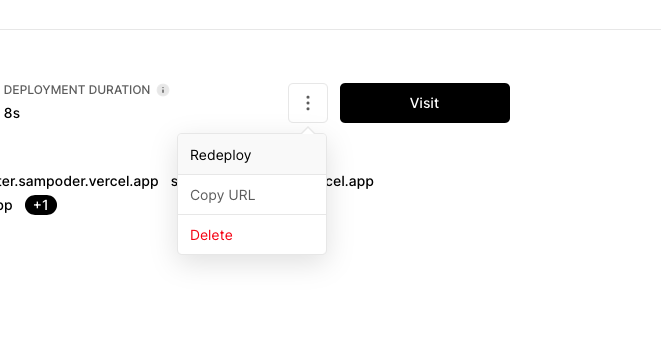
Now try visiting /api on your url. You should see your profile picture change on Slack ;) Check it out! But... we don't want to have to visit this URL every time. So, let's automate that.
Scheduling a trigger
Now let's schedule when to trigger this API. Head on over to cron-job.org and create a new account.
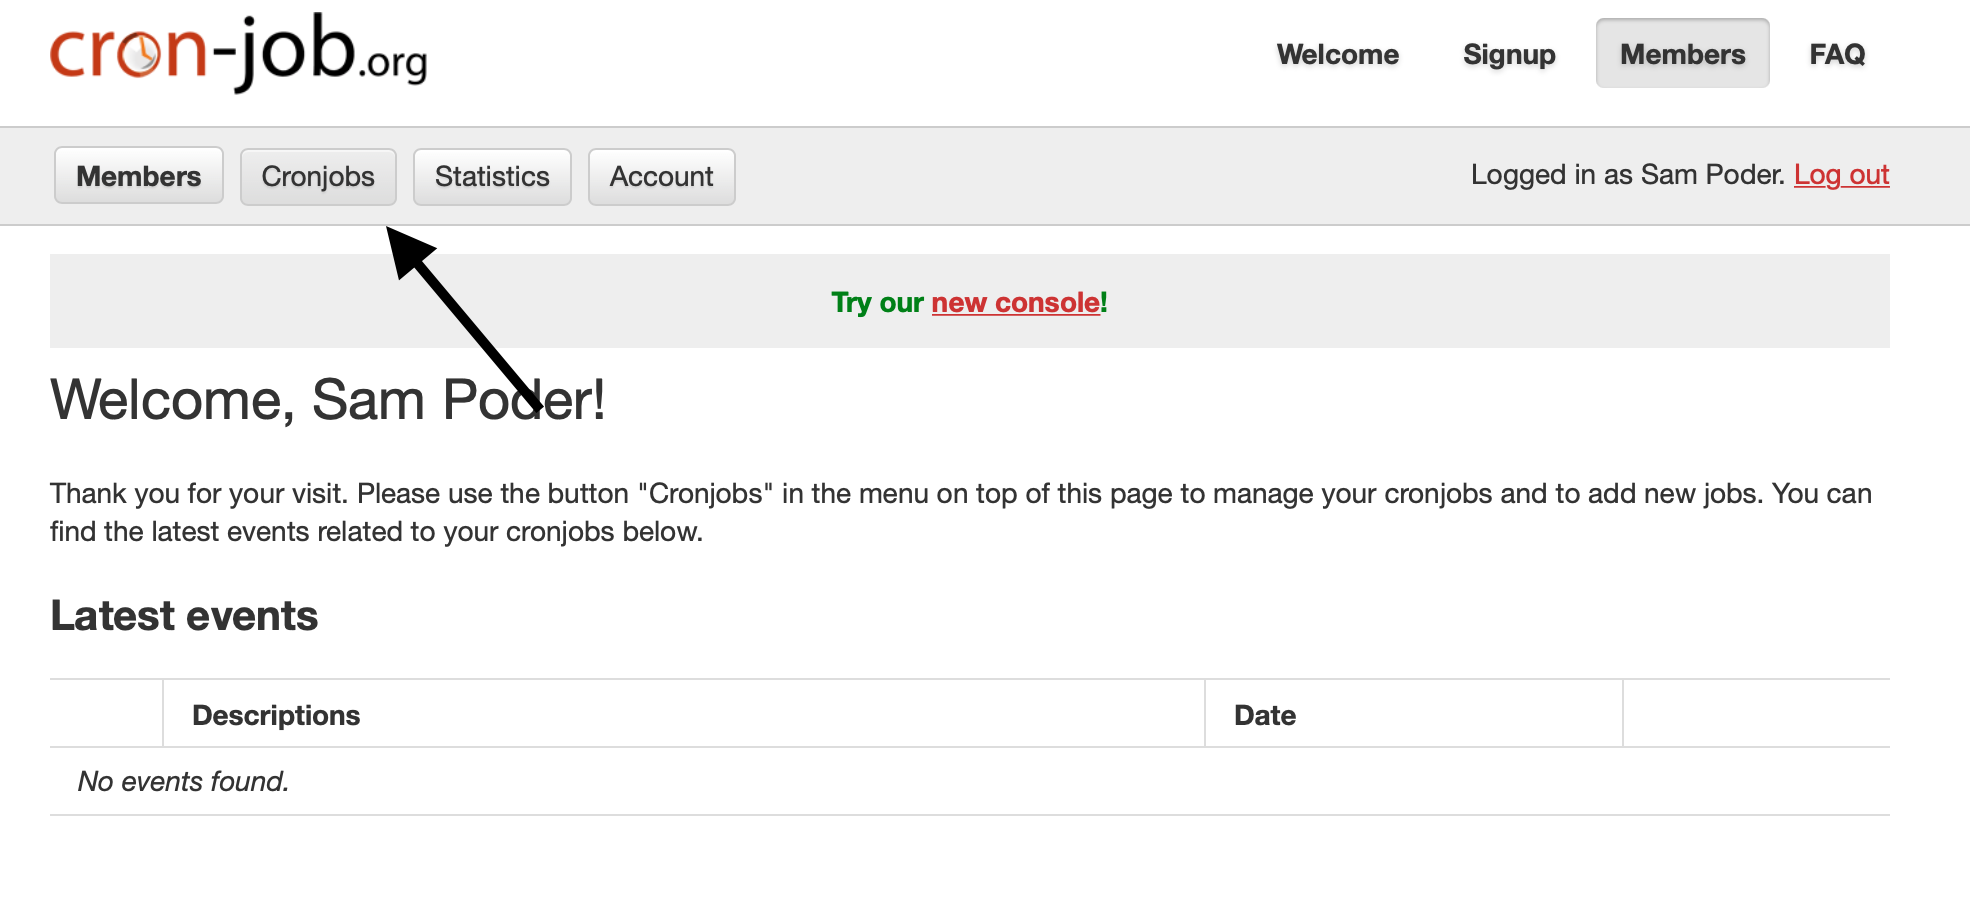
Once you've logged into that account, click Cronjobs.
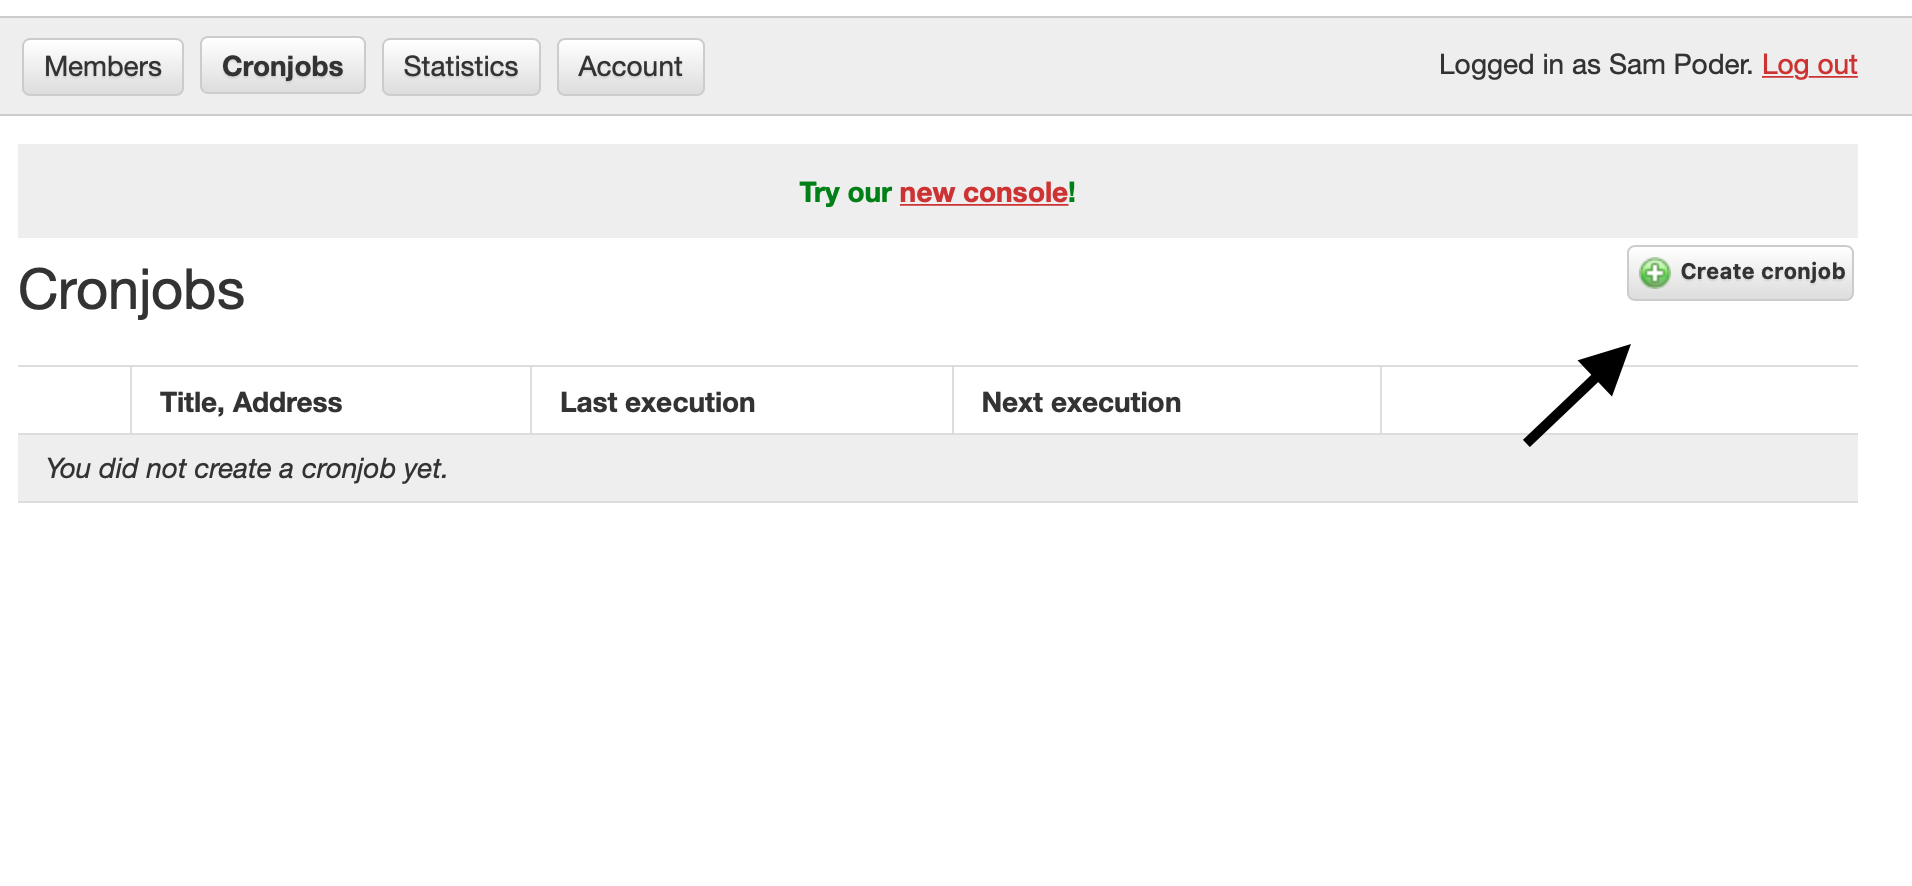
Then create a new one!
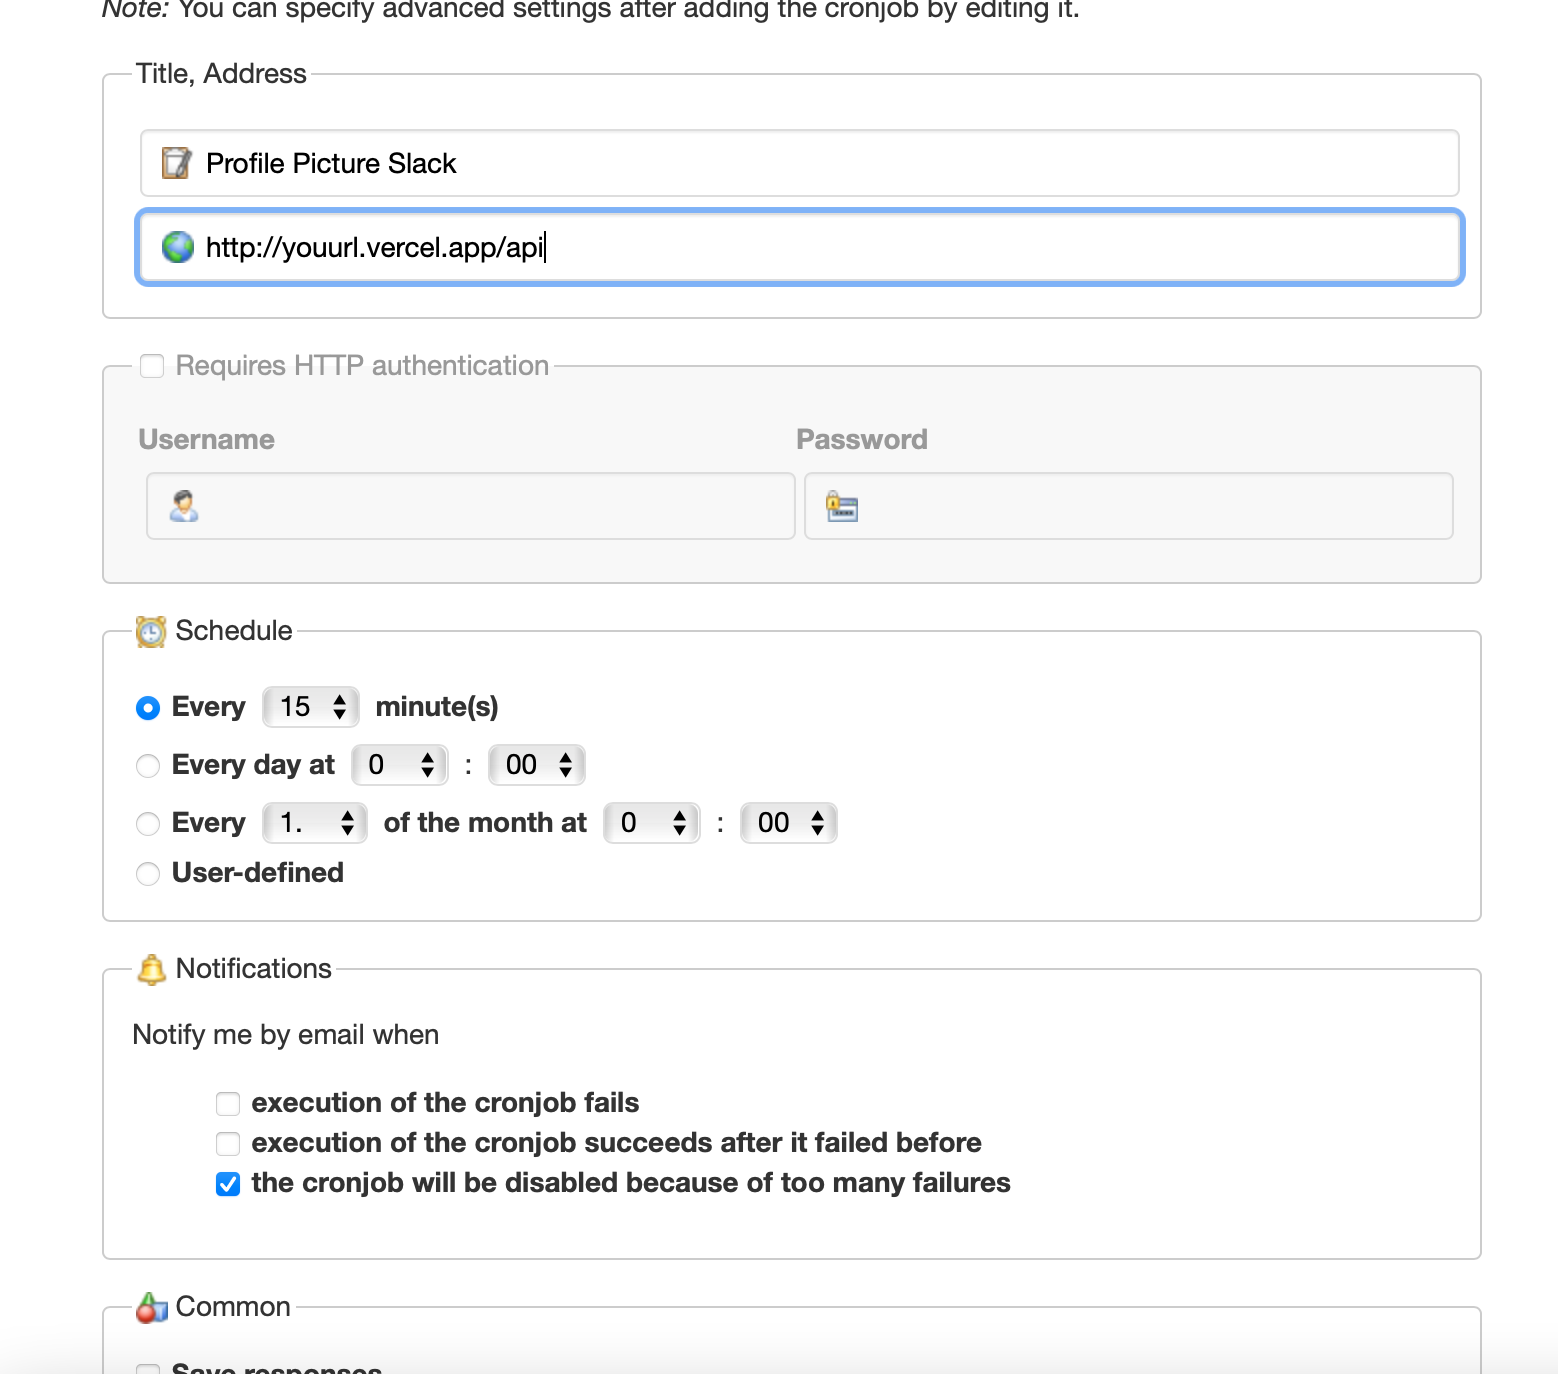
Fill in the form with the following settings and click create:
And wow... we're done!! Now throughout the day your profile picture will change depending on the time.
Hacking
Slack profile pictures are semi-unexplored territory but there's certainly a lot of hacking potential in them! So go make something EPIC!
Here are a couple of examples of cool Slack profile picture hacks:
- Build a web dashboard focused on your PFP. Here's an example of one I made, here's the source.
- Have random photos on a cycle for your profile picture, check out my Slack profile as an example and here's the source.
- Let others set your profile picture (WARNING: weird stuff can happen), here's an example made by Caleb and here's the source for their app.
Make something cool? Awesomeeee!!!! Share it on #ship in the Slack and tag me with @sampoder!

